

Each SAP NetWeaver ABAP system comes with a built-in sample application that allows developers to learn how to use SAP technology. More information about flight sample can be found at SAP Help 🔗. Let see how to set up the flight sample and to test it. By default, the ABAP code is installed, but no data is provided. Therefore, the ABAP applications are of no use. First step is to set up the flight data!
Generate flight sample data
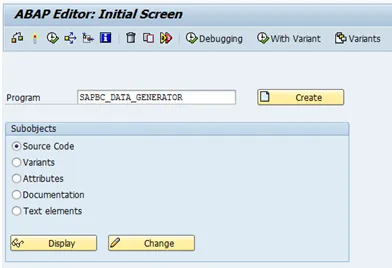
- Transaction: SE38
- Program: SAPBC_DATA_GENERATOR
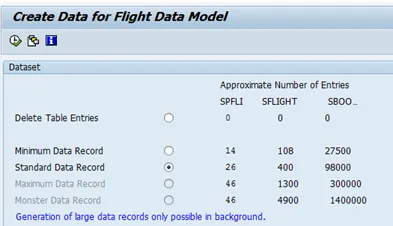
Execute the program: ![]() . Next screen: select data to be generated.
. Next screen: select data to be generated.
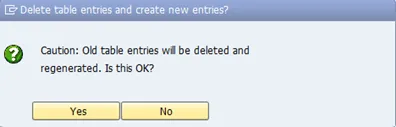
Execute: ![]() . A dialog will pop up, warning that old data will be deleted. Confirm with yes.
. A dialog will pop up, warning that old data will be deleted. Confirm with yes.
Check status at bottom of screen: ![]()
Test if data was created
Table data
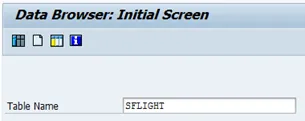
- Transaction: SE16
- Table name: SFLIGHT
Insert no criteria to get a list of all table entries.
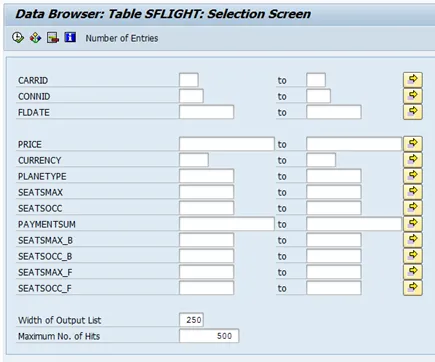
Execute. The table entries are returned. If nothing is returned, something went wrong during the data generation step.

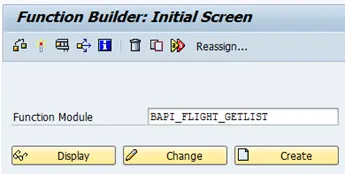
Function Module
- Transaction: SE37
- Function Module: BAPI_FLIGHT_GETLIST
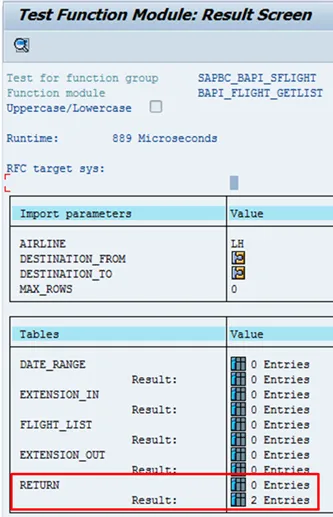
- Import parameter: Airline: LH
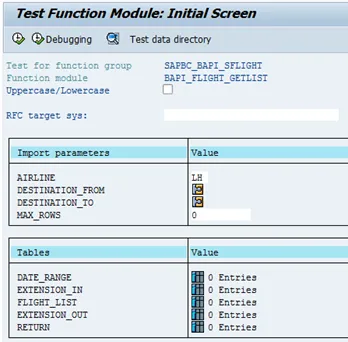
Execute. The result screen is shown.
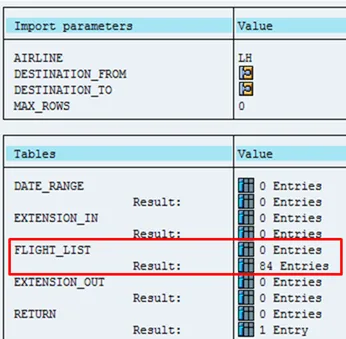
The table FLIGHT_LIST needs to contain some values. Select the table to see the returned values.
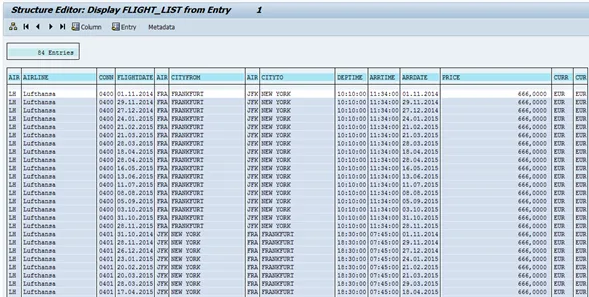
In case the flight sample data was successfully generated and the user has the permission to execute the BAPI, both the table and the BAPI return valid data.
Trouble shooting
In case the BAPI is not returning any data, but an authorization error, check if the user has the permission to run the BAPI.
Symptom
Table FLIGHT_LIST is empty and RETURN table contains two entries.
Value of table RETURN:
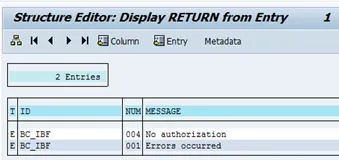
- No authorization
Root cause
Check missing authorization with transaction SU53.
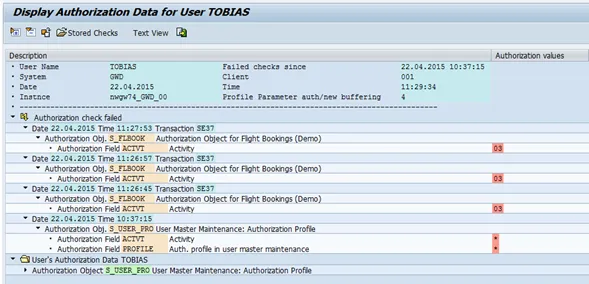
- Missing authorization S_FLBOOK
Solution
Assign authorization S_FLBOOK to user.
-
Create a role with the authorization
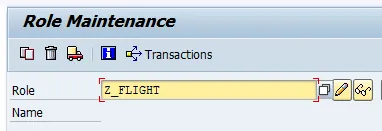
-
Click on Single Role
-
-
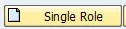
Create role GUI is shown
-
Click on tab Authorizations

-
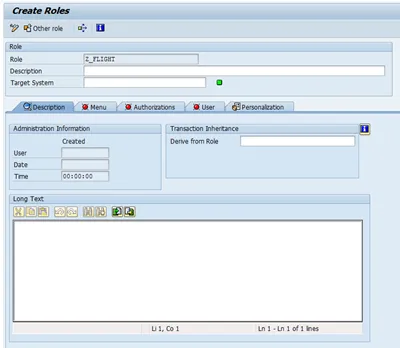
Click on Change Authorization Data
-
Add the missing role manually
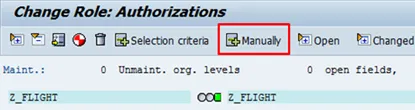
-
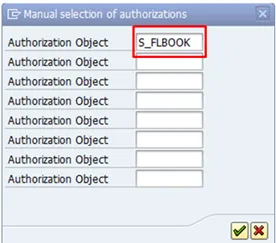
Insert S_FLBOOK
-
The role is added, but marked yellow.

-
Click on the yellow icon. A dialog opens
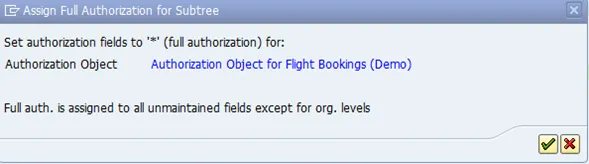
-
Confirm.
-
Now everything is green

-
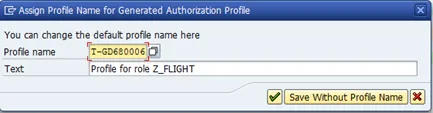
Generate the role:

-
A new dialog opens.
-
Nothing needs to be done here, just confirm the information.
-
Status in SAPGui:

-
Exit the transaction.
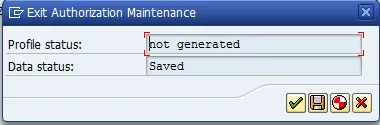
-
Generate
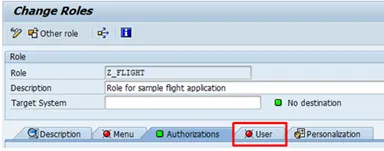
Back in PFCG, select tab user
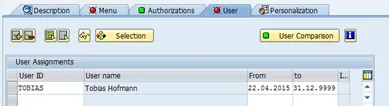
Assign user to the newly created profile.
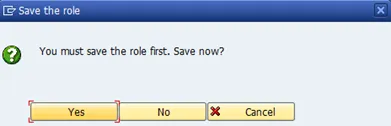
Click on User Comparison. A popup is shown, confirm by saving role.
Select complete comparison
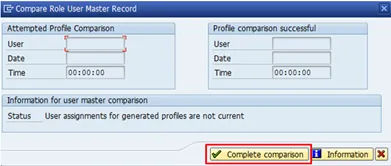
Close dialog.
Done. The user has now access to call the BAPI.