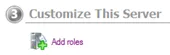
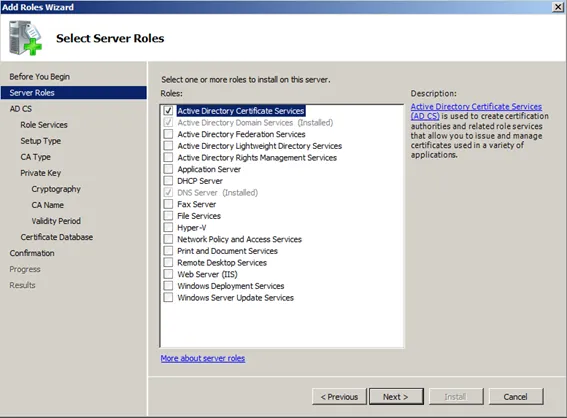
SAP Afaria needs to have a Certificate Authority (CA) available to emit certificates and to enroll iOS devices, or the make use of SCEP so your users can obtain their user certificate. Therefore, a new CA is installed. In Windows Server, select the add role option:
Select the role: Active Directory Certificate Services
Select Certification Authority Web Enrollment. Add required dependencies
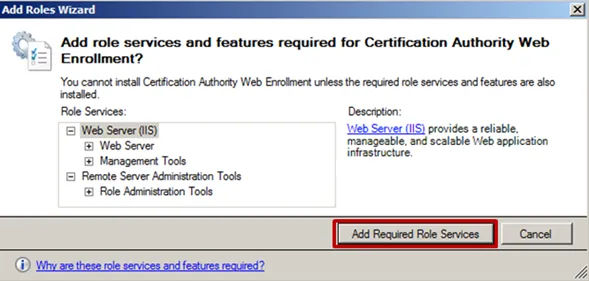
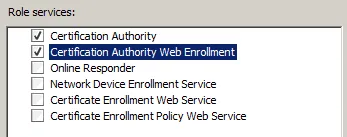
In the next shown dialog, select both
- Certificate Authority and
- Certification Authority Web Enrollment
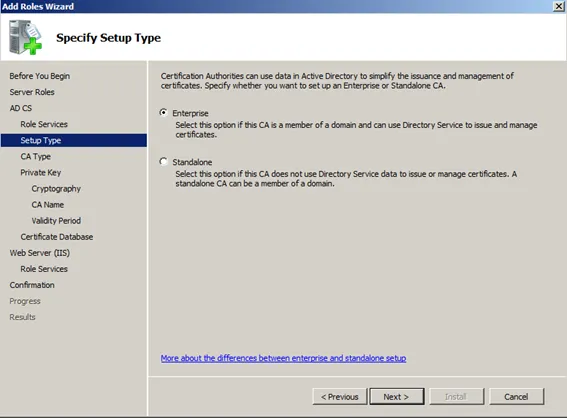
Service type: Enterprise
While you can set up a CA in standalone mode, Afaria will need Enterprise mode to work. This is also the reason why you have to use Windows Server 2008 R2 Enterprise version. Only there the Enterprise option for the CA is available. With Windows Server 2012 the standard version also offers a CA needed by Afaria, but right now, Afaria is not supporting Windows Server 2012.
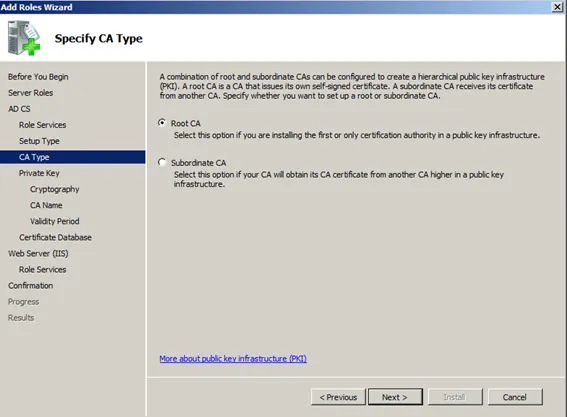
Install a Root CA. Needed as this will be the first and only CA available.
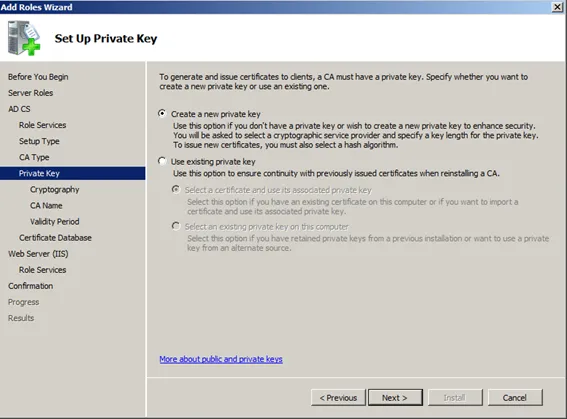
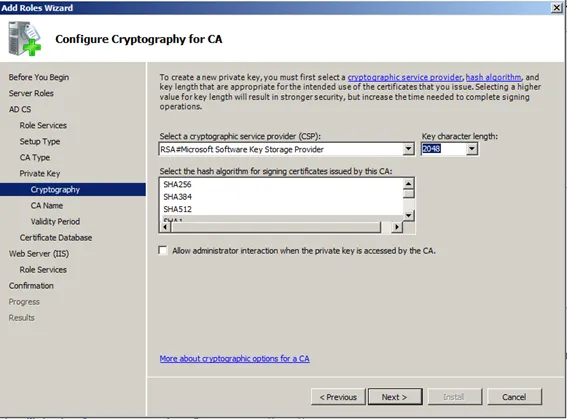
Create private key.
Select key strength.
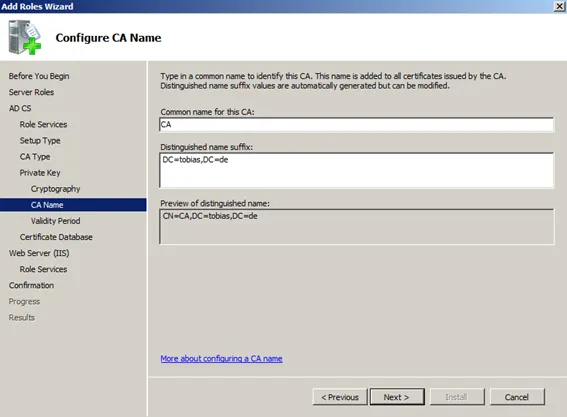
Inform name of CA as shown in the root certificate.
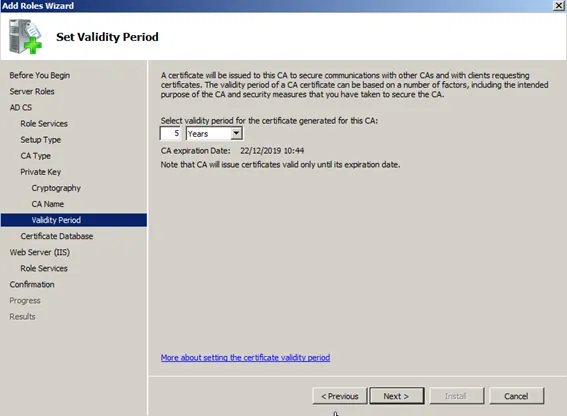
Validity period of certificate. While normally a CA’s certificate is valid for 10 or 20 years, mine will be only 5 years. But that value is up to you.
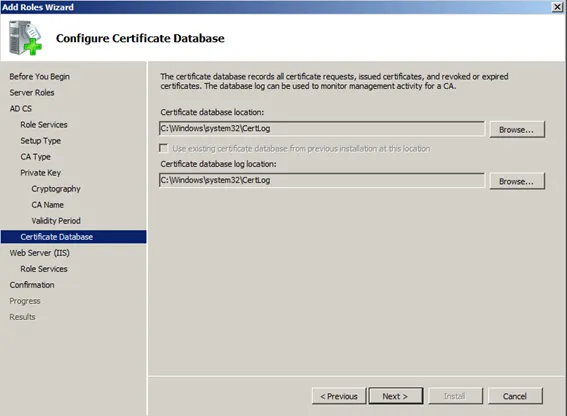
Confirm location of CA database on the server.
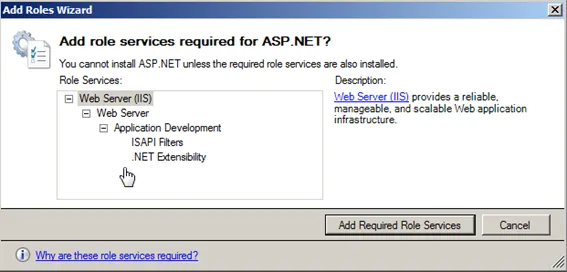
Role services dialog is shown. Add ASP.NET

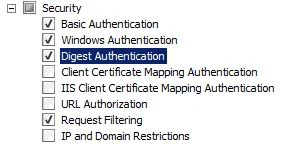
Select in the security section the authentication method to be used. Add:
- Basic Authentication
- Digest Authentication
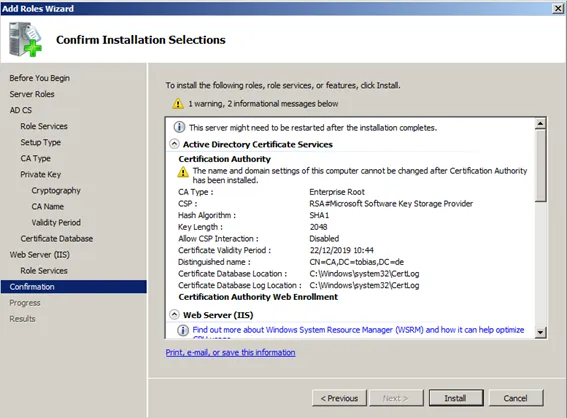
Confirm the configuration data.
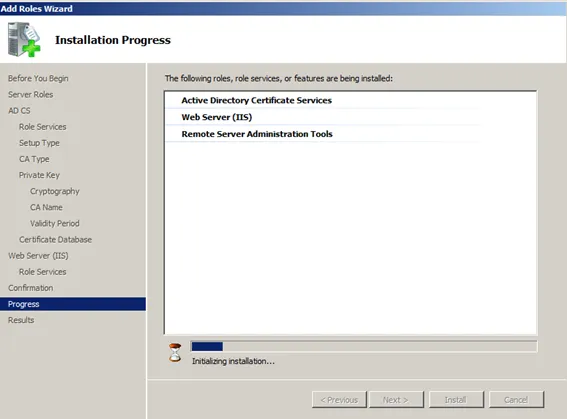
CA is going to be installed and configured.
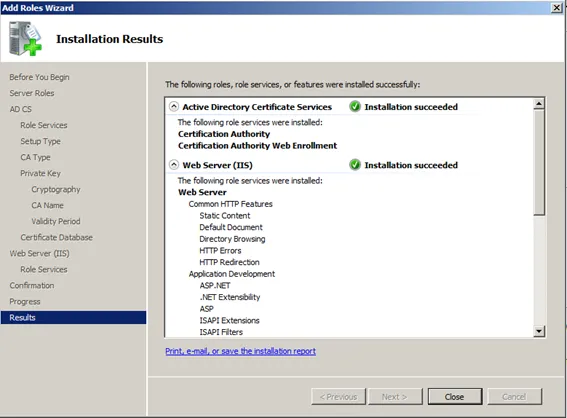
Check installation result.