

After meeting the pre-requirements for BUILD, it is time to actually install BUILD. The steps are outlined at SAP BUILD GitHub page 🔗. There a 4 steps:
- Get the tool
- Install required node modules
- Initialize the db
- Start the app
Be sure to have followed the steps outlined in the pre-requisites in my previous blog 🔗.
1. Get the tool
BUILD is hosted on GitHub, so all it needs to get the source code is git. It`s as of today only 255 MB that you have to download.
Command: git clone https://github.com/SAP/BUILD.git 🔗

2. Install required node modules
Change to the BUILD directory and run the following commands:
Command: npm install –g grunt-cli

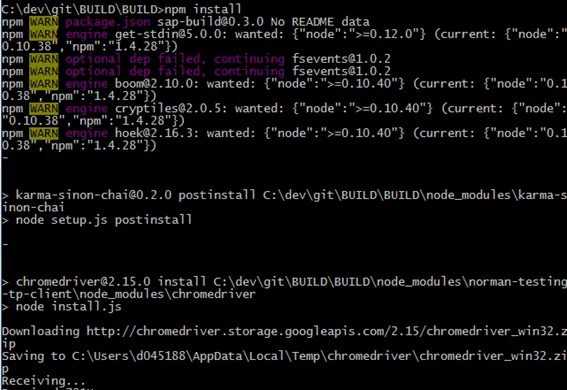
Change to BUILD\BUILD directory. Install dependency of project
Command: npm install
Note: before doing this, verify that the command shell you are using is configured to use node v0.10.38
Command: nvmw use v0.10.38
Tip: The installation will have to compile some libraries using Microsoft C++ compiler. Make sure the compiler is using the right SDK.
Command: call “C:\Program Files\Microsoft SDKs\Windows\v7.1\bin\Setenv.cmd” /Release /x64

Now the SDK is using the 64 bit version of the SDK.
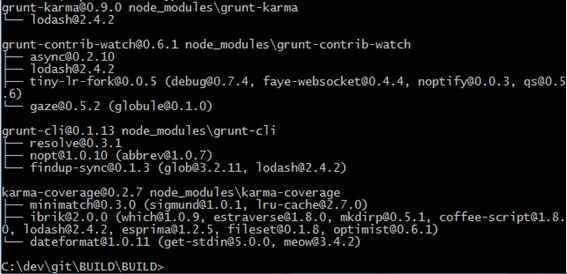
Result
Node-gyp is compiling files.
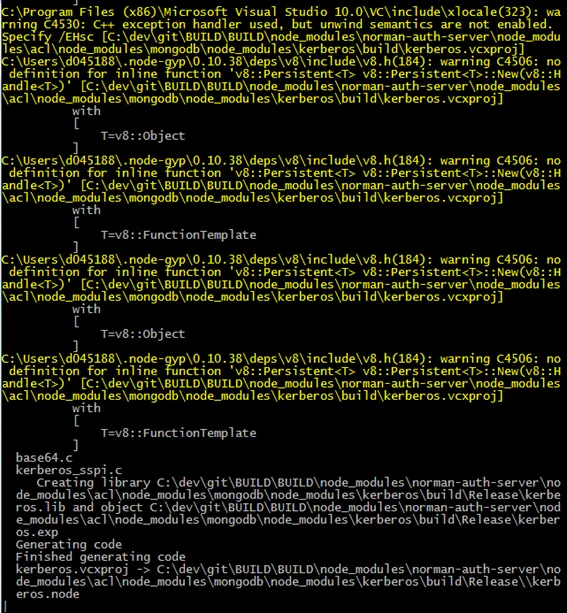
In the end, you should see something like that:
Possible errors
Error: mocha\bin does not exist
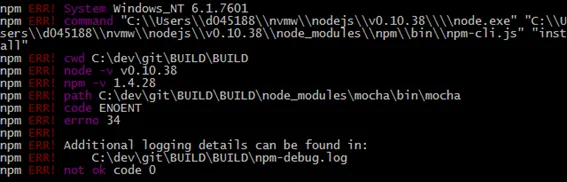
Solution: try a npm cache clear, delete the local node_modules directory and run npm install again.
Error: Could not load the Visual C++ component
In case you did not point the SDK to use the right MSFT compiler, you get this error message:
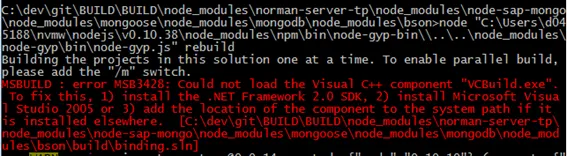
Solution: Run from within cmd: call “C:\Program Files\Microsoft SDKs\Windows\v7.1\bin\Setenv.cmd” /Release /x64
Error: EPERM with npm-cache
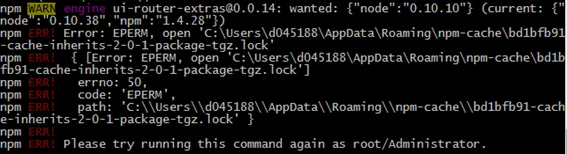
Solution: run npm install again. It should now pass this error. You may have to delete the lock file.
3. Initialize the database
Only needed after initial installation of BUILD.
Run the commands from the server directory.
Create schema
Command: node initSchema.js
The above command will create a DB schema called norman. Taking a look into the config file, reveals that there is a section for db. The defines a database named norman.
"db": { "hosts": "localhost", "database": "norman", "options": { "db": { "w": 1 }, server": { "poolSize": 5, "socketOptions": { "keepAlive": 1 } } } },
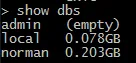
Test
The see if the database was created in mongo db, connect to the db and issue the command show dbs.
Command: mongo.exe

Command: show dbs
Set access permissions
Command: node setDefaultAccess.js
4. Start BUILD app
Command: grunt serve
![]()
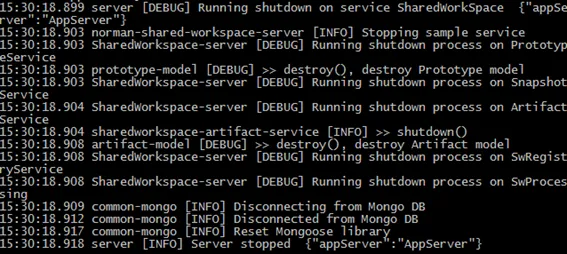
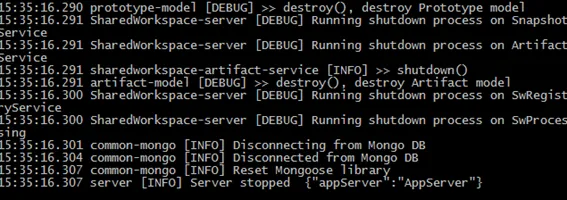
Result
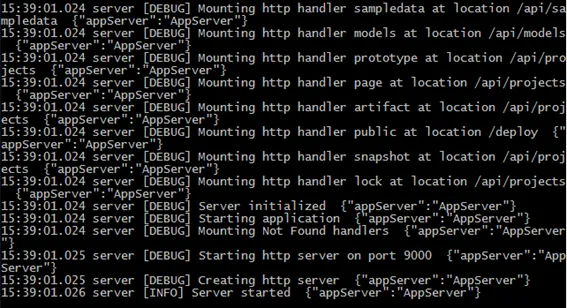
Note the final line stating: Server started.
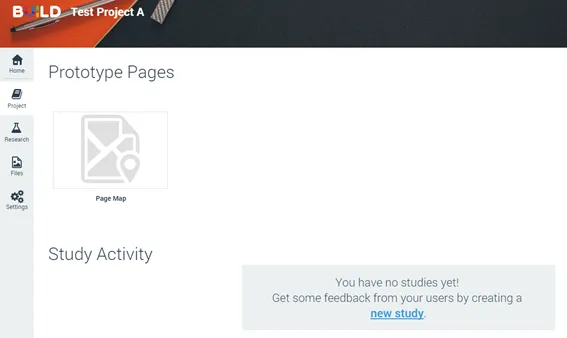
Access BUILD
This means that the http server is running at default port 9000 on localhost. Access it on Chrome.
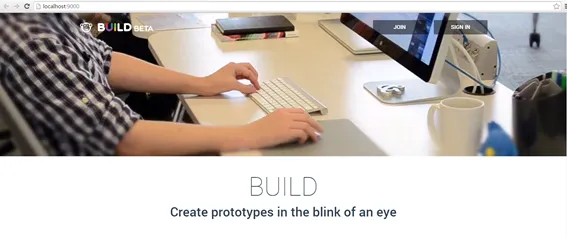
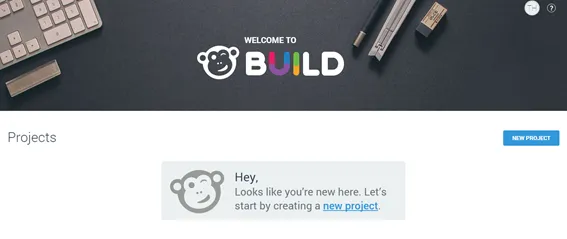
Click on join to create an account. Afterwards, create a new project
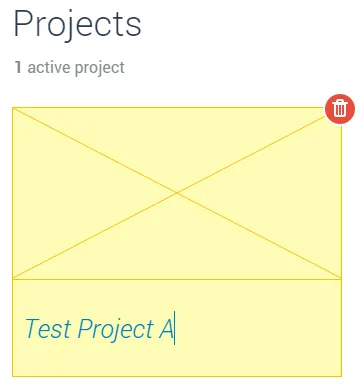
-
Enjoy BUILD
Have fun.