After installing OCSP component in Windows, it is time to configure the service: how OCSP requests are going to be handled; from where to receive the CRL, specify OCSP certificate, etc.
-
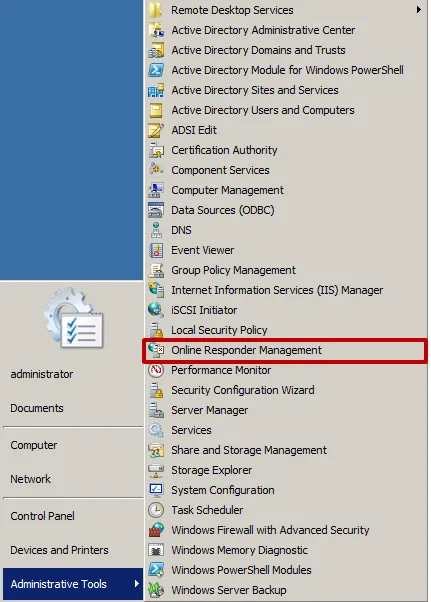
Open the Online Responder snap-in.
-
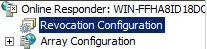
Click on Revocation Configuration.
-
The list of available configuration is empty.

-
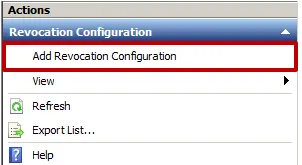
Add a new revocation configuration.
-
The configuration wizard opens.

-
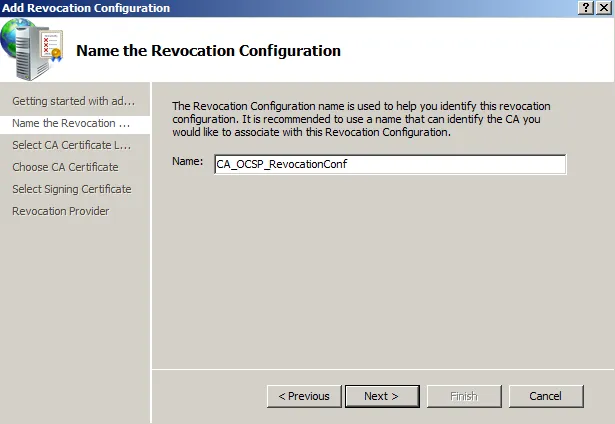
Give a name for the new configuration.
-
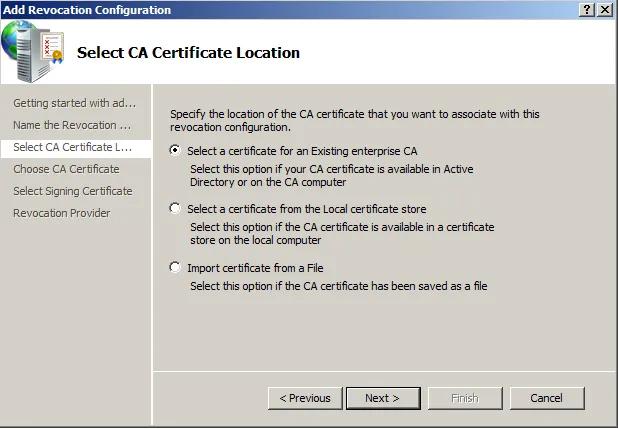
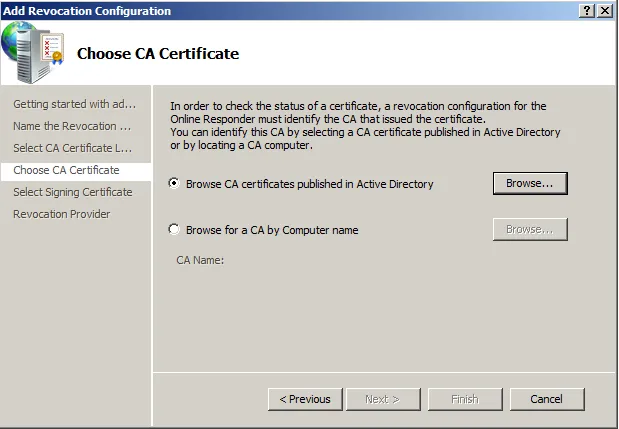
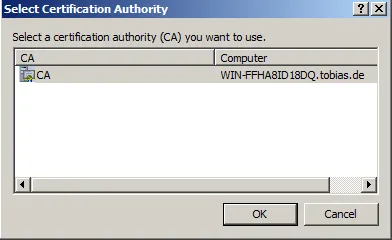
Inform the location of the CA. My CA is a Windows Enterprise CA, so its configuration is stored in the AD.
-
Give the information of the signing certificate. Just leave the default values.

-
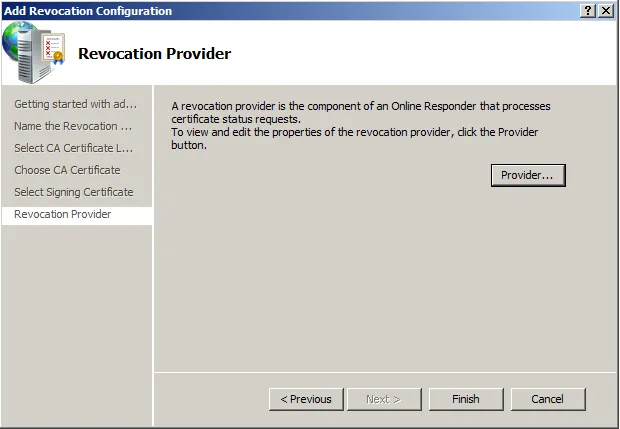
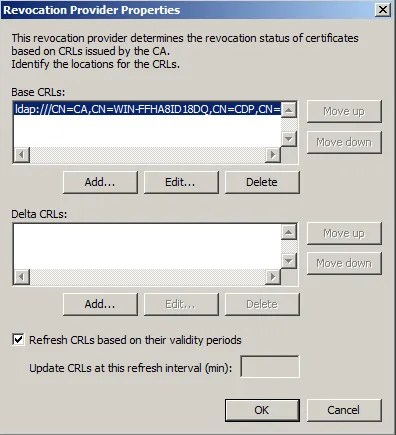
Configure the provider. That is, where OCSP can retrieve the information of revoled certificates.
-
I am using the AD for obtaining this information.
-
After this, the necessary information for the provider is given and the wizard can start with performing the actual configuration.


-
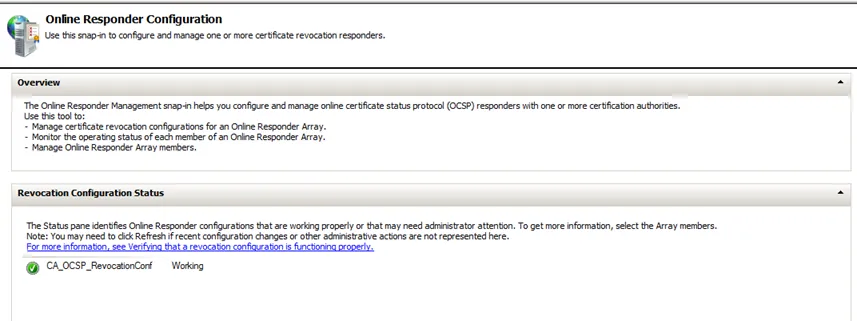
This ends the wizard. Afterwards, the status can be seen in the pane.