To be able to sign your app and let an external build tool like Microsoft AppCenter upload it to iTunes Connect, you need to provide two files:
- Certificate: iOS Distribution
- Provisioning Profile: App Store
Microsoft provides technical documentation on how to get the code signing certificates 🔗 and how to upload them to your build pipeline 🔗. I’ll try to add more explanation and screenshots to make it easier to get both files. This blog is for the provisioning profile.
Provisioning Profile
There are two ways to get the provisioning profile:
- XCode automatically generates one
- You create it manually
In case a single developer does everything from coding to uploading to the App Store from the MAC, it’s a good idea to let XCode handle the provisioning profile. For more complicated use cases like an external build pipeline, creating the profile manually is better or let the pipeline tool do everything for you (fastlane). Let’s take a look at each alternative.
Automatic
In case of letting XCode handle automatically the provisioning profile, it can be found on your MAC. Go to folder:
~/Library/MobileDevice/Provisioning Profiles/

I have there three provisioning profiles. To know which one to use, I deactivate and activate the automatic code signing in XCode.

Uncheck and check again the option. XCode recreates the provisioning profile and the correct one is the newly created file.

Manual
To create the provisioning profile manually, log in to Apple Developer Center 🔗. From the initial page to final profile it’s just 8 steps. You create a provisioning profile for an app and associate a distribution certificate to it. Only certificates assigned to the profile can be used to sign the app. Therefore, you need to create a new provisioning profile in case you add or change a distribution certificate.
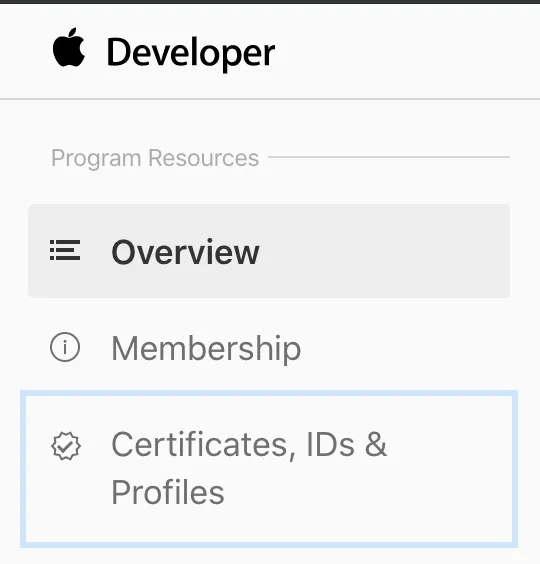
- Go to Certificates, IDs & Profiles.
- Go to section Provisioning Profiles

- Create a new profile.

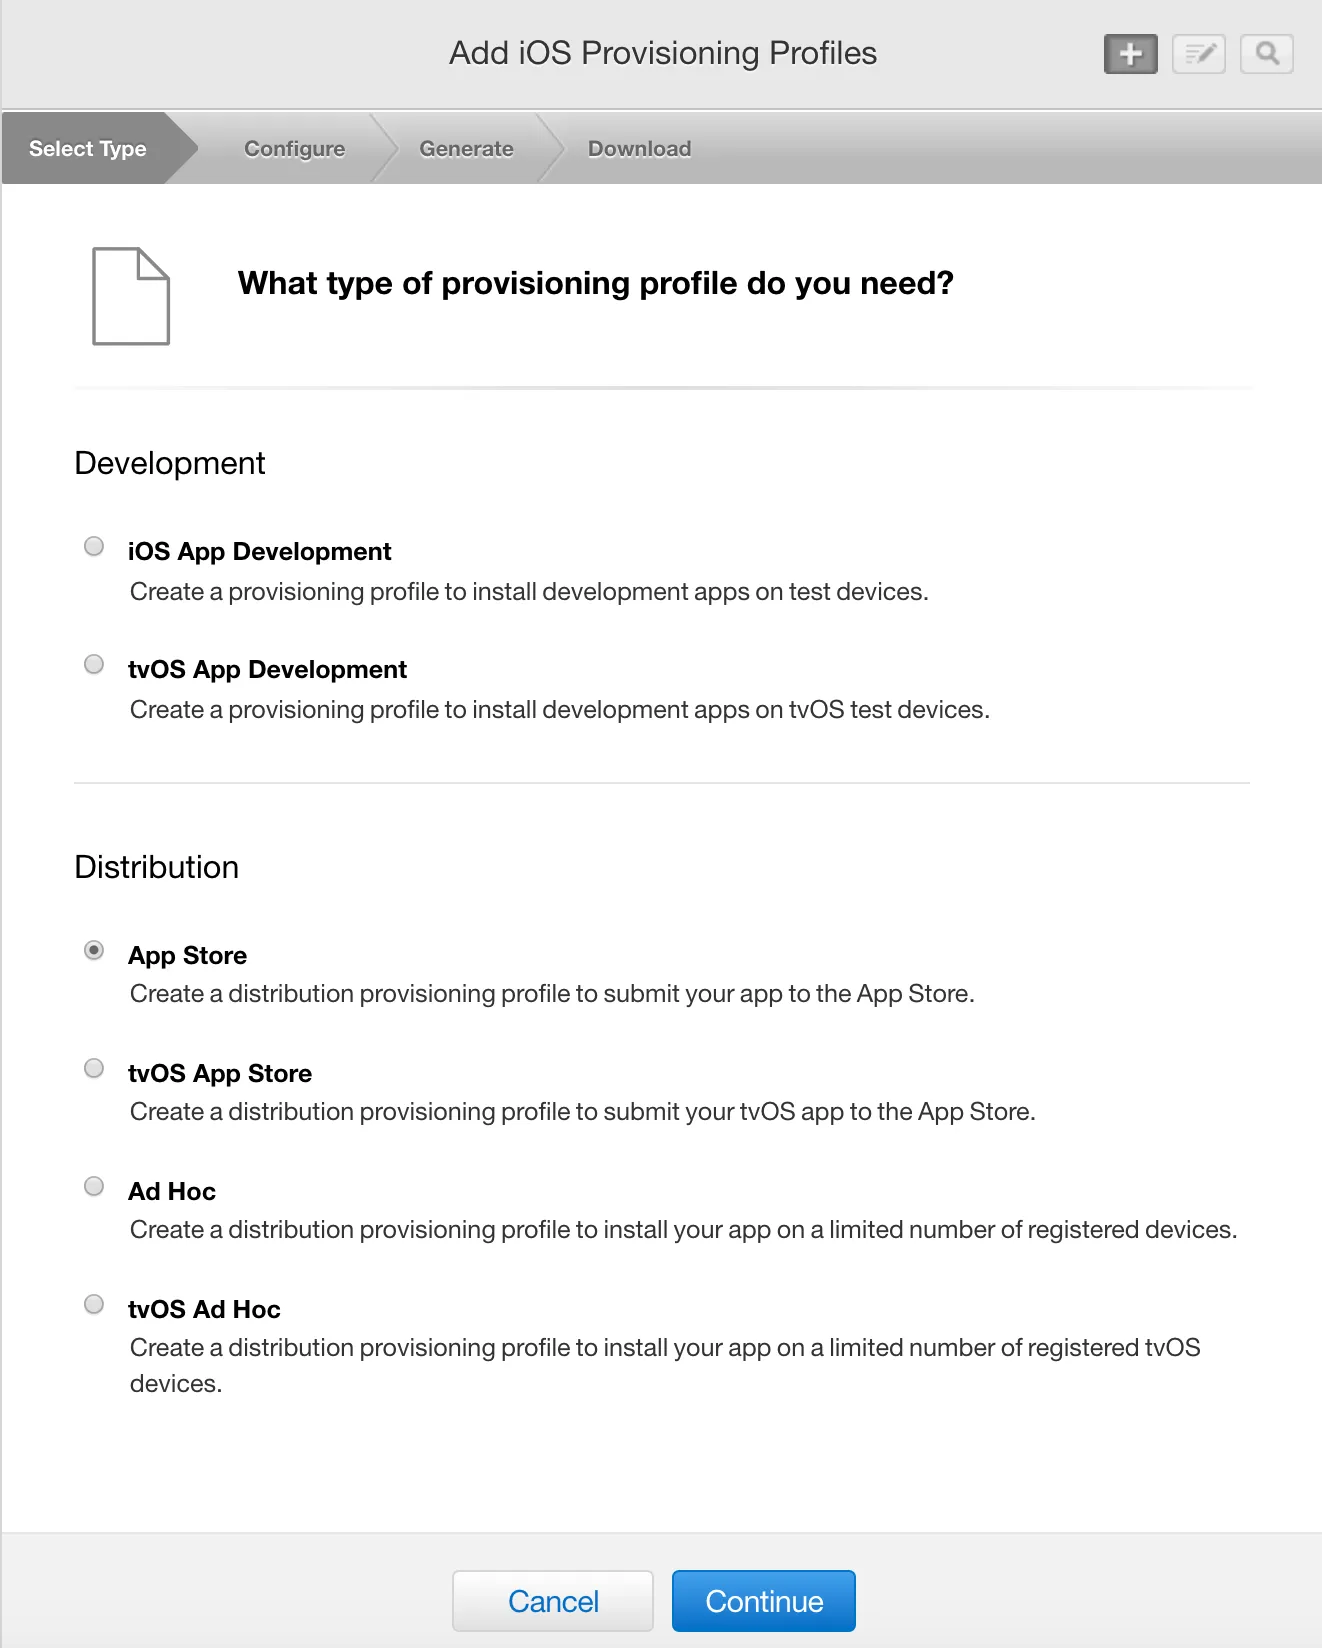
- Select type
Select App Store, as the profile will be used to publish the app to the Apple App Store / Connect.
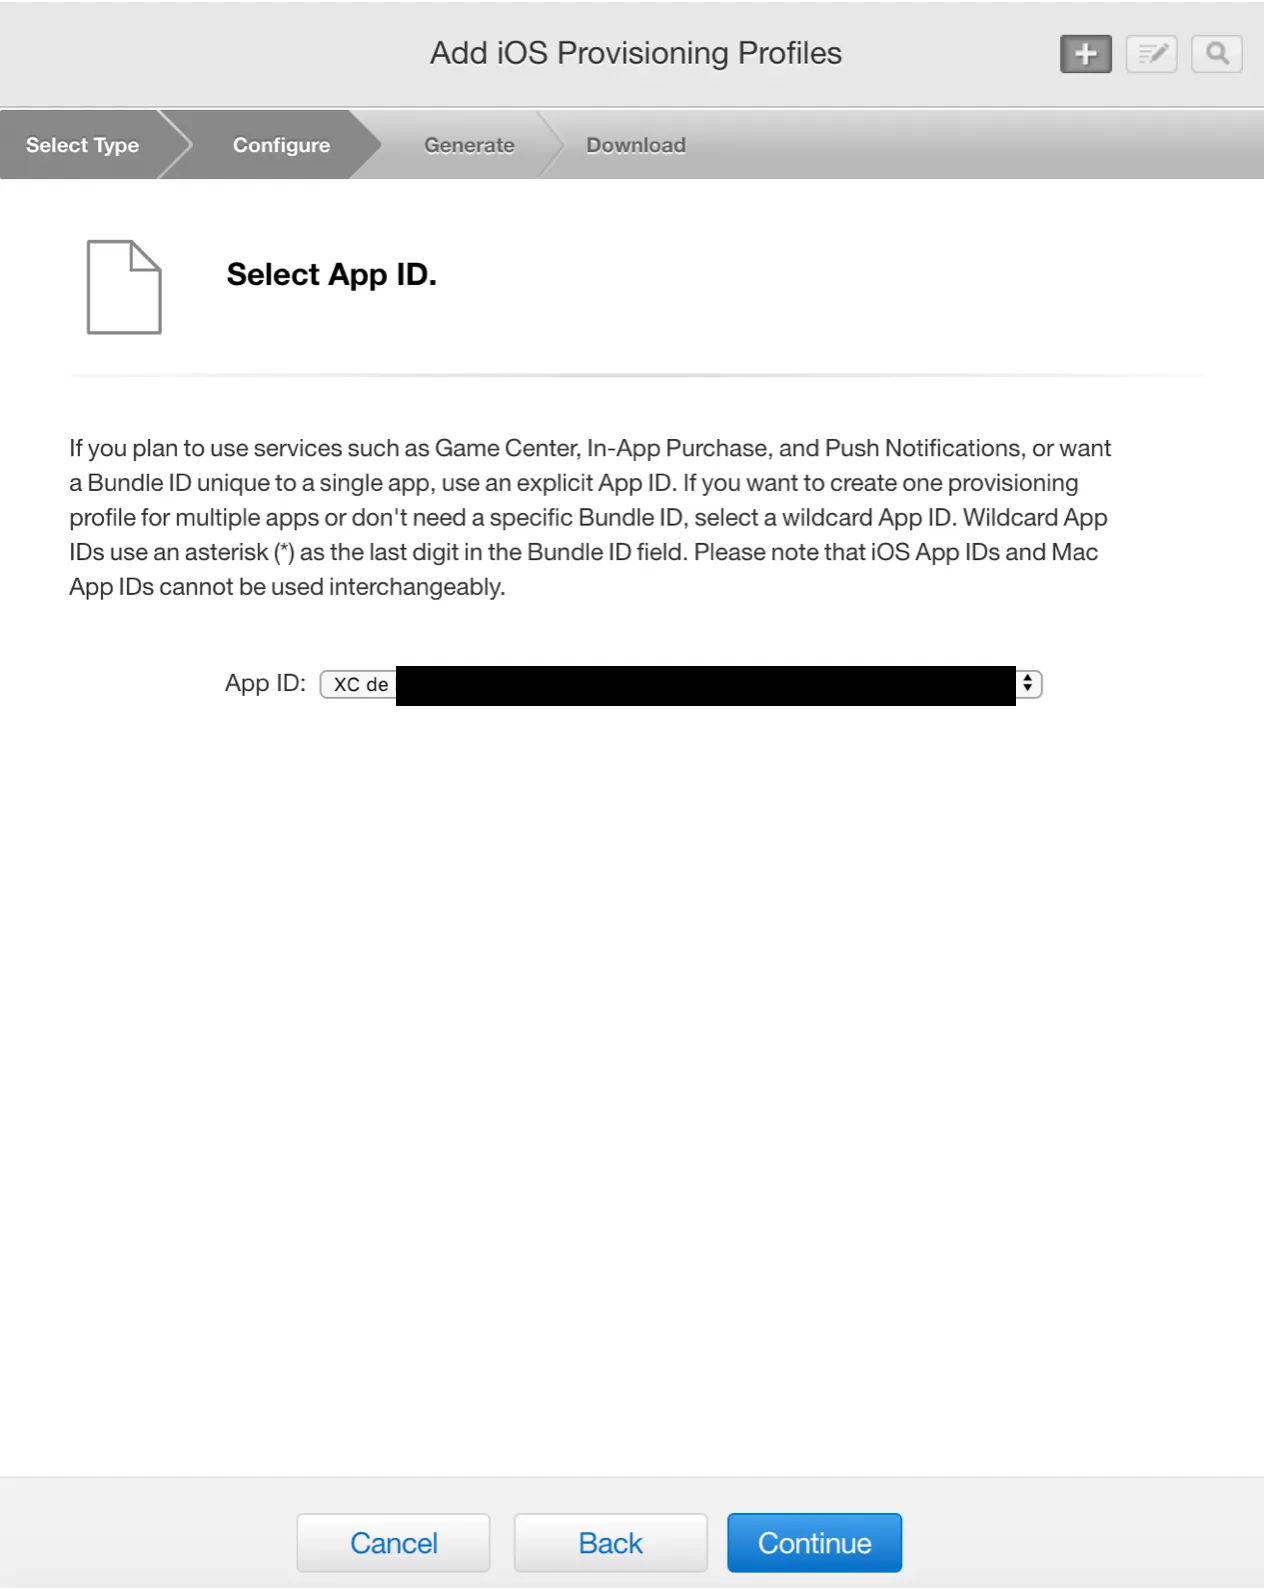
- Select the app.
Select the App Id you want this provisioning profile. This is the bundle id used in XCode (namespace). The profile will only be valid for apps using that App Id.
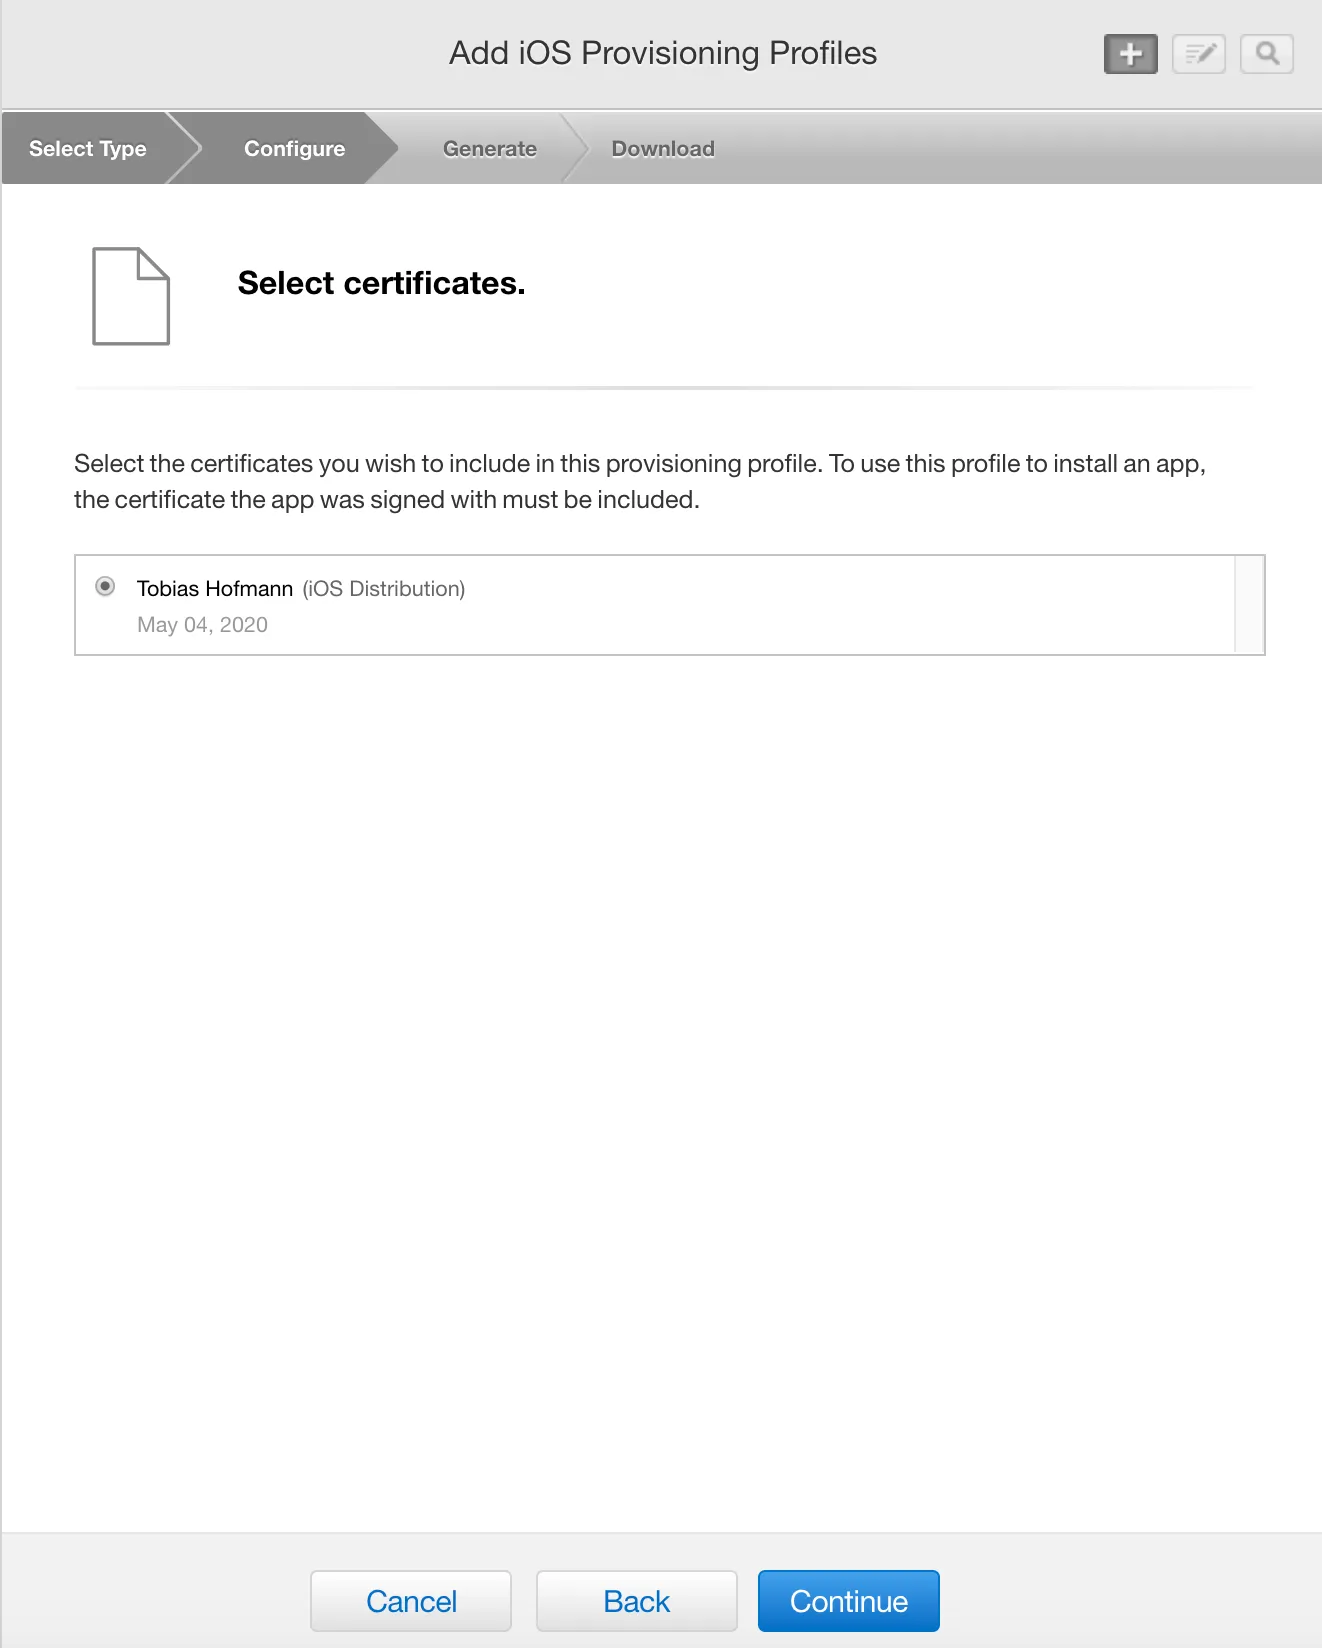
- Select the developer certificates
The certificates added here can be used together with the profile. If your distribution certificate is not listed, you cannot sign and publish the app using the profile.
- Name profile
Give a unique name to the provisioning profile.

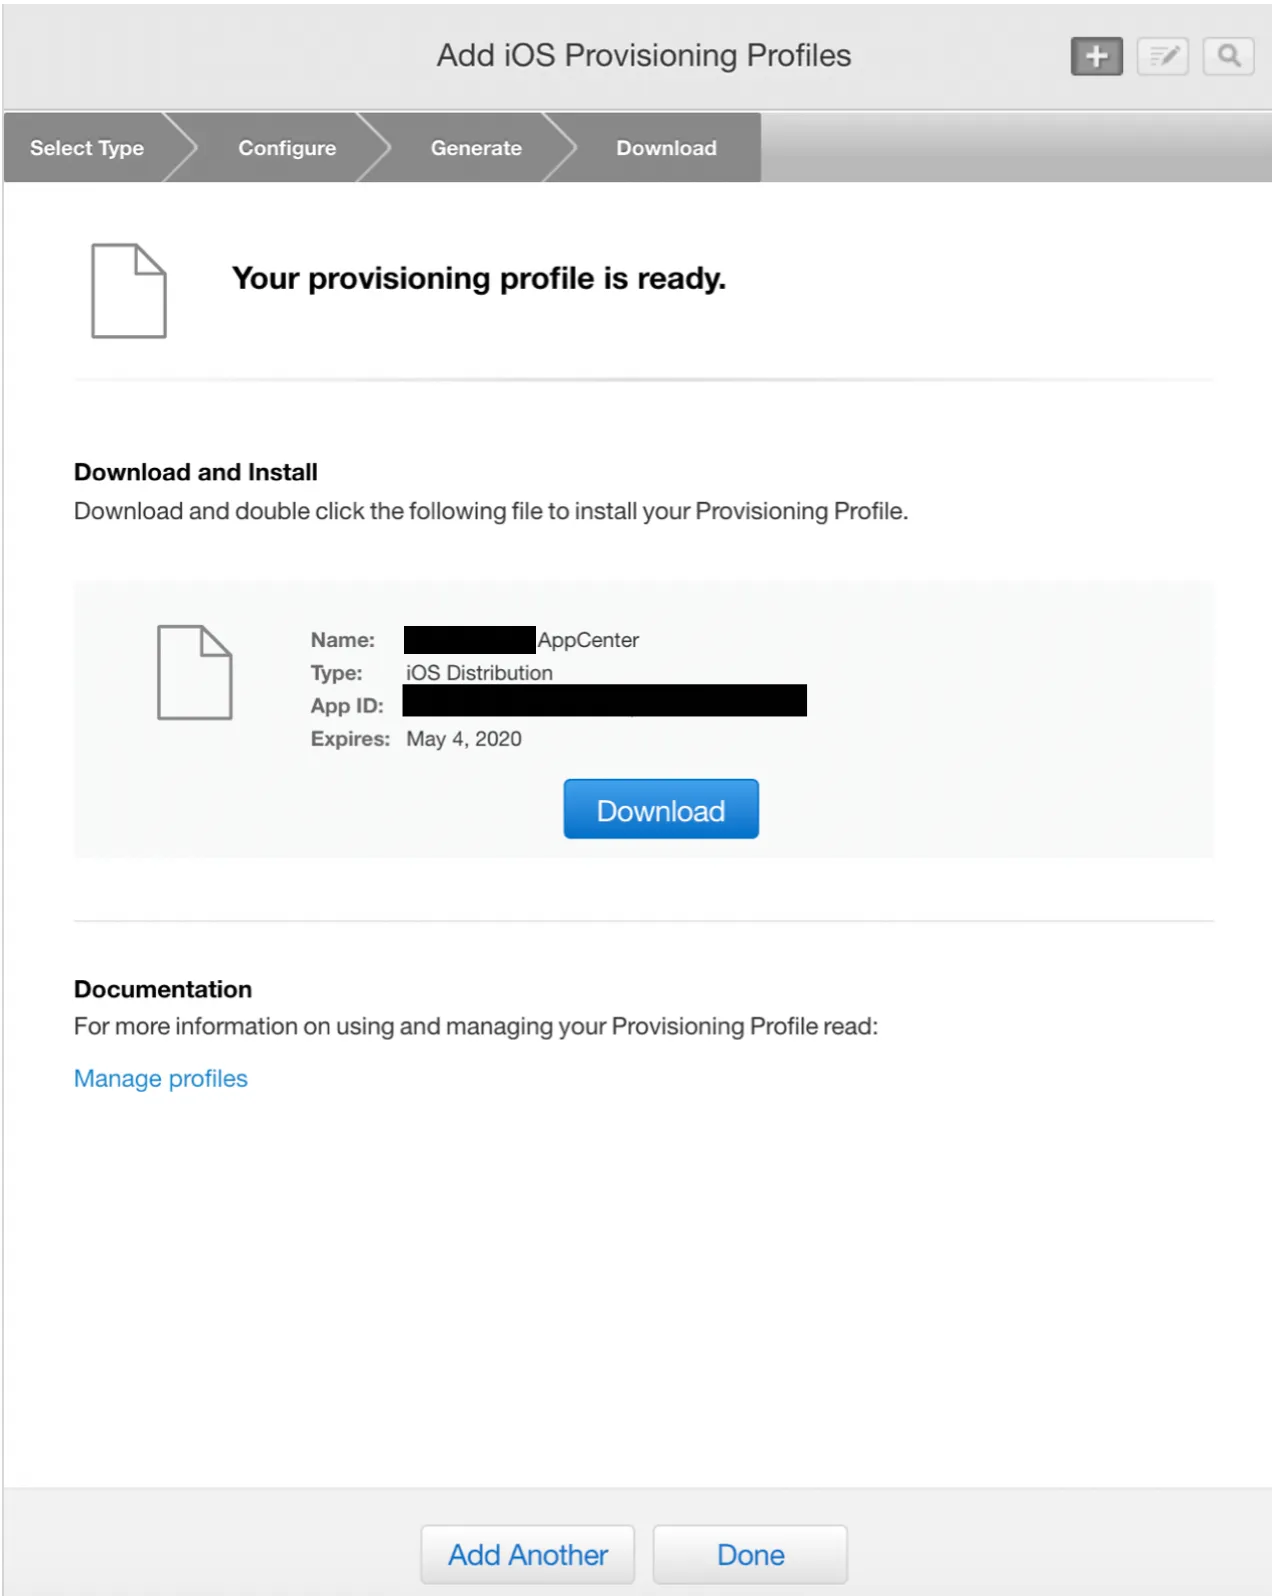
- Download
The profile is now generated and can be downloaded.
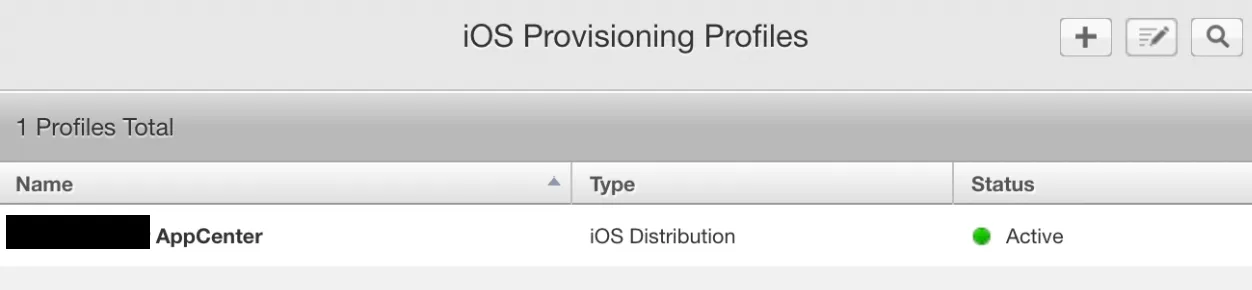
The new provisioning profile is listed in the Apple Developer Center.