

In this step a new SAML 2.0 client is created in Keycloak by importing the Gateway SP metadata. After activating and configuring SAML 2.0 in Gateway, a Service Provider (SP) was created. A metadata file for that SP is available at the saml2 Web Dynpro ABAP application. This metadata file needs to be exported and imported in Keycloak.
SAML 2.0 is based on trust between the IdP and SP. The trust is established by importing the metadata of the other endpoint. To establish the trust, you import the Keycloak IdP metadata in Gateway and the Gateway SP metadata in Keycloak.
Export Gateway SAML 2.0 Service Provider metadata
Tx: SAML2
Click on Metadata.

Select what to include in the metadata file. You can keep all options selected.
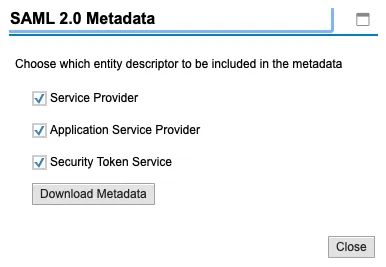
This will start the download of the SAP Gateway SAML 2.0 Service Provider metadata file. A sample metadata file 🔗 for Gateway as SAML 2.0 SP can be found in my GitLab repository 🔗.
Add SAML 2.0 SP Client in Keycloak
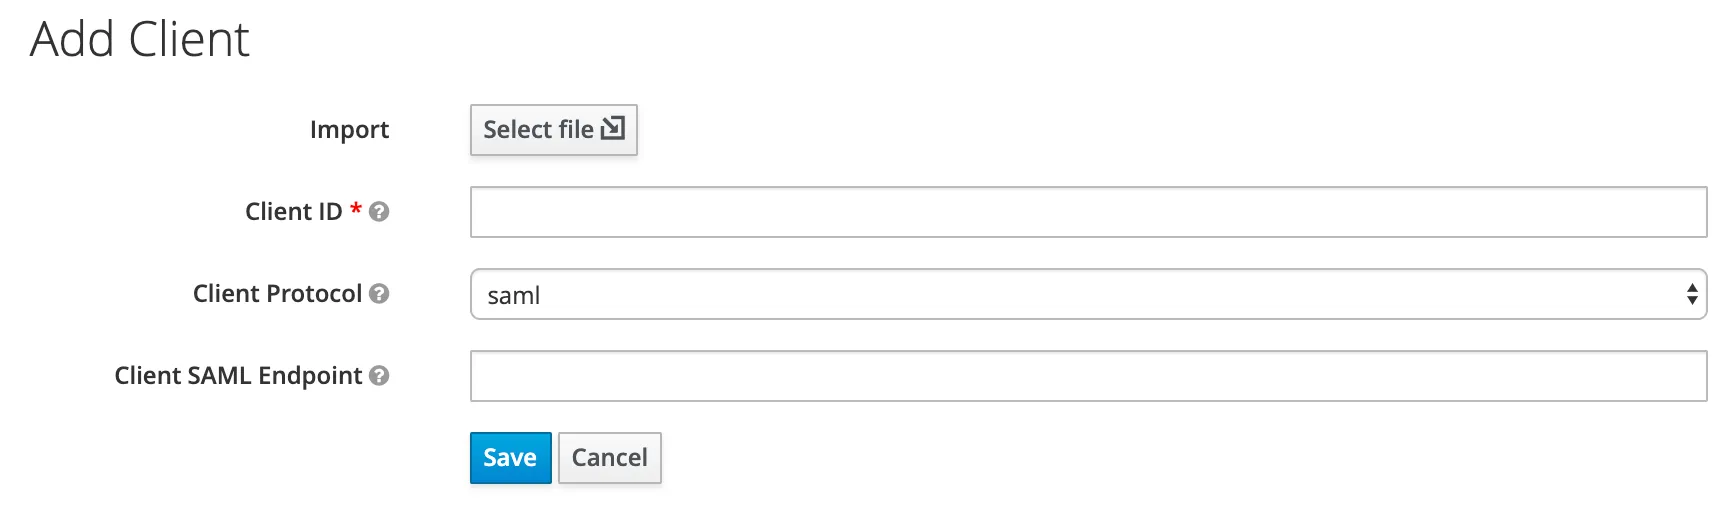
Log in to Keycloak admin console and create a new client.
Client Protocol: saml
Import: import SP Metadata xml file
After uploading the previous obtained SAP Gateway SAML 2.0 SP metadata, the client information is automatically filled out.
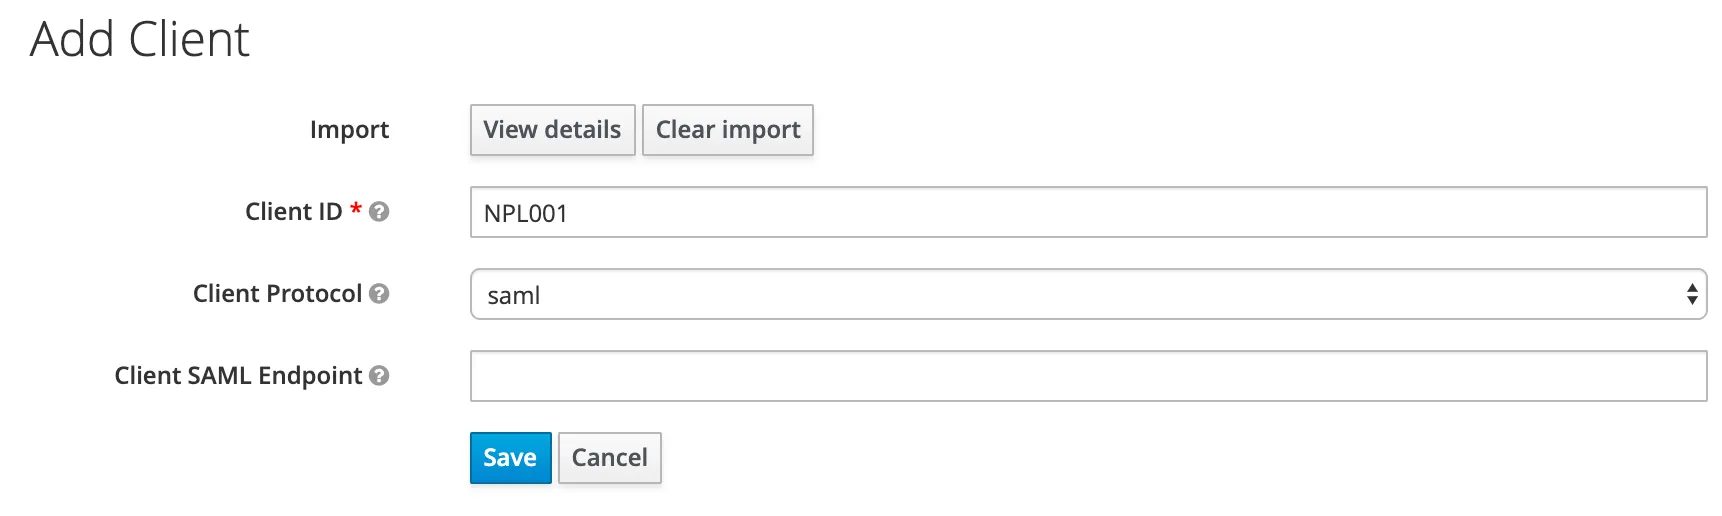
Save
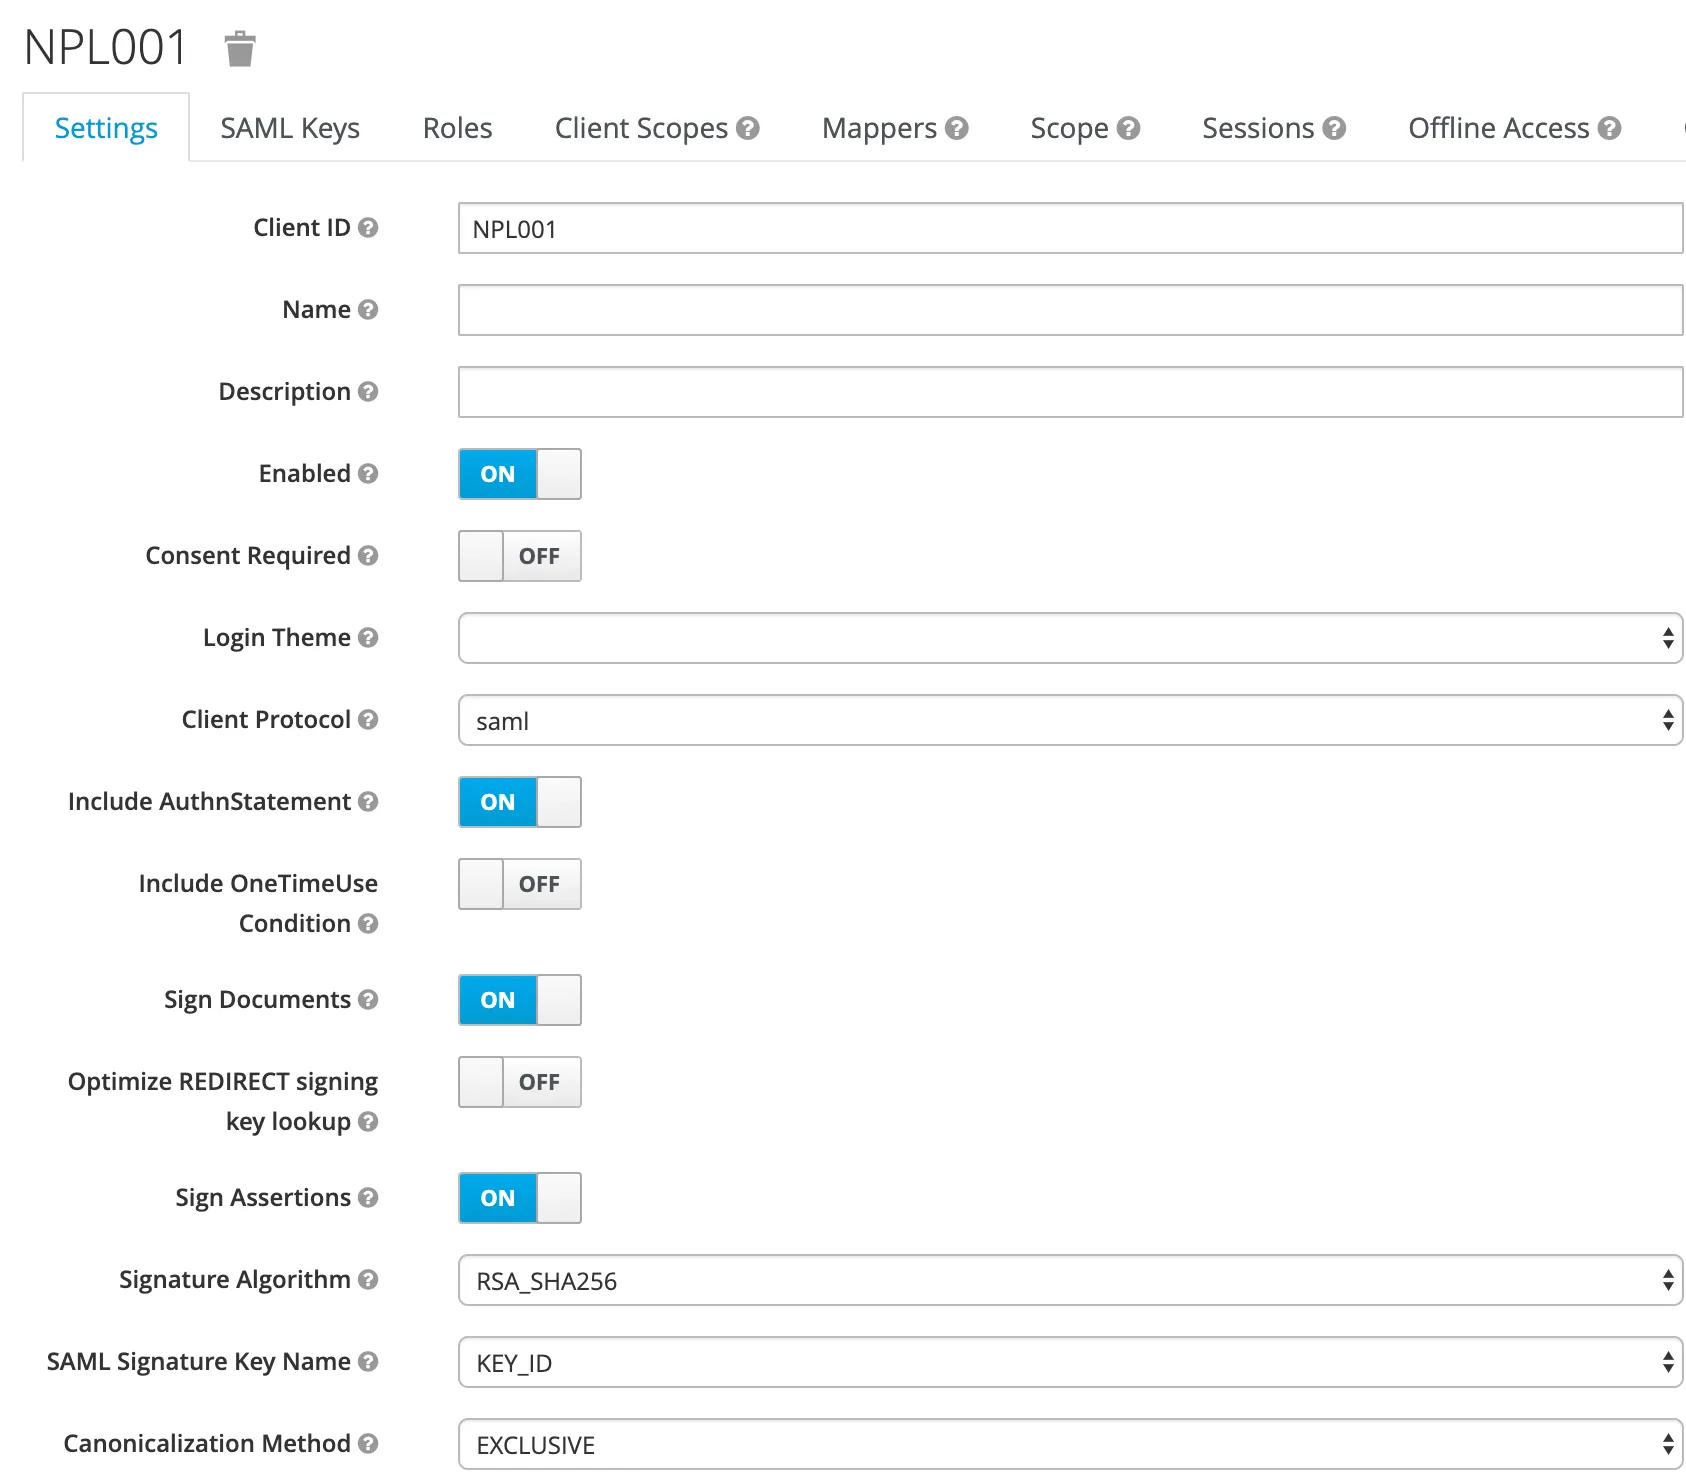
The SAML 2.0 client is created and the configuration screen is shown. Here you can configure the client to meet your specific requirements. Normally keeping most values at default should work. Some options you have to configure:
Name ID Format: username
Valid Redirect URIs: /*
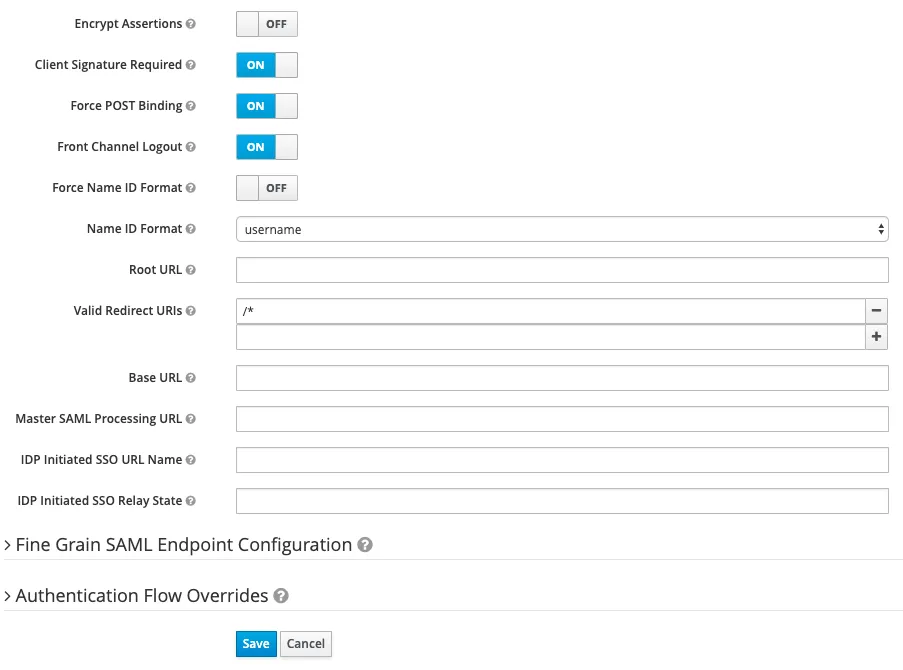
Note
To be able to read the Assertions, do not encrypt them. That is: you as a person. In a secured environment, these should be encrypted.