Subsonic on Raspberry Pi
About Subsonic
“Subsonic is an open source, web-based media server. It is written in Java, so it can run on any operating system with Java support. Subsonic supports streaming to multiple clients simultaneously, and supports any streamable media.” (Source: Wikipedia)
My first contact with Subsonic was several years ago. If memory serves me right, it was around 2008 when I was looking for a media software that can be accessed from remote. At that time, Subsonic and the internet didn’t serve me well enough in Rio de Janeiro to continue my endeavor with Subsonic. Only in 2015 I came back to it, thanks to Raspberry Pi. This combination gave me a new look at media access. Up to now the experience I have is good enough to make me want to share it with others. If you want to stream your private music collection without spending money on a cloud based server / service, this blog may be for you.
Pre-Requisites
Install Java 8
Subsonic wants Java 8, and Java 8 is available for Raspberry Pi. You can also download it form the Oracle Java website. The version you need is the one compatible with the Raspberry Pi processor: jdk-8-oracle-arm-vfp-hflt. Or you install it using aptitude.
Command: sudo apt-get install oracle-java8-jdk
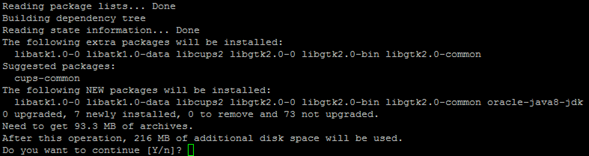
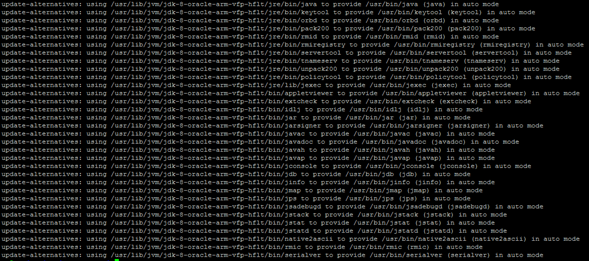
This downloads the required packages

Afterwards, Java 8 is configured.
To test if Java 8 is available and correctly installed, just call Java.
Command: java –version

The output shows that Java 8 is installed. Congratulations!
Set JAVA_HOME
Java is installed, but for applications to know where to find it, an environment variable is used: JAVA_HOME. This variable points to the install dir of Java. To not have to configure this for each user, the configuration can be made global to all. The above command installed Java 8 at this location: /usr/lib/jvm/jdk-8-oracle-arm-vfp-hflt
Command: sudo vim /etc/environment
Insert JAVA_HOME=/usr/lib/jvm/jdk-8-oracle-arm-vfp-hflt

Installation
Download SubSonic
Subsonic can be downloaded from the Project homepage: http://www.subsonic.org/pages/download.jsp
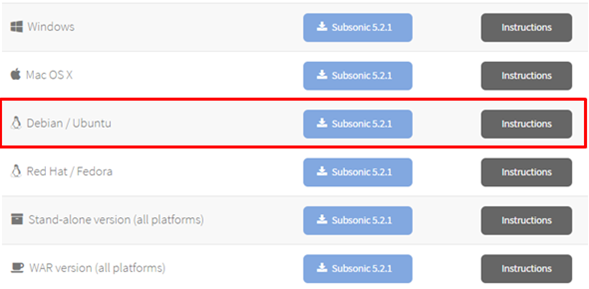
Click the link to go to the download page and copy from there the actual download link and use wget to download it from Raspberry Pi.
Command: wget –O http://downloads.sourceforge.net/project/subsonic/subsonic/5.2.1/subsonic-5.2.1.deb

In case the file wasn’t saved as subsonic-5.2.1.deb, rename it. You do not have to, but it makes things easier.
Install Subsonic
The file downloaded above is a deb file. These files are meant to be used by the debian package manager and contain the actual file to be installed and dependencies.
Command: sudo dpkg -i subsonic-5.2.1.deb

This installs and already starts subsonic. To see the output log:
Command: sudo tail /var/subsonic/subsonic_sh.log

Not exactly what we want, as now sSubsonic is already running, but not configured. To stop subsonic:
Command: sudo /etc/init.d/subsonic stop
Subsonic stores its data in default folders. By default, for Debian it is /var/subsonic. Because subsonic was already started, this folder is created and filled with content, using the default subsonic user: root (yep, BAD, very BAD!).
Configuration
Subsonic will be run in the background at start as a service. For this to work, a subsonic user needs to be configured.
Create user
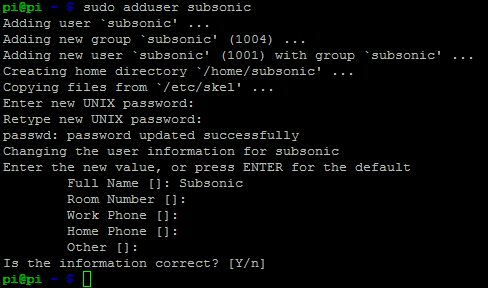
Command: sudo adduser subsonic
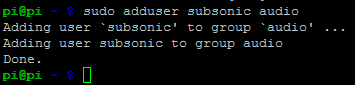
Add the user to the audio group, in caes you want subsonic to output audio.
Command: sudo adduser subsonic audio
How to make subsonic use that user and run under that user id and not as root? The user information is stored in the default subsonic configuration file: /etc/default/subsonic.
Command: more /etc/default/subsonic
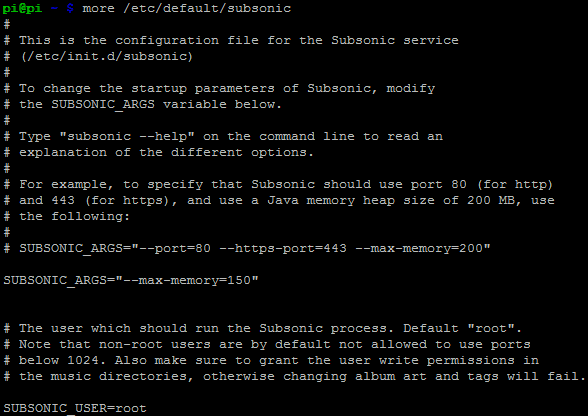
The last line must be changed to: SUBSONIC_USER=subsonic

Permissions
Make user subsonic owner of /var/subsonic
Command: sudo chown subsonic:subsonic /var/subsonic –Rv

Reverse Proxy
Subsonic can now be accessed, but I want to be able to access it through my standard web site (this one). I want to do that without having to do much port forwarding or virtual hosts. The easiest solution is to make use of Apache as a reverse proxy.
Change URL
As subsonic will be run from behind a reverse proxy, the standard URL will be different: the URL used will be /subsonic. Therefore, the configuration of subsonic must be made aware of that. To find out the correct parameter, take a look at which parameters Subsonic supports.
Command: subsonic –help
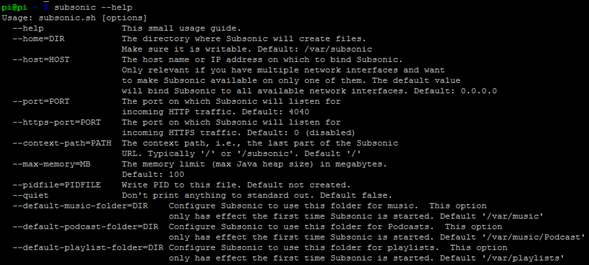
The parameter is context-path. This parameter must be added to the config file.

Configure Apache Reverse Proxy
Add the following RP rules to the config file of the virtual server:
- ProxyPass /subsonic http://localhost:4040/
- ProxyPassReverse /subsonic http://localhost:4040/
In my case, it is default-ssl

For reverse proxy to work, the module must be enabled.
Command: a2enmod proxy_http
Restart Apache
Command: sudo apache2ctl restart

That’s it from the Apache as reverse proxy part. Subsonic is already configured to use the new URL and Apache is ready.
Start subsonic
To be able to use Subsonic from the internet, just start it and check that everything is working correctly. Start subsonic:
Command: sudo /etc/init.d/subsonic start
Check pid:
Command: ls -alh /run/subsonic.pid

- Created as user subsonic
Check process:
Command: ps -ef | grep subsonic

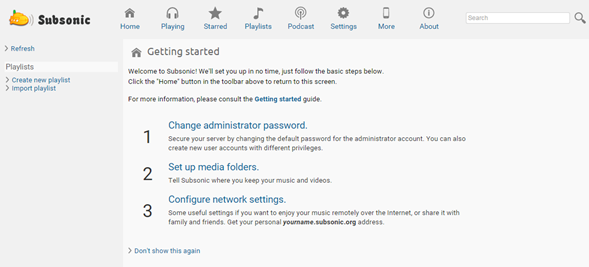
Use Subsonic
Log on to Subsonic.
Advanced features
Transcoding
It may be useful to transcode some music files on the fly. For instance, when the consumed bandwidth is too high, FLAC is used or when the user is accessing Subsonic over a low bandwidth network like 4G in Brazil. Subsonic allows for automatic transcoding of files. This feature can be activated for each user and the sampling limit can also be specified. It is therefore possible to define a user for mobile client usage and specify a max bitrate of 128 Kbps for him. The max bandwidth is defined in the user section of the configuration settings.
User settings


Transcoding settings
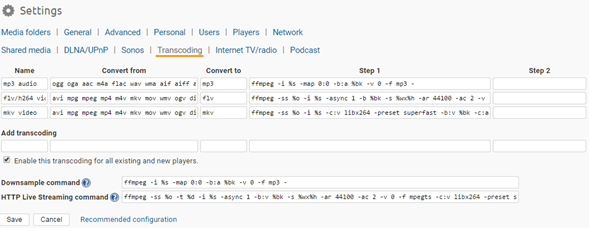
The programs ffmpeg and lame are installed automatically when Subsonic was installed via Debian package manager.
0 Comments