Afaria Setup 10.2 – Install Afaria 7 – Afaria Server
The steps to install SAP Afaria 7 are:
- Download installation package and install license
- SAP Afaria Server
- SAP Afaria API Service and Administrator
- Afaria Admin
- Self Service Portal
- Enrollment Server
- Package Server
- SCEP Plugin-in module
This document is about step 2.
Install SAP Afaria Server
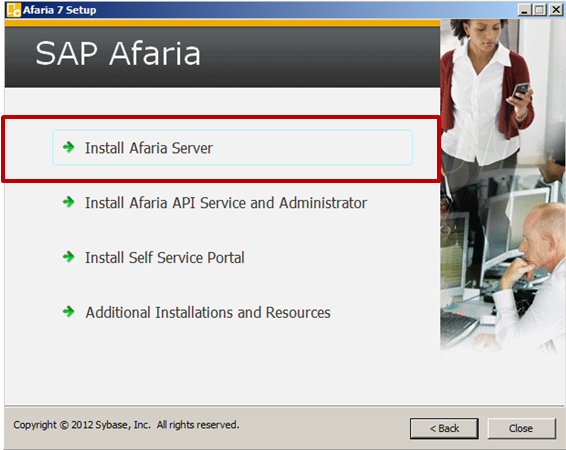
Select Install Afaria Server
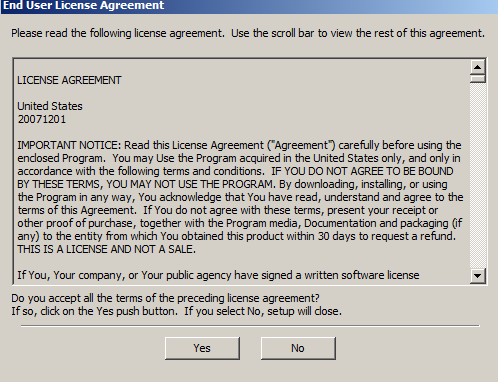
Agree to the EUL.
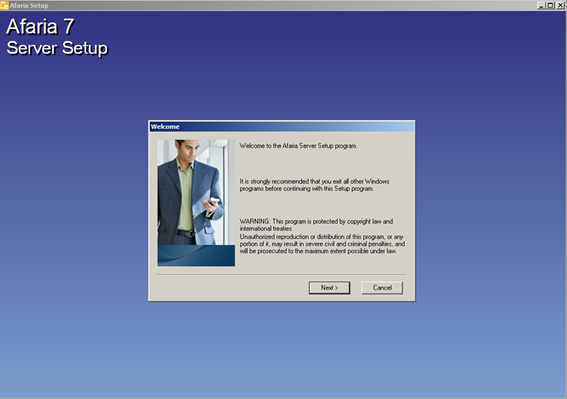
The Afaria 7 Server Setup wizard starts.
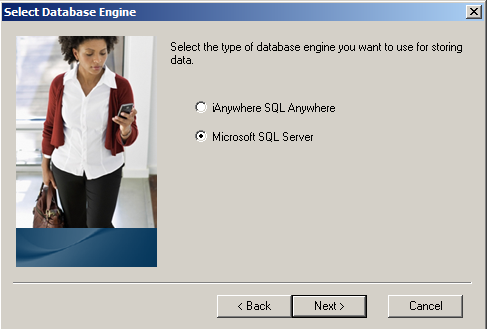
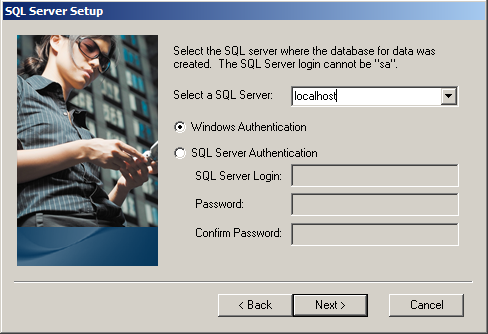
Database
- Select: Microsoft SQL Server
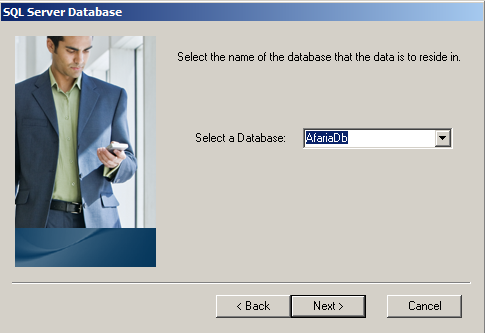
Inform SQL Server data. This data must match what was configured earlier on SQL Server!
- Server: localhost
- Authentication: Windows Authentication
- Database: AfariaDB
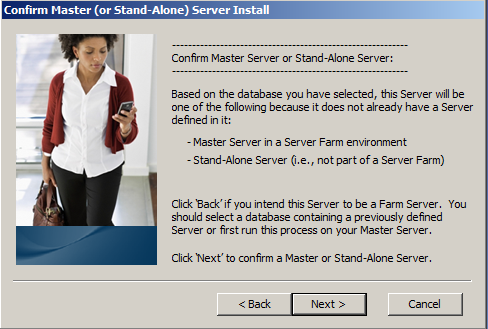
SAP Afaria server type will be master server.
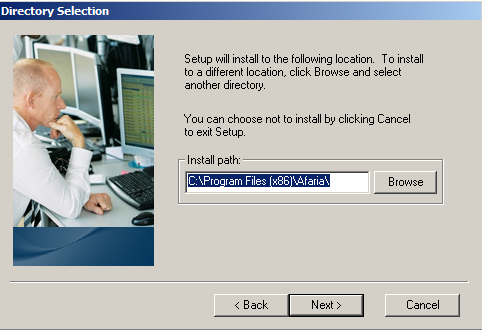
Location
Installation directory. Leave the value to standard.
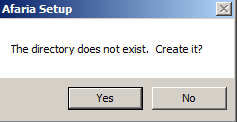
Create the directory.
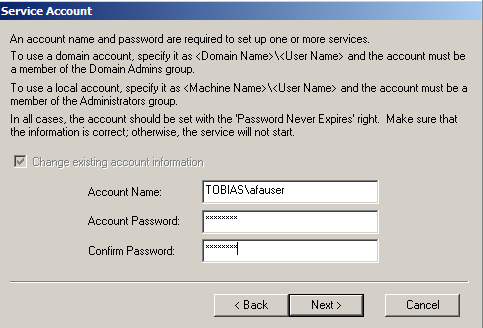
Service Account.
Inform the user data of the afauser created earlier.
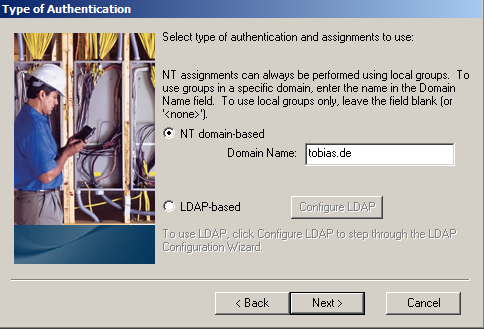
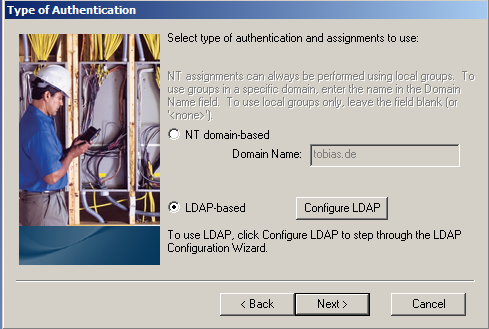
Type of authentication
Here you have two options: Windows domain or LDAP based. It depends on where you created the afauser or what your company uses. In my case it does not really matter, as the AD is a LDAP server and Afaria is part of the same domain as the AD, so both options are valid.
- NT domain based: your domain.
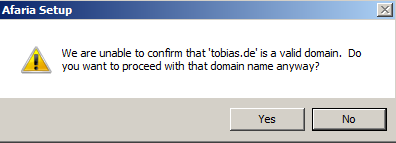
In case you get a warning about the domain: Confirm the domain.
- Select: Yes
- NT domain based: ldap
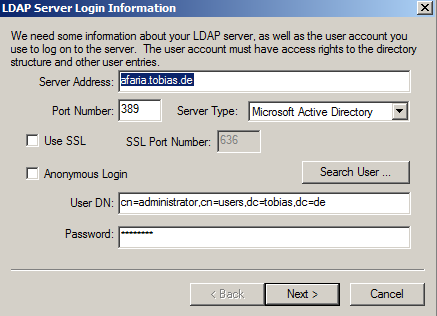
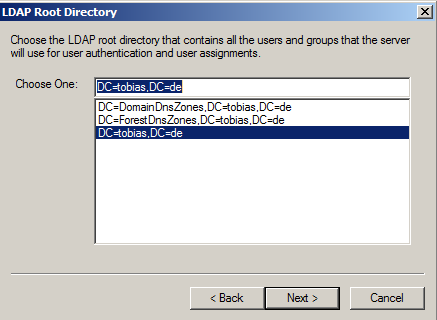
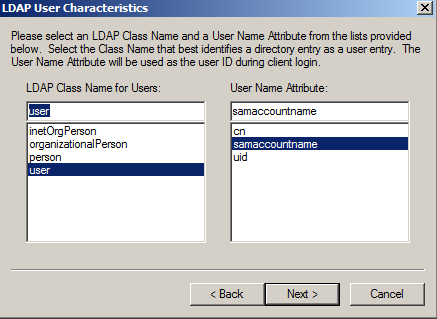
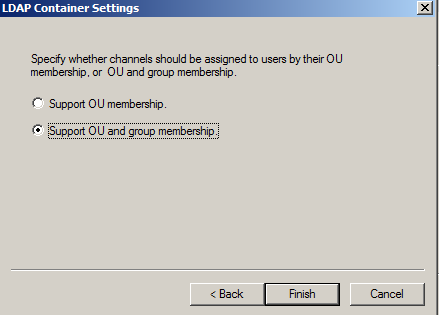
Inform the connection data of LDAP server. The following information is to connect to Active Directory.
- Server Address: FQDN of LDAP server (Afaria.tobias.de)
- Port: 389 (standard port LDAP, no security)
- Server Type: Microsoft Active Directory
- User DN: cn-administrator,cn-users,dc-tobias,dc=de

0 Comments