Afaria Setup 10.5 – Install Afaria 7 – Self Service Portal
The steps to install SAP Afaria 7 are:
- Download installation package and install license
- SAP Afaria Server
- SAP Afaria API Service and Administrator
- Afaria Admin
- Self Service Portal
- Enrollment Server
- Package Server
- SCEP Plugin-in module
This document is about step 5.
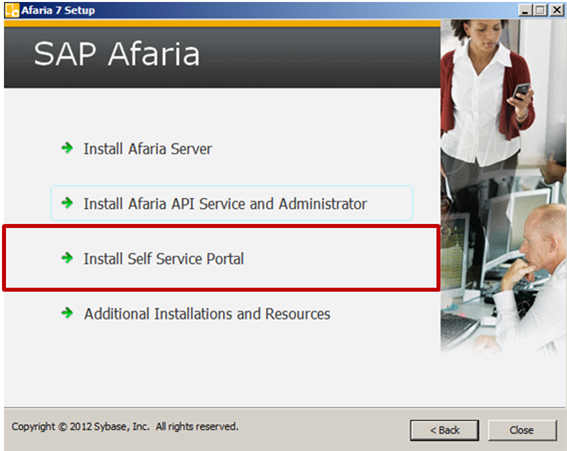
Self Service Portal
The next component to be installed is the Self Service Portal. This is a web page hosted by IIS that allows the end user to register themselves to Afaria. Access will be done through HTTP and as users will share confidential data with the server, SSL is a must.
While SSL was installed in IIS, access to the server using HTTP (without SSL) was not blocked. This is why the installer shows a warning message. As always: do not do this in a production environment, secure access to your Afaria server!

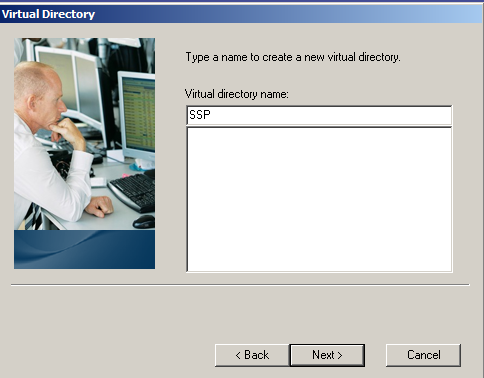
IIS configuration
- Name of virtual directory: SSP
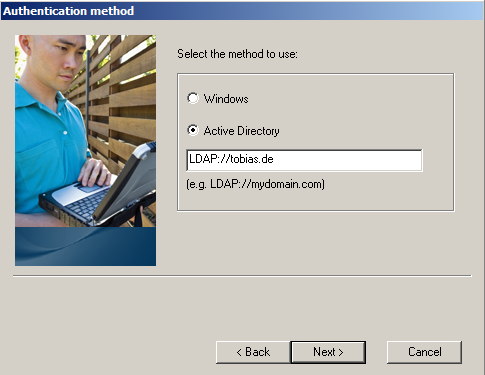
Authentication
Authentication: Active Directory
Active Directory: LDAP://tobias.de
Note: this actually depends on your environment setup. In my case, IIS is configured to authenticate against AD.
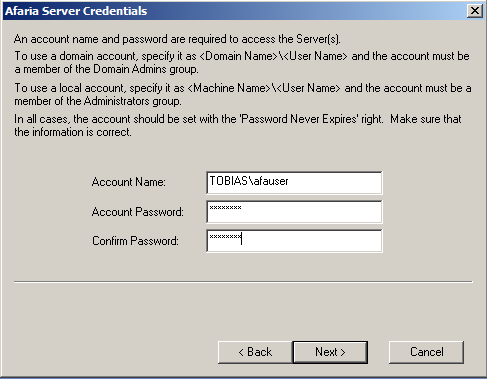
SAP Afaria service account credentials
- Account name: afauser (created earlier)
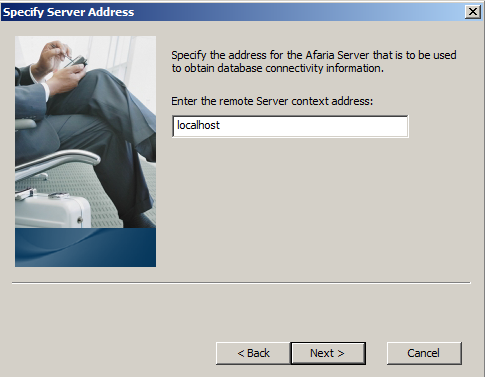
Database connection
Will be localhost as this is not a cluster installation and every Afaria component runs on the same server.
Remote Server: localhost
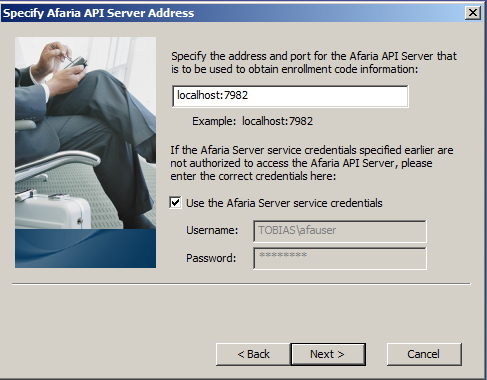
SAP Afaria API Server
- Server: localhost:7982
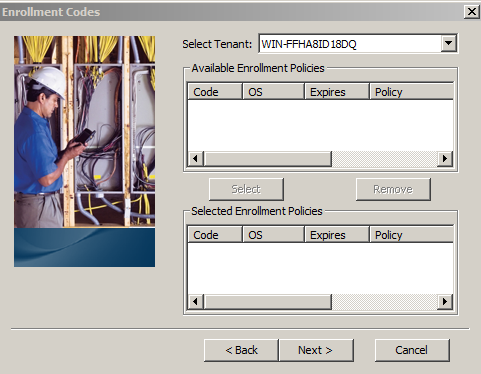
Enrollment codes
This should be empty as it is a first installation. In upgrades, enrollment codes from client may appear.
Start installation

After the installer ends, the Self Service Portal is installed and configured.
0 Comments