Import OVA as Proxmox VM

Published by Tobias Hofmann on

3 min read

OVA is a virtual appliance, ready to run on a hypervisor. With an OVA file, you can import the image into VirtualBox, VMWare, etc and all needed information is loaded from the file and you can start the VM. This works as long as your hypervisor is capable of reading an OVA file. Proxmox does not understand OVA, and you cannot use the image out of the box. Reading the provided VM definition is not possible. As an OVA file contains the VM disk, you can add the disk to a VM.

First, create a new virtual machine definition in Proxmox. You are going to import the disk image from the ova file, not the virtual machine definition. Therefore, you must first create a VM, this creates the necessary information in Proxmox, and then you are adding a disk to this VM.

The overall steps to add OVA image to Proxmox are :

  1. Create VM
  2. Delete associated disk
  3. Import OVA
  4. Assign OVA to VM

Create a new VM definition

In Proxmox, add a new VM. Note the VM ID. You need this later when importing the OVA disk.

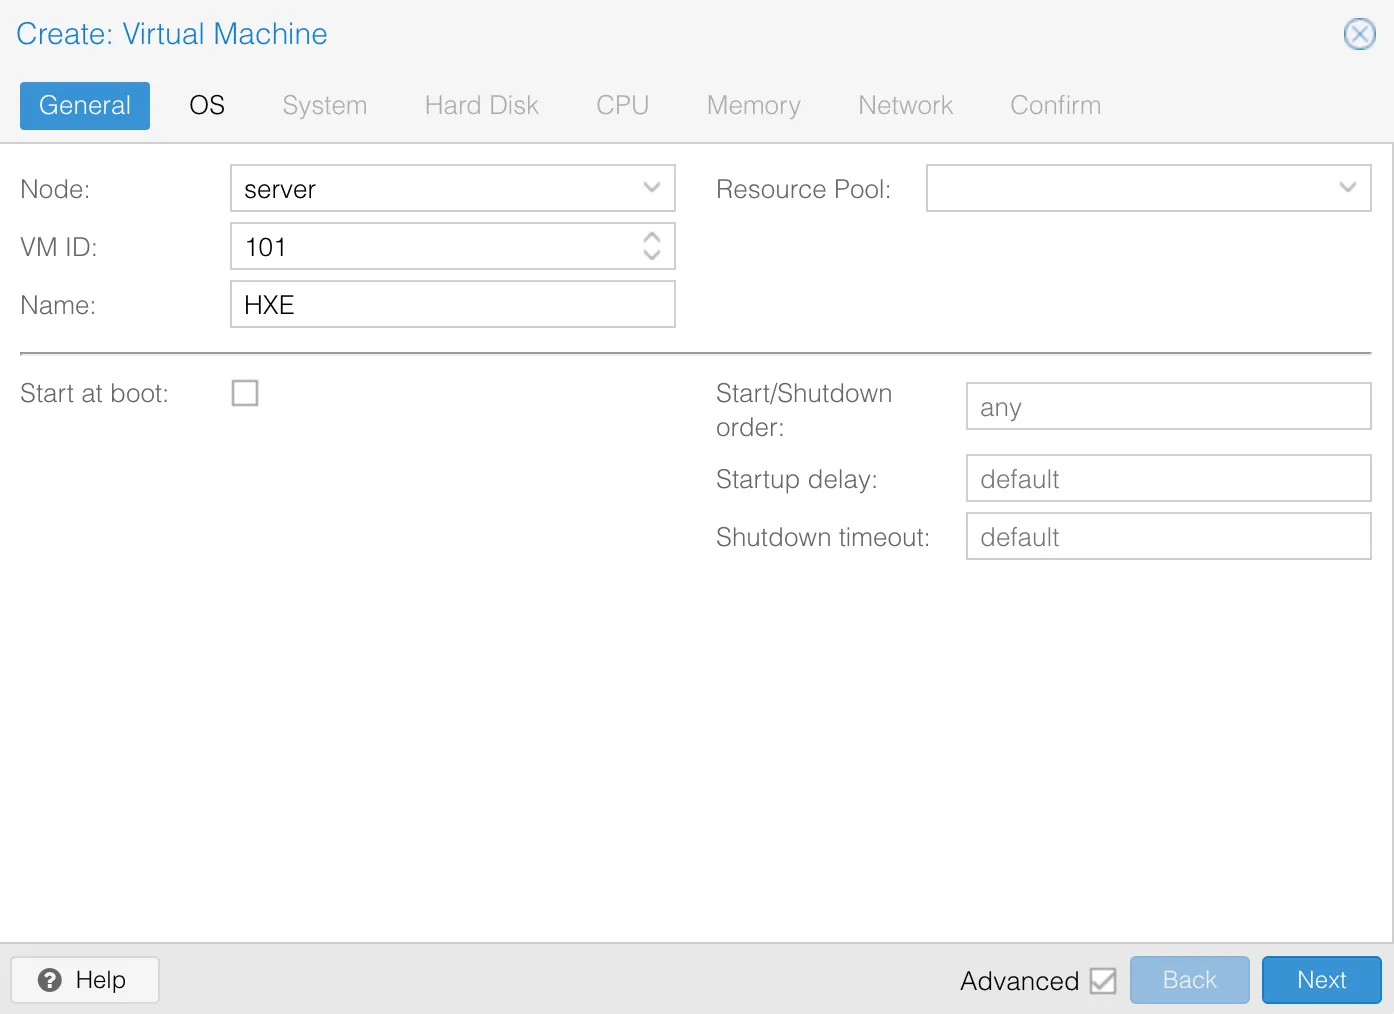
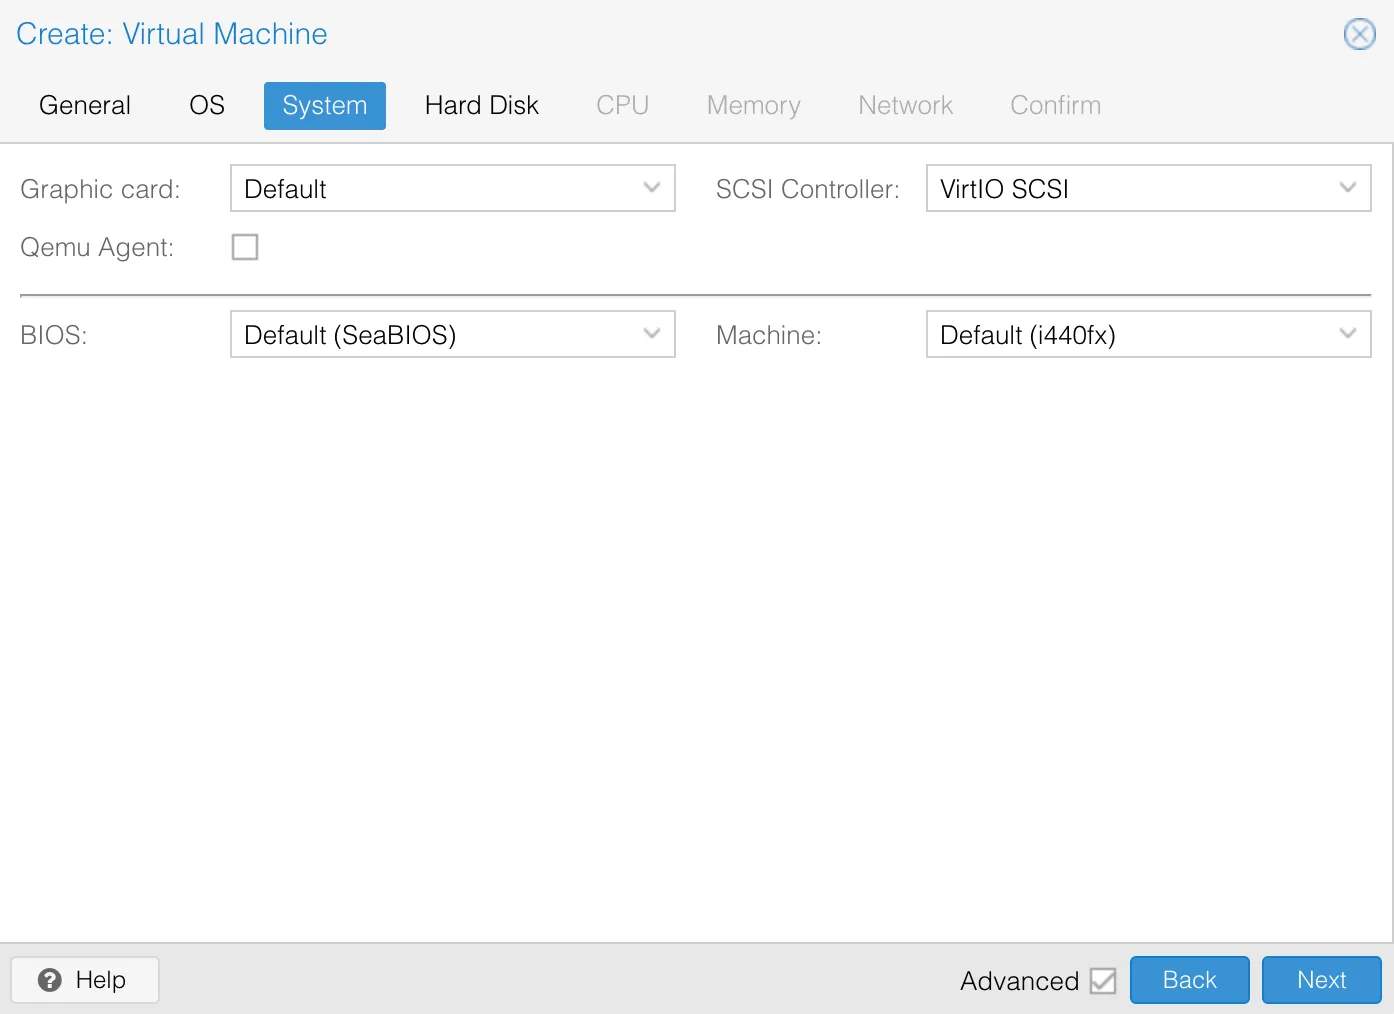
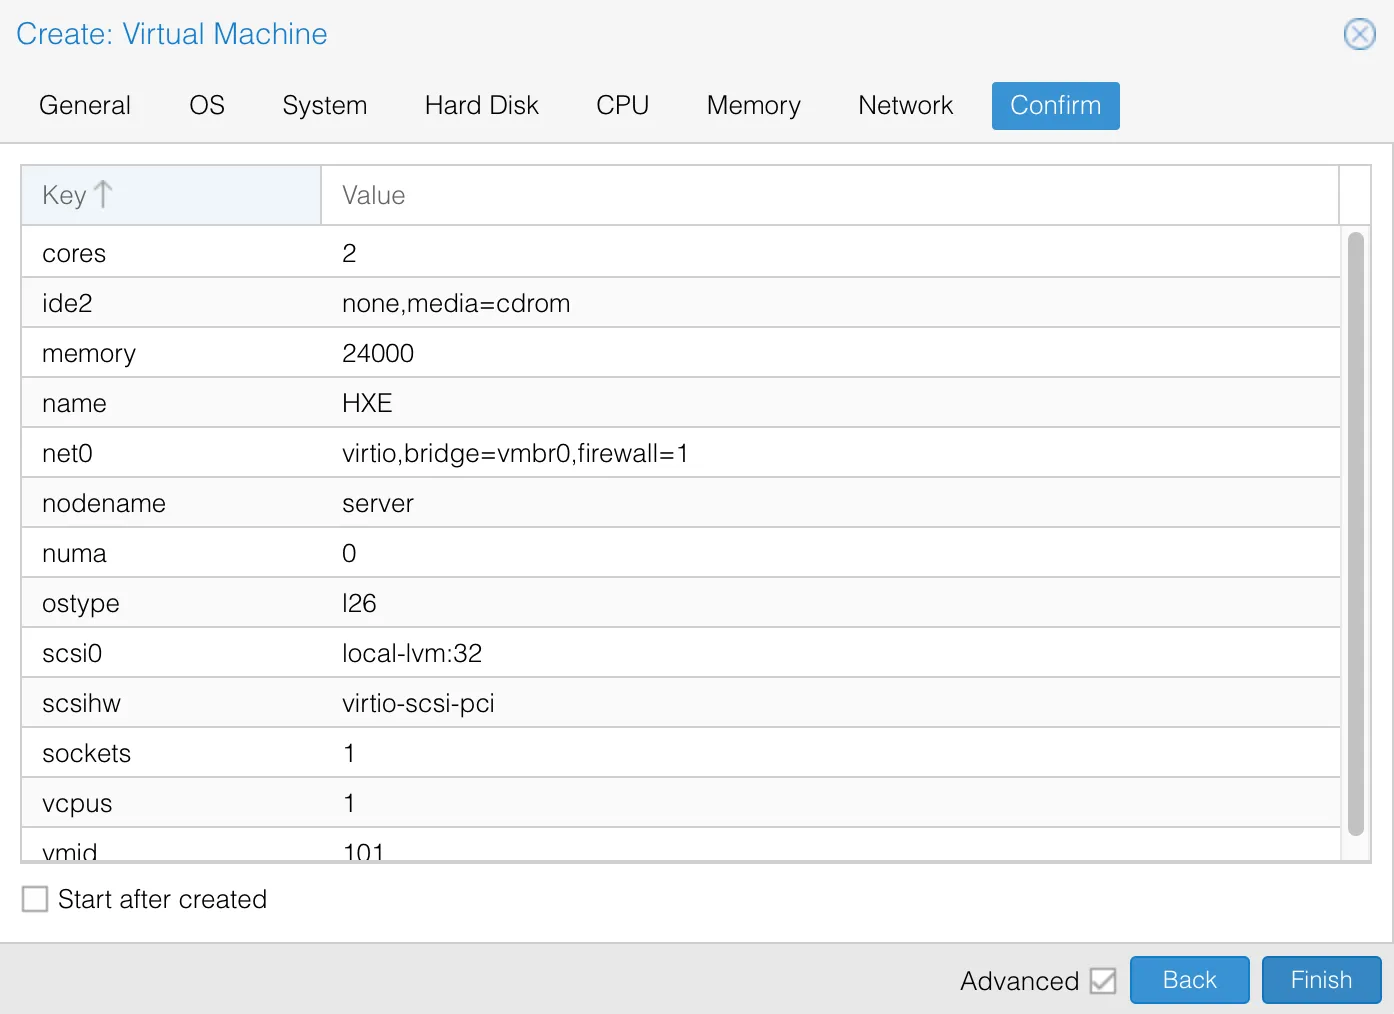
Go through the wizard to create a normal new VM.

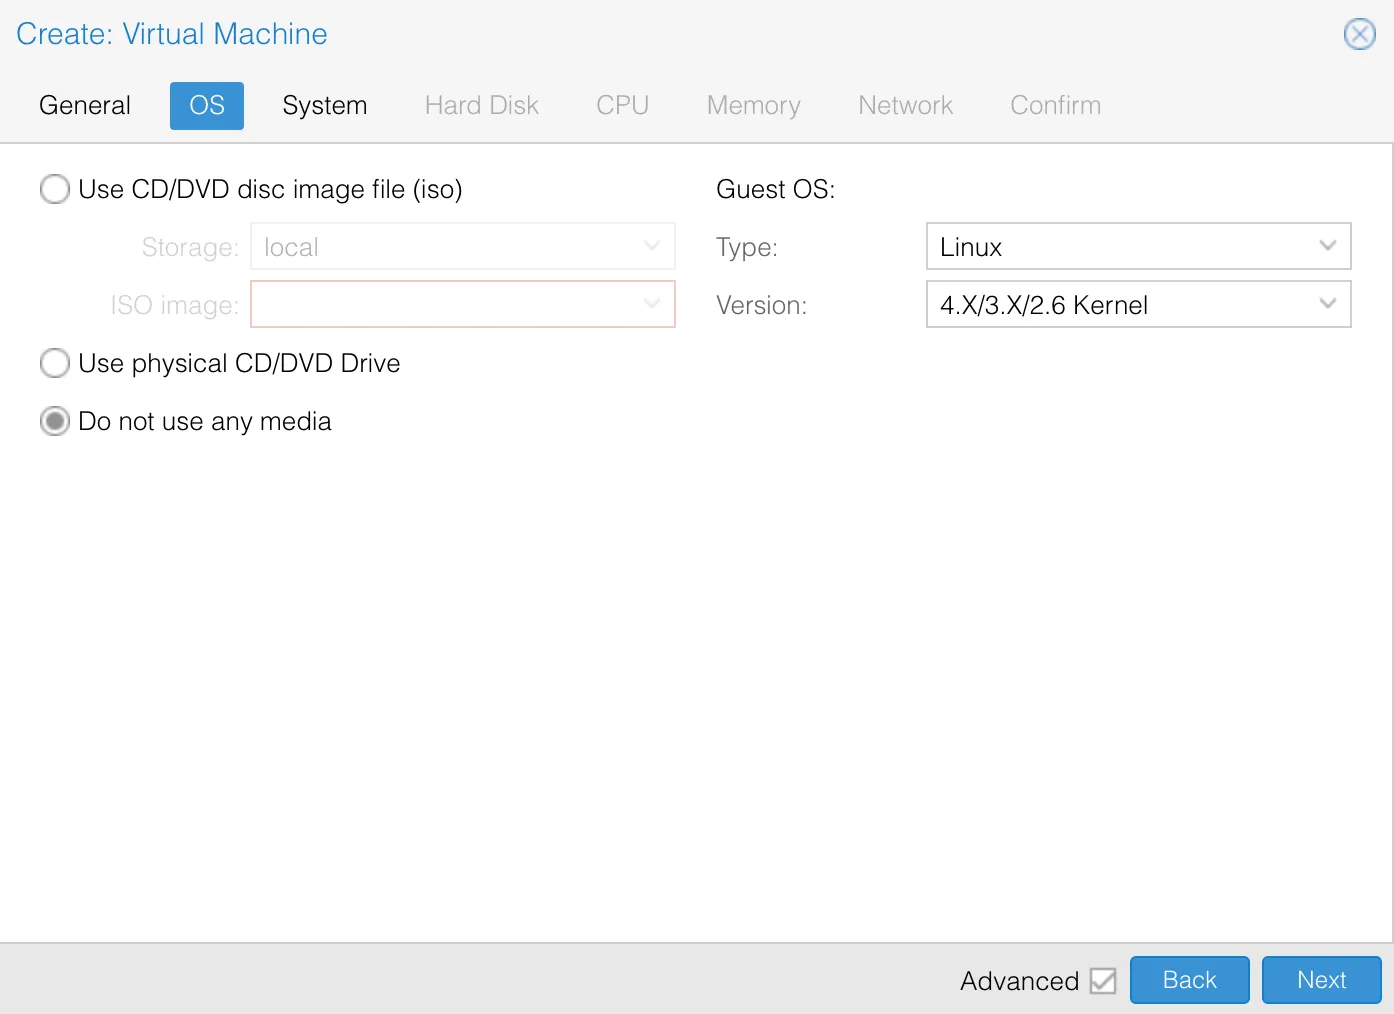
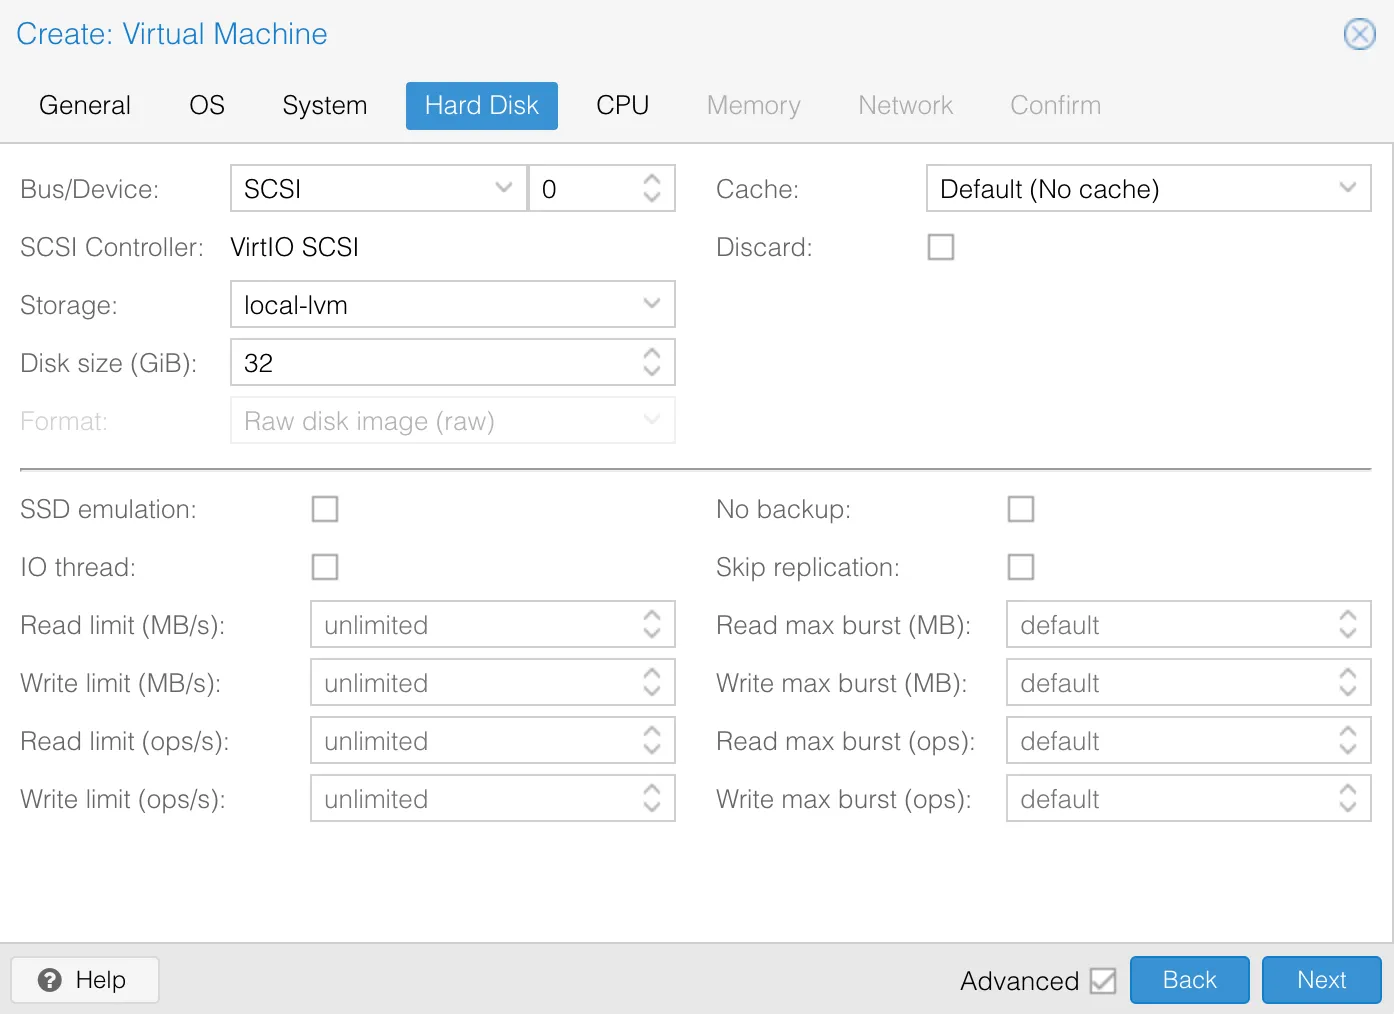
It seems that you have to add a disk. The disk will be deleted later, the configuration entered here is not important.

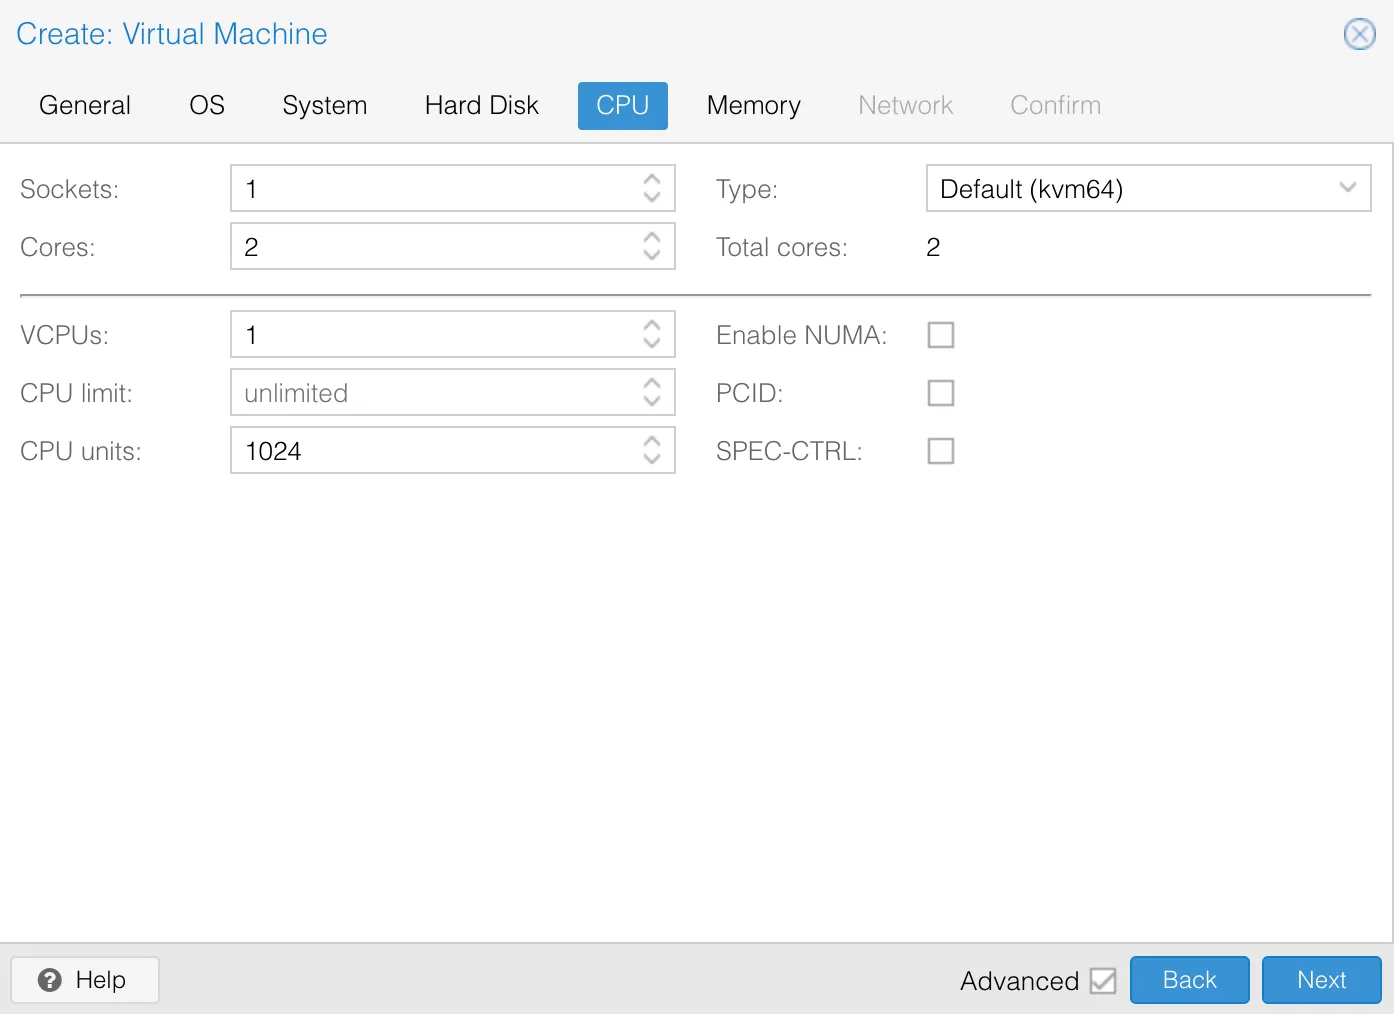
I’ll use a CPU with 2 cores.

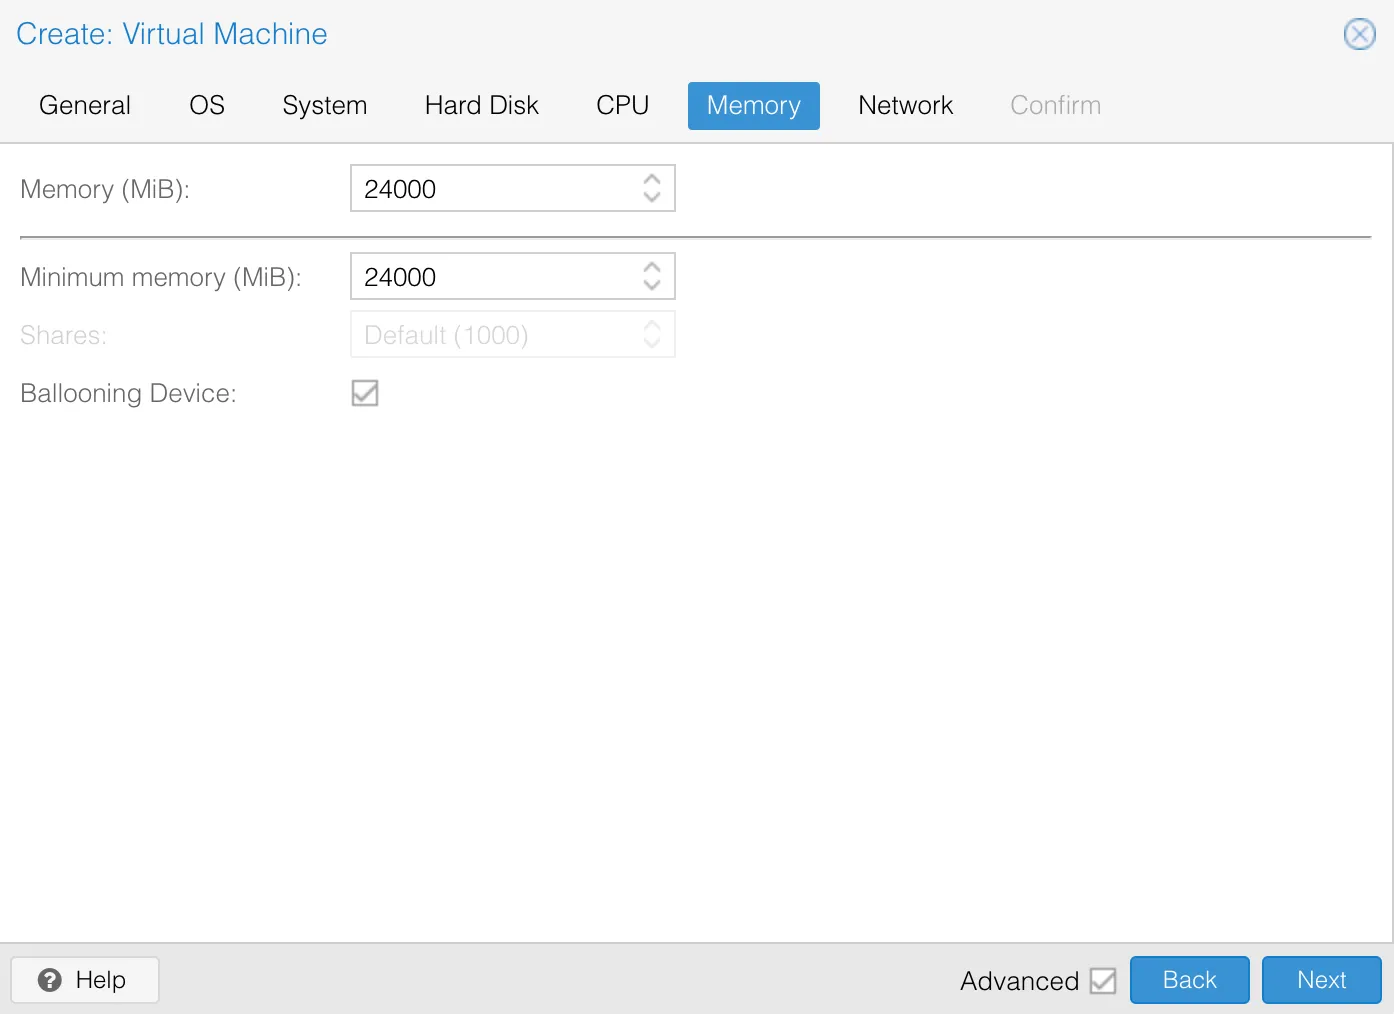
I am using the VM for SAP HXE, therefore I am going to use a little bit more RAM: 24 GB RAM in total.

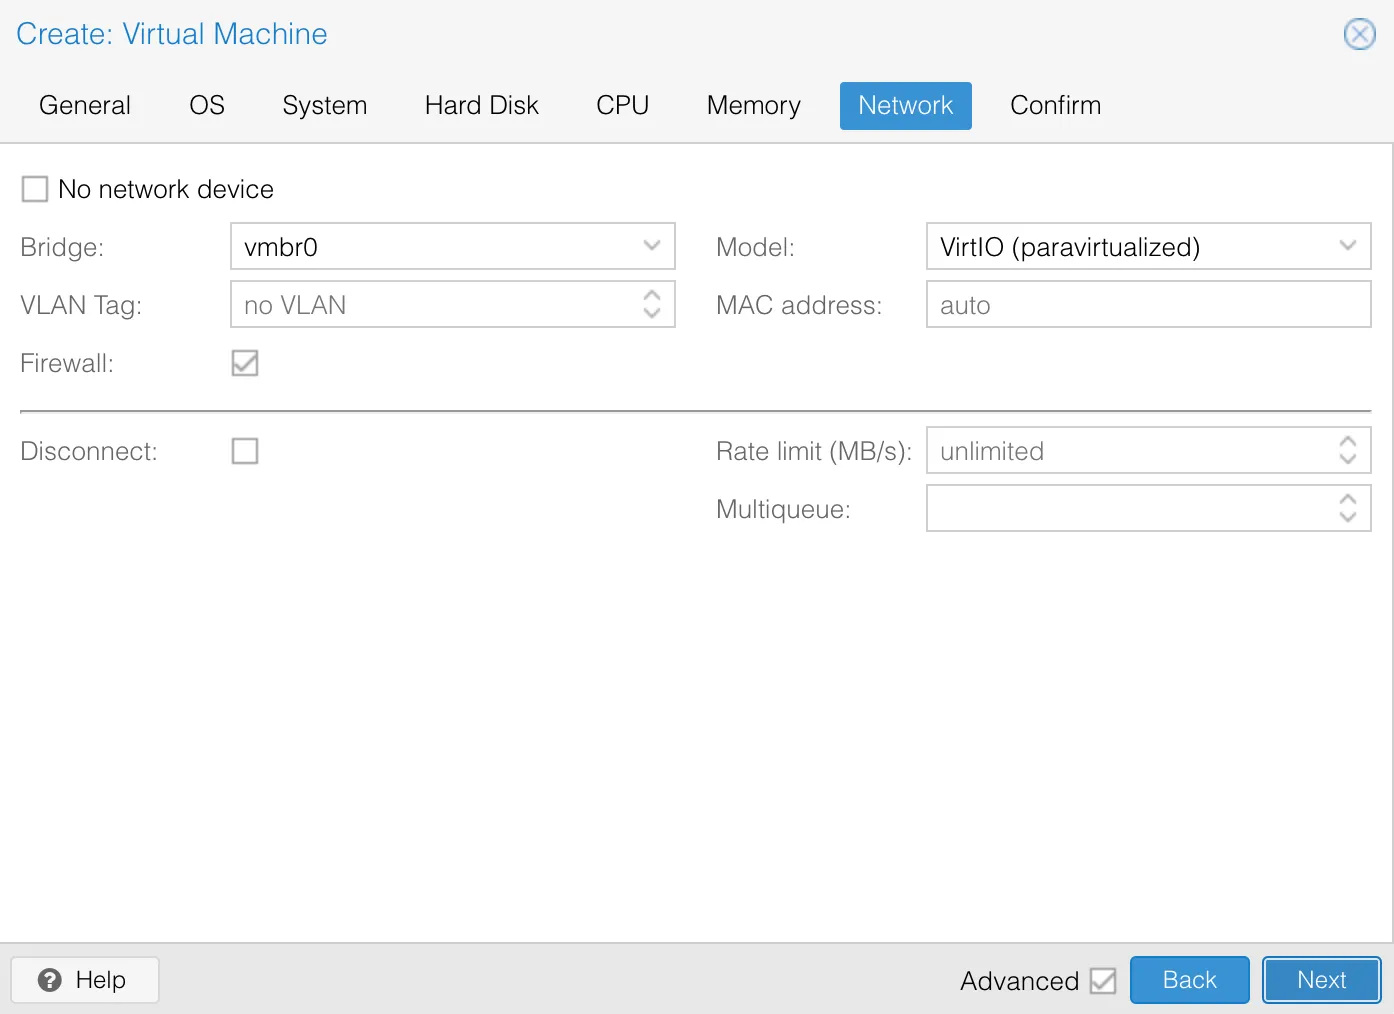
After going through the wizard, the VM definition is ready and you can let Proxmox create the VM.

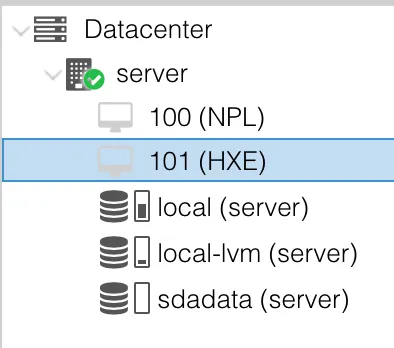
The new VM will appear in the list of available VMs in your server. Note the ID: 101 and the available storage locations.

Delete associated disk

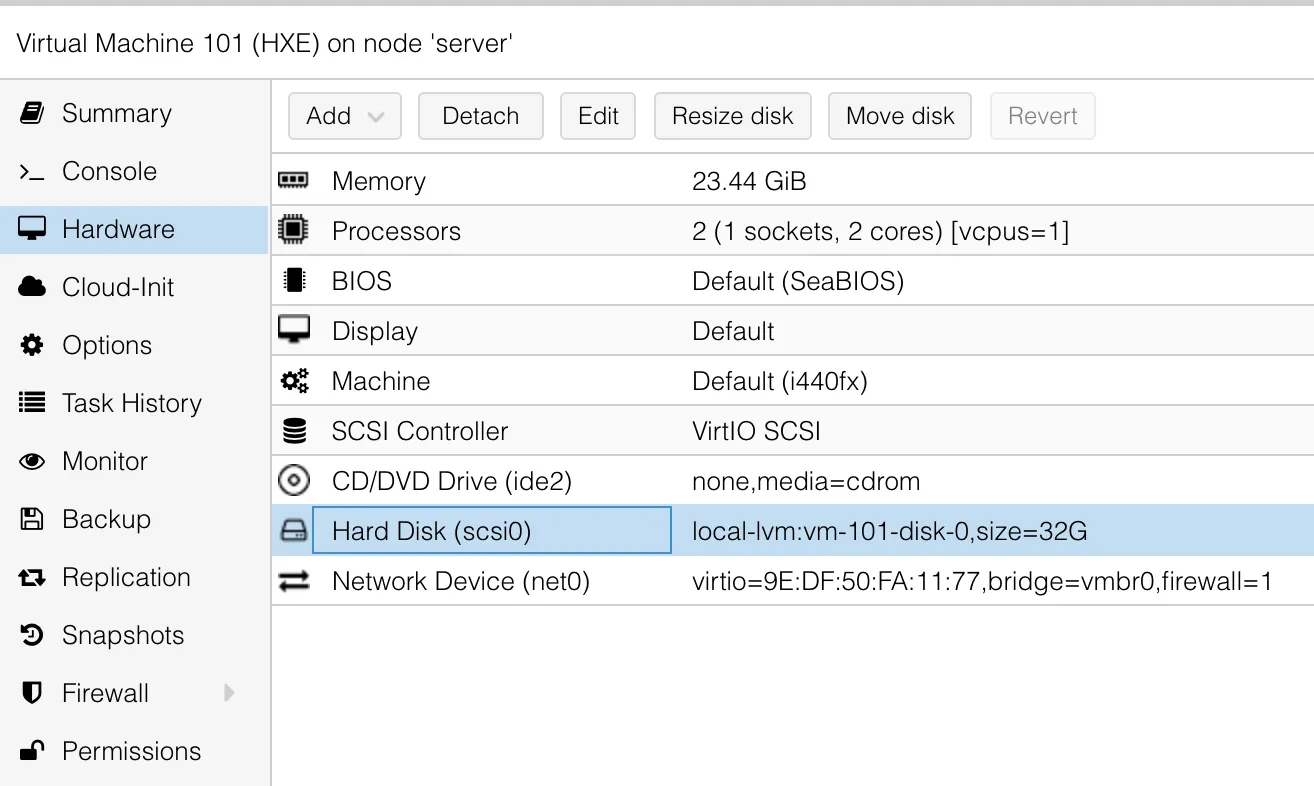
Open the VM configuration and got to Hardware. The disk you added in the wizard is listed. This disk must be removed.

Remove the disk

  1. Detach from VM

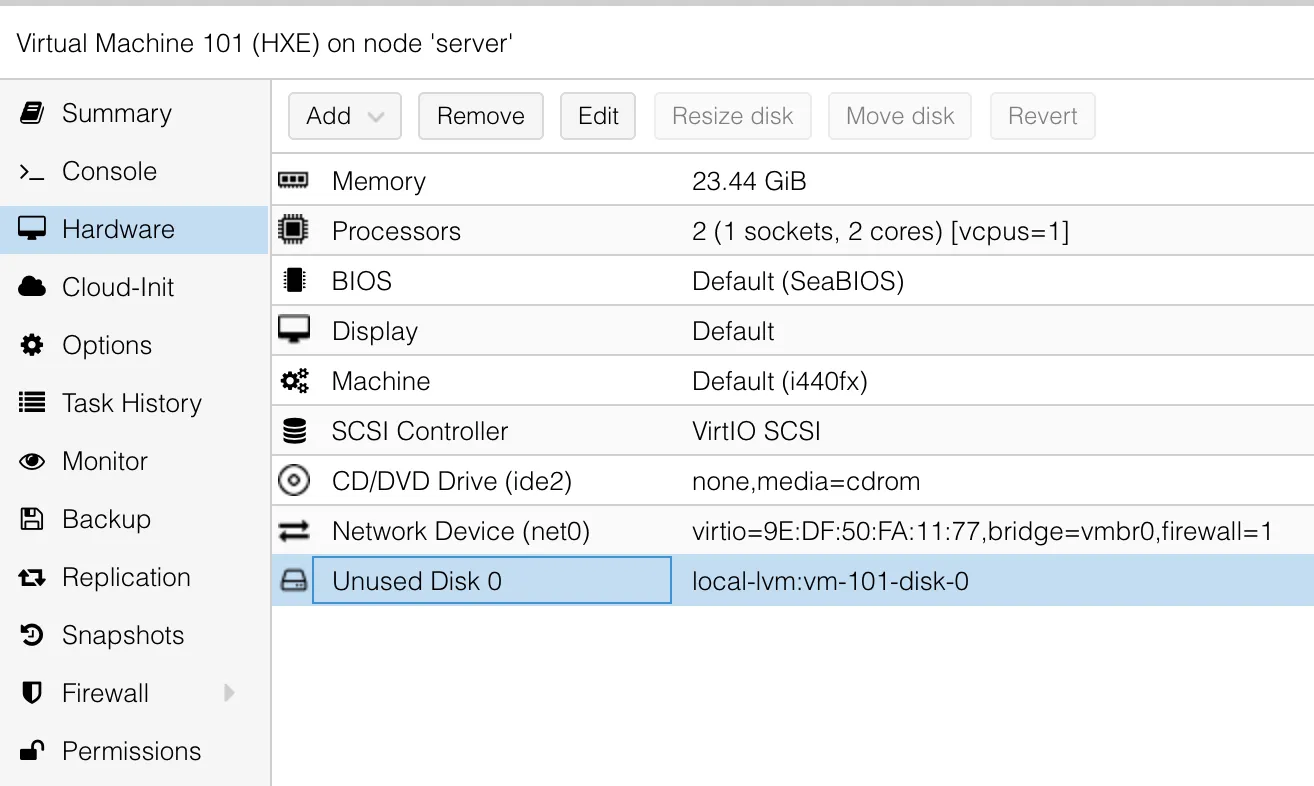
Select the disk and click on Detach. The disk state will change to unused.

  1. Remove disk from VM

After the disk is detached, remove it from the VM. This will delete the disk file.

Import OVA

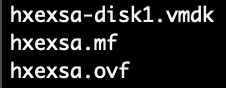
The next step is to import the OVA disk and assign it to the VM. As Proxmox uses LVM for managing its storage, a provided tool must be used to import the disk to LVM and assign it to the VM. Copy ova file to Proxmox server. Unzip OVA file. OVA is a zip file, you can simply unzip it to see its content. It contains the VM definition (ovf) and the vm disk (vmdk).

tar -xzvf hxexsa.ova

To import the image, you need to specify the VM and location where the disk is imported to. This information is available in Proxmox. You can see a list when looking at the server at the left menu. I am going to use local-lvm and VM HXE with id 101.

qm importdisk 101 hxexsa-disk1.vmdk local-lvm -format qcow2

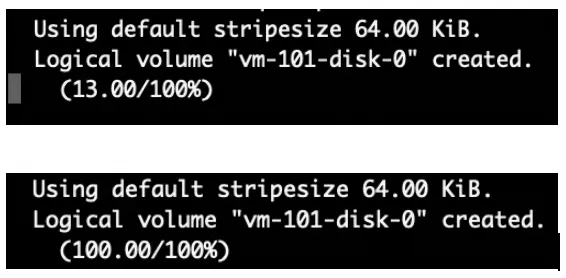
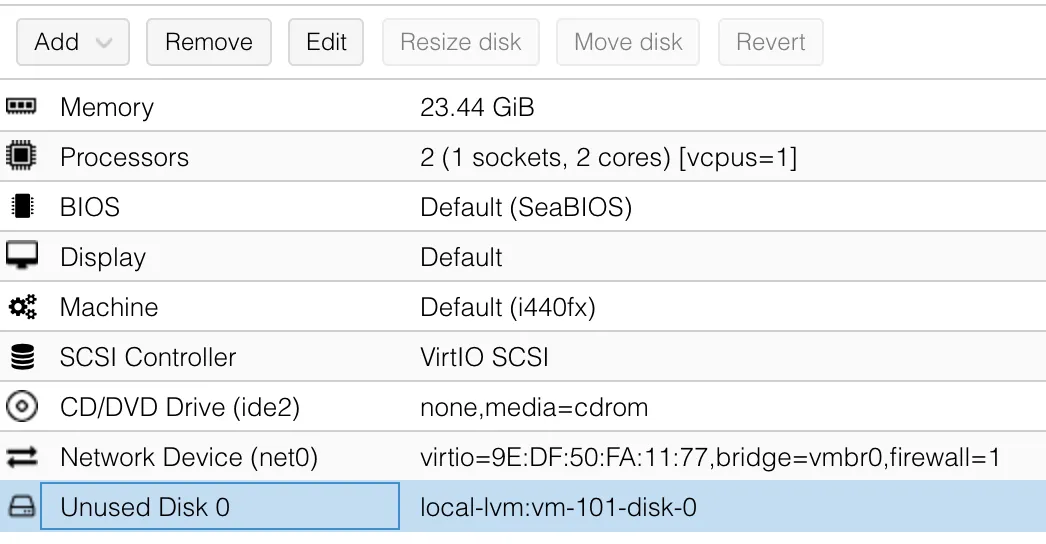
This starts the import process. Basically, the vmdk file is copied to the storage local-lvm. After the import finishes, the disk is listed in Proxmox.

Assign OVA to VM

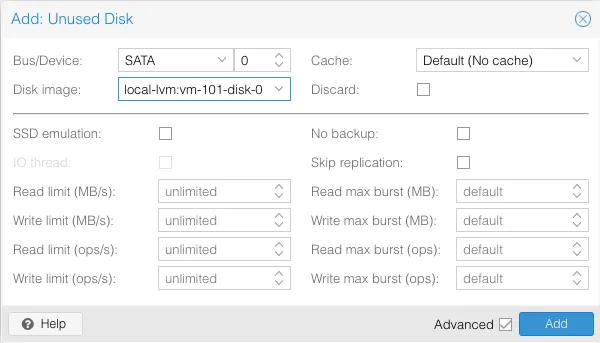
The disk is now available in Proxmox and added to the VM, but not usable. The disk must be assigned to the VM. To do so, open the VM definition and go to hardware.
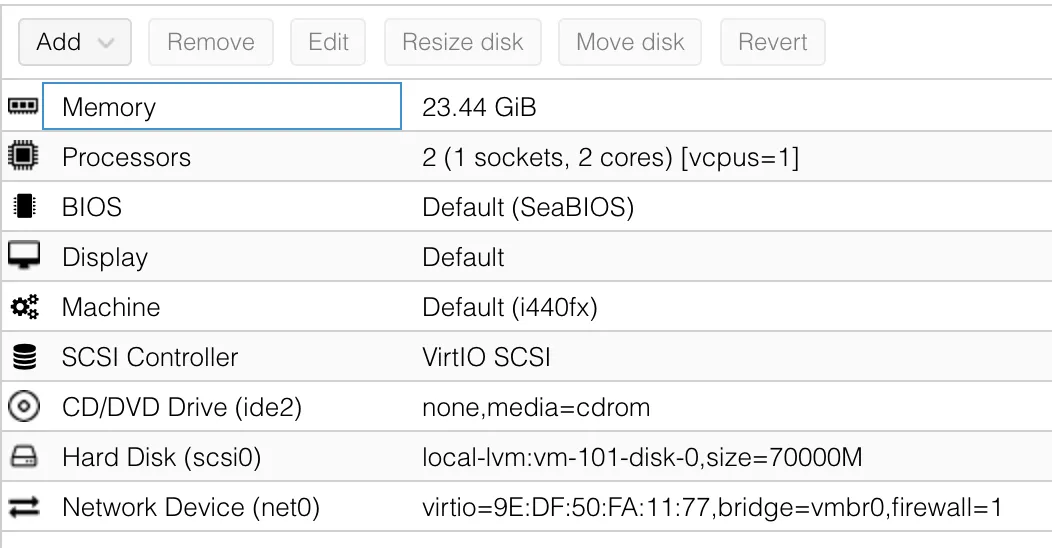
Click on Edit.

Here you can specify how the disk is accessed by the VM. SCSI should work. If you get errors, try IDE, etc. As result, the disk is added to VM and can be used.

Note: SAP HANA Express Edition

To get the disk shipped with SAP HXE working, I had to use SATA, not SCSI.

Add the disk as SATA.

Make sure the boot order is set to SATA.

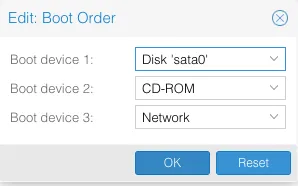
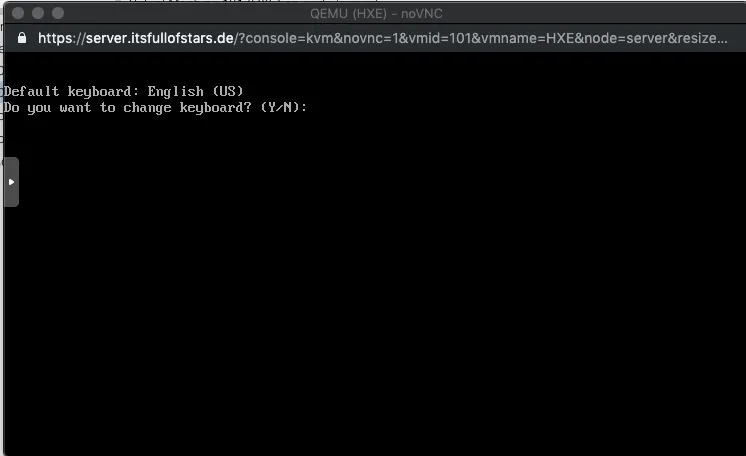
Starting the server should now work and you should see the configuration dialog.

Let the world know

Tobias Hofmann

Doing stuff with SAP since 1998. Open, web, UX, cloud. I am not a Basis guy, but very knowledgeable about Basis stuff, as it's the foundation of everything I do (DevOps). Performance is king, and unit tests is something I actually do. Developing HTML5 apps when HTML5 wasn't around. HCP/SCP user since 2012, NetWeaver since 2002, ABAP since 1998.

25 Comments

Bruce · November 21, 2019 at 10:09

Thanks for your efforts.

    Keith Miller · December 16, 2019 at 21:01

    When you say ” After the disk is detached, remove it from the VM. This will delete the disk file.: you don’t mean delete the disk file from the Proxmox “Local” do you, I have other systems using that file

      Tobias Hofmann · December 19, 2019 at 12:45

      Hi Keith,

      the disk I refer to is the dummy one I had to create whenI started to create the new VM. That disk you should not be using anywhere else. It was only created by Proxmox VM wizard and is save to delete as it contains no data.

        Rafael · February 2, 2021 at 01:26

        Thanks for this tutorial, I followed step by step the procedure but i can´t see de disk on the VM machine, in the Storage I can see the disk, but in the VM directly I can´t see, What should I check?

DeCha · March 10, 2020 at 10:32

no
tar -xzvf hxexsa.ova
right is:
tar -xvf *.ova

Roberto · July 7, 2020 at 13:40

OVA files aren’t GZIPed …. so, the command to extract the files, is:

tar -xvf my.ova

Without the “z” options

Andre · September 18, 2020 at 09:27

Thank you very much for the detailed description. I just wanted to mention, that after unzipping there also exists the ‘qm importovf’ command which works like a charm ..

Michael · October 24, 2020 at 02:08

If you start out in GUI stay in it and do not just copy the file to the server. Just copy it?????????????????? I got the files out just fine using 7zip but I can slam one computer against the other all day and it does not just copy. Proxmox does not have a GUI and the rest of us do not use command line. If you can not stay in GUI or explain all steps do not waste peoples time.

    Tobias Hofmann · October 26, 2020 at 09:01

    Proxmox is directed to people with a certain understanding of Linux. If you do not know how to copy files or how to issue commands at the OS level of your Proxmox server, maybe you can ask the people responsible for managing the server?
    As an alternative, you can google how to copy files to Linux, e.g. WinSCP or Filezilla do the job.

    Joachim · November 1, 2020 at 19:54

    Hi Michael,
    I think it’s rather ridiculus to blame others for your inability to understand this really cool tutorial. I assume you found this tutorial by using a search engine. What’s keeping you from using it to find out how to copy files from one device to another?

Aaron Martinez · November 5, 2020 at 14:34

Great guide! With this docu I came from rookie to rocky!! Nice job!

Myles Varns · November 16, 2020 at 20:12

Thank you for this! Been trying to find a good guide for how to do this.

dlfuller · November 17, 2020 at 23:36

Thank you. It sure helped this noob transfer a VirtualBox VM into Proxmox. Now I just need to figure out how to get more space to work with in my local-lvm.

It might be helpful to at least mention in your Import OVA section, the scp command for moving files between computers from the command line .

Also to identify what the command qm importdisk is looking for; ie, qm importdisk [OPTIONS] in addition to your specific example.

Linux Man · March 22, 2021 at 19:17

Hi! Proxmox CAN read OVF data directly when creating VM’s: it’s in their documentation.

Ie: qm importovf 999 WinDev1709Eval.ovf local-lvm

https://pve.proxmox.com/pve-docs/chapter-qm.html#_importing_virtual_machines_and_disk_images

    Ricardo · December 12, 2022 at 18:30

    Very useful comment. I imported the ovf directly. It worked like a charm.

Aaron M. Galicia · October 11, 2021 at 16:44

Dear Tobias,

Can’t thank you enough for this how to. I’ve used it now so many times that I have memorized the steps. Share more how to’s if you have’em..

Adnan Khan · December 29, 2021 at 07:35

Great work. you made it so easy for me. Thank you

Matthias · February 14, 2022 at 13:28

Hi Tobias,

thanks for the great blog post. Everything works great and is very helpful for building playgrounds!

Regards Matthias

Routerdog · March 24, 2022 at 13:45

Thanks for your excellent write up, it has been really useful. When I extract my OVA file I end up with two vmdk disk files, dis1.vmdk and disck2.vmdk. Do I just add these to the VM as two separate scsi disks or do they need to be merged together first?

Xhen · January 26, 2023 at 12:38

Thank you so much this helped me to import Kali linux fro virtualbox to proxmov

How to install HANA Express Edition on Proxmox | It`s full of stars! · November 20, 2019 at 14:30

[…] Before you can run HXE, first you have to download the files from SAP and configure a Proxmox VM for HXE and import the OVA image. I wrote a blog on how you can import an OVA image in Proxmox. […]

Proxmox – VM importieren – nerd.WIKI · April 7, 2020 at 22:01

[…] 7. April 20207. April 2020 ghoethe proxmox Import OVA as Proxmox VM […]

Instalar QRadar CE en Proxmox | Cybers on the Storm · June 16, 2020 at 01:00

[…] escribirlo, me basé en un trabajo del año pasado de Tobias Hoffman, en varios documentos de IBM y en esta publicación de […]

Malware Analysis Lab Environment | Flagrant Malfeasance · July 24, 2022 at 02:02

[…] as a virtual disk for a pre-created virtual machine. An article detailing these steps can be found here. Or you can choose the install from scratch option and download a Ubuntu 20.04 ISO image, install […]

Leave a Reply

Avatar placeholder

Your email address will not be published. Required fields are marked *

This site uses Akismet to reduce spam. Learn how your comment data is processed.