Add OAuth 2.0 client in Keycloak
In this article I will show how to add an OAuth 2.0 client in Keycloak.
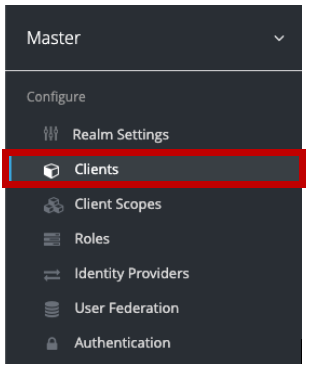
Log in to Keycloak and select a realm. In a new (empty) installation of Keycloak, the realm Master is selected by default. The realm name is important, as it is part of the URL used later for OAuth authentication.
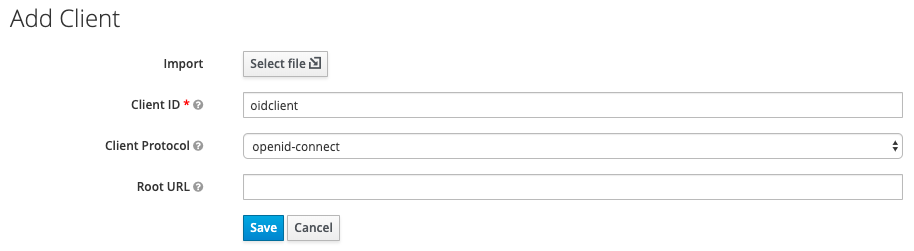
To create a new OAuth 2.0 client, click on create.

Insert your information for the client. Make sure the openid-connect is selected as client protocol.
Client ID: oidclient
Client Protocol: openid-connect
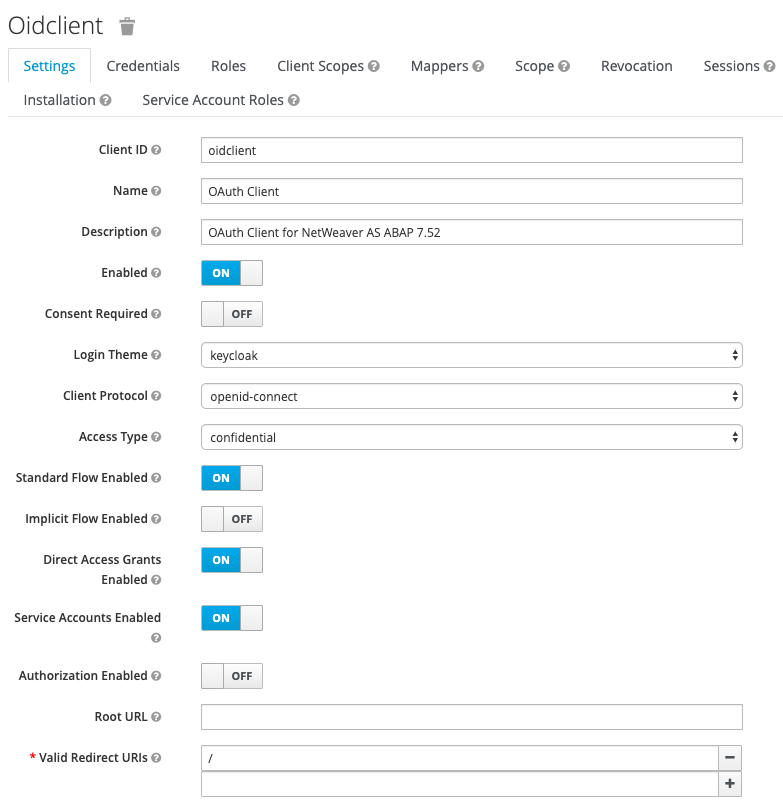
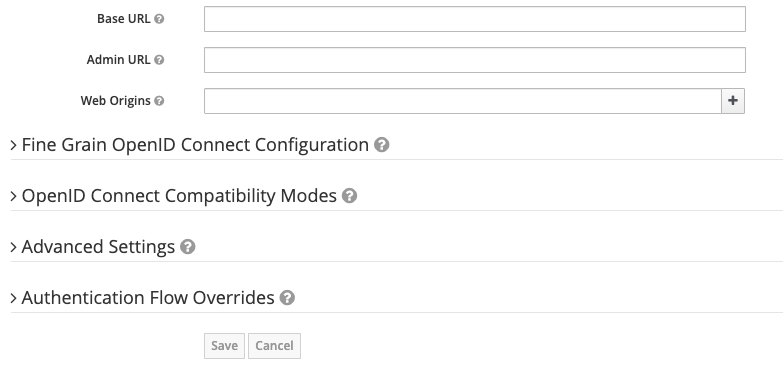
Click on save and the client configuration screen is shown. Here you can add and alter additional information.
Important
- Access Type: confidential. This will require the OAuth 2.0 client to send a client secret to authenticate itself.
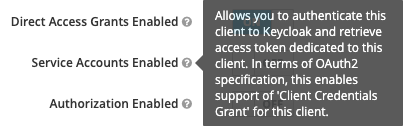
- Service Accounts Enabled: On
![]()
- Valid Redirect URIs: set to a valid one, like /
All other parameters should work as given.
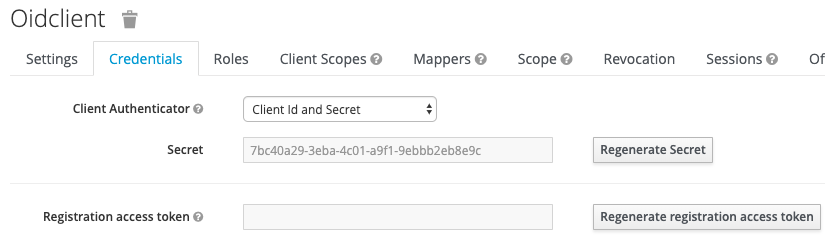
Switch to tab Credentials
Here you can see the OAuth 2.0 client secret. As in the settings tab the access type was set to confidential, the client must send its client id and secret to Keycloak to authenticate itself. The client id is the name of the client (oidclient), and here you can see the secret: 7bc40…
You can now add the OAuth 2.0 scopes to the client.
1 Comment
OpenID Connect with Keycloak | It`s full of stars! · December 23, 2019 at 14:00
[…] Create OAuth client in Keycloak […]