PKI with OpenSSL: Howto using Jupyter Notebook
From time to time I have to create a PKI with a root and intermediate CA. As I do not want to have to search for the correct commands, I created a setup for OpenSSL and a Jupyter notebook that guides me through the steps. This allows me to go through the setup process for a PKI in a few seconds. To validate the PKI, I included a section to issue a new server certificate as well as to validate it.
In this blog I’ll explain how you can get the Jupyter notebook working as well as how to notebook works.
Create Jupyter Lab instance
My Jupyter Notebook is available in my GitLab repository. I used the Jupyter minimal-notebook and the labs version. To start a Docker container with this setup:
docker run -p 8888:8888 -e JUPYTER_ENABLE_LAB=yes jupyter/minimal-notebook
Load Jupyter Notebook
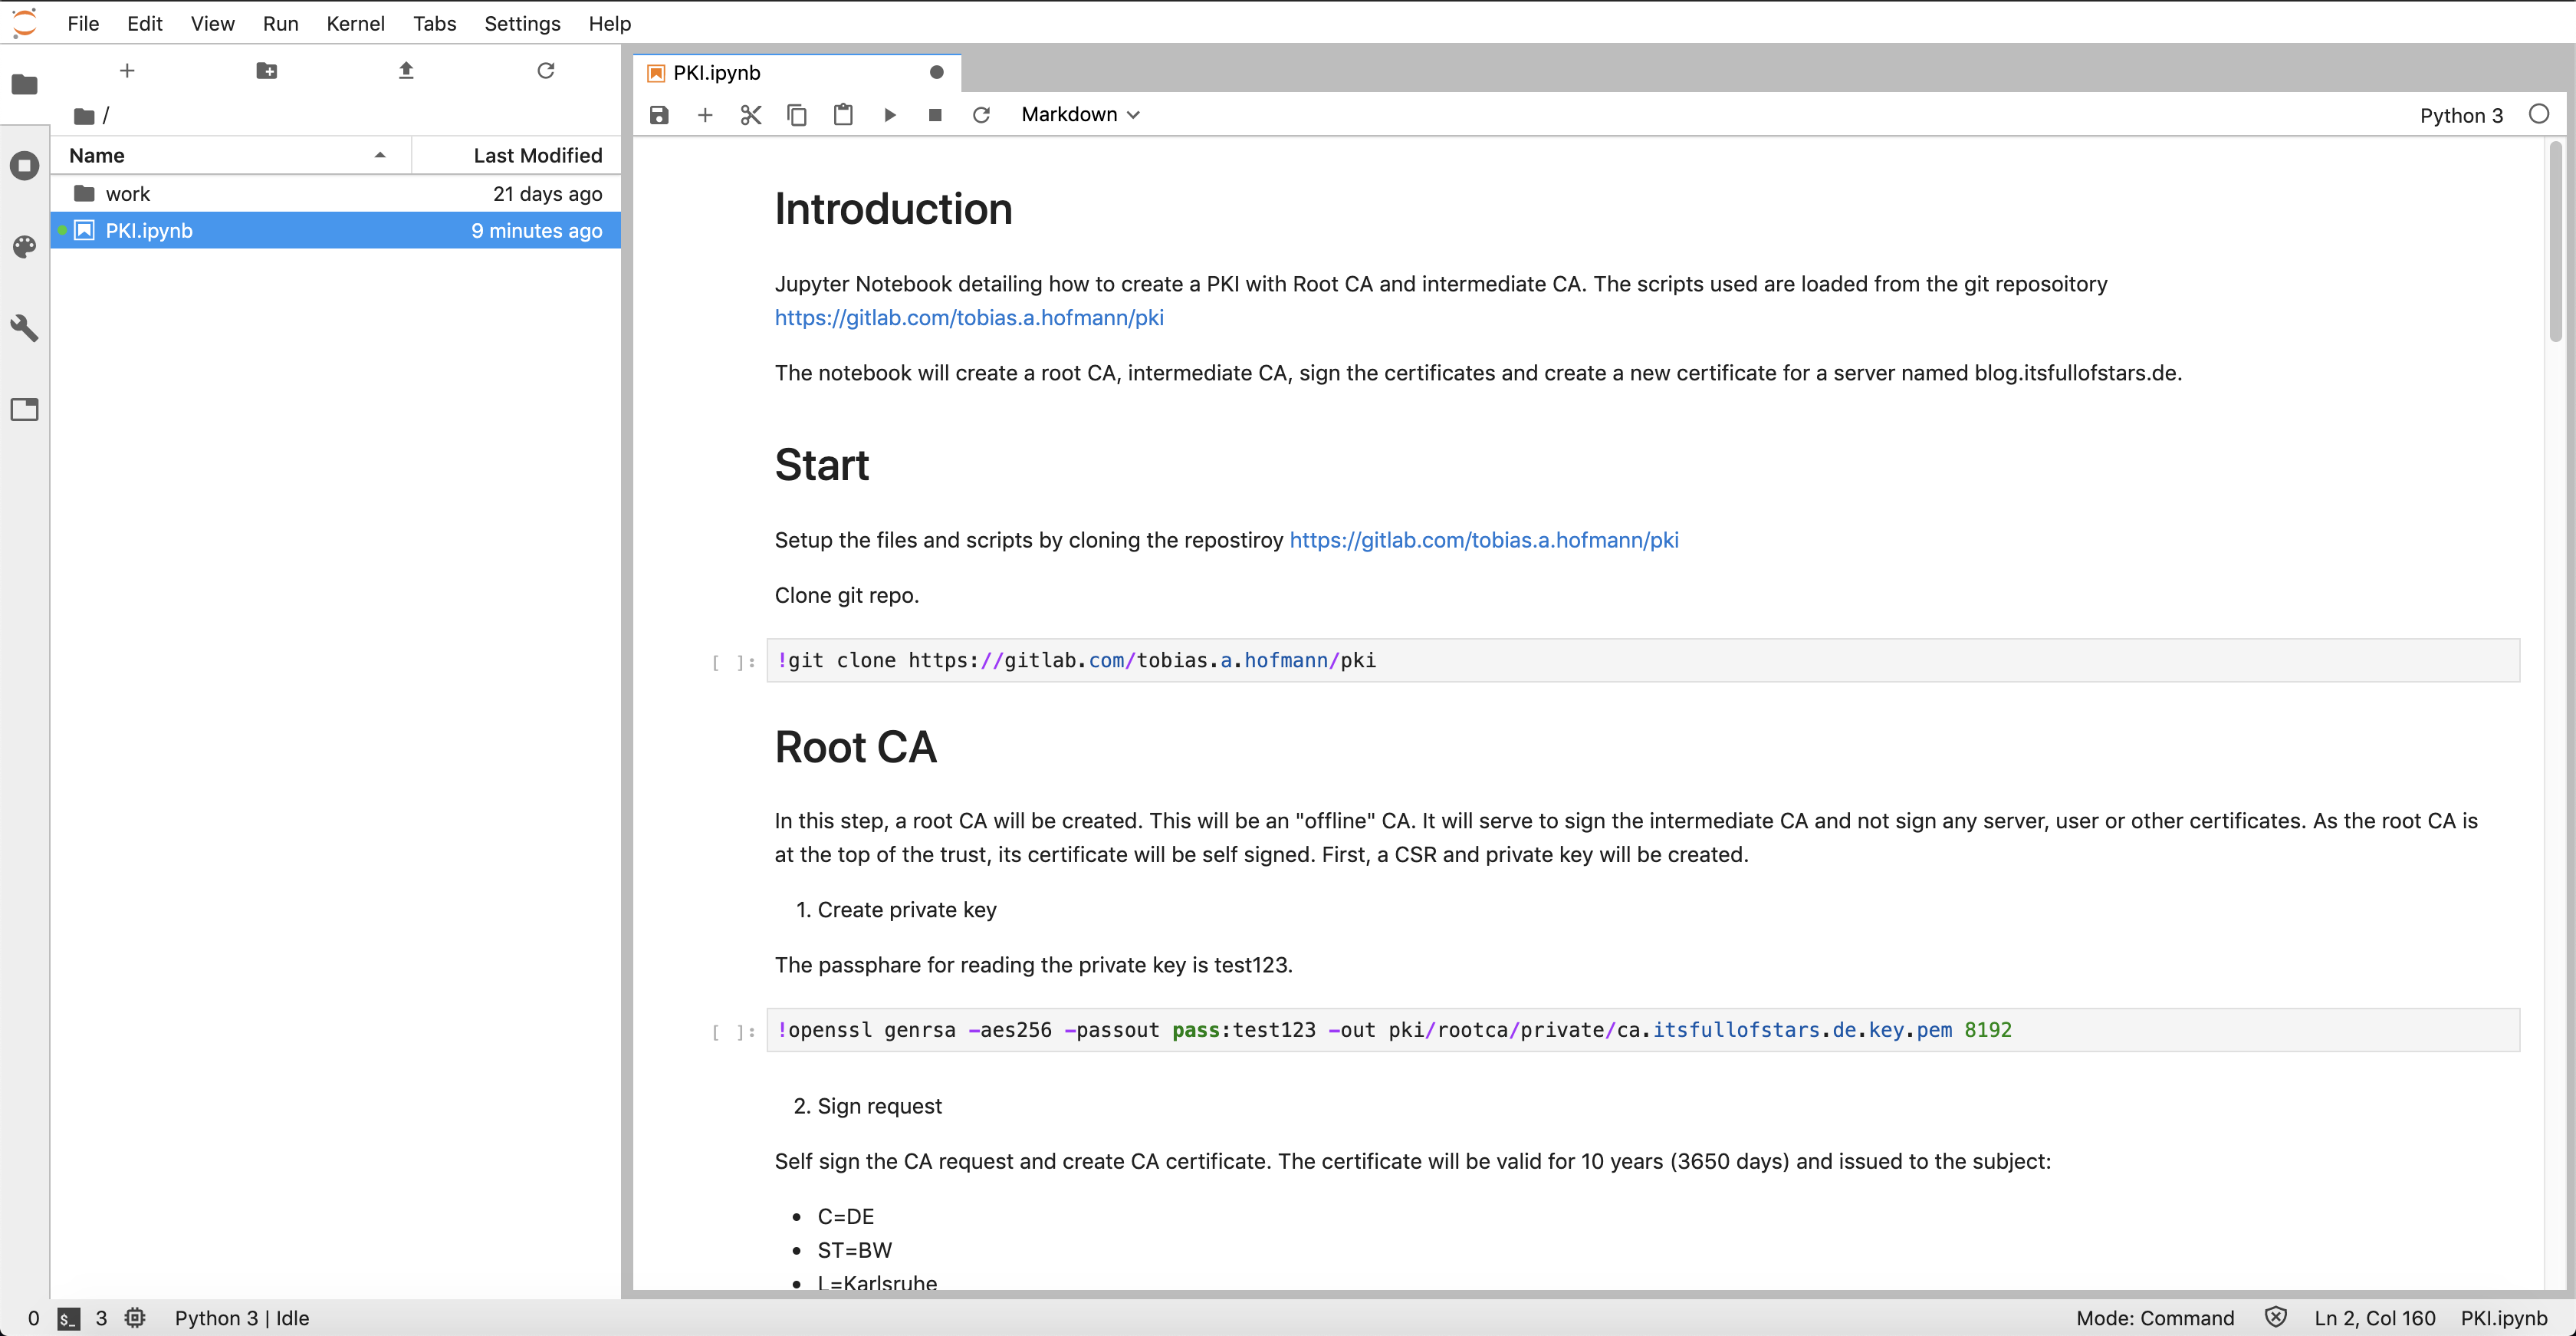
Download the notebook from GitLab. Open Jupyter and upload my notebook.

The notebook is named PKI.
Run notebook and create PKI
Open it. It contains the git command to clone my other repository with the OpenSSL configuration. The description guides you through the steps to run the necessary OpenSSL commands to setup a Root CA and Intermediate CA as well as issue a new server request.
The sections include:
- Root CA
- Intermediate CA
- Create server certificate
- Validation
- Cleanup
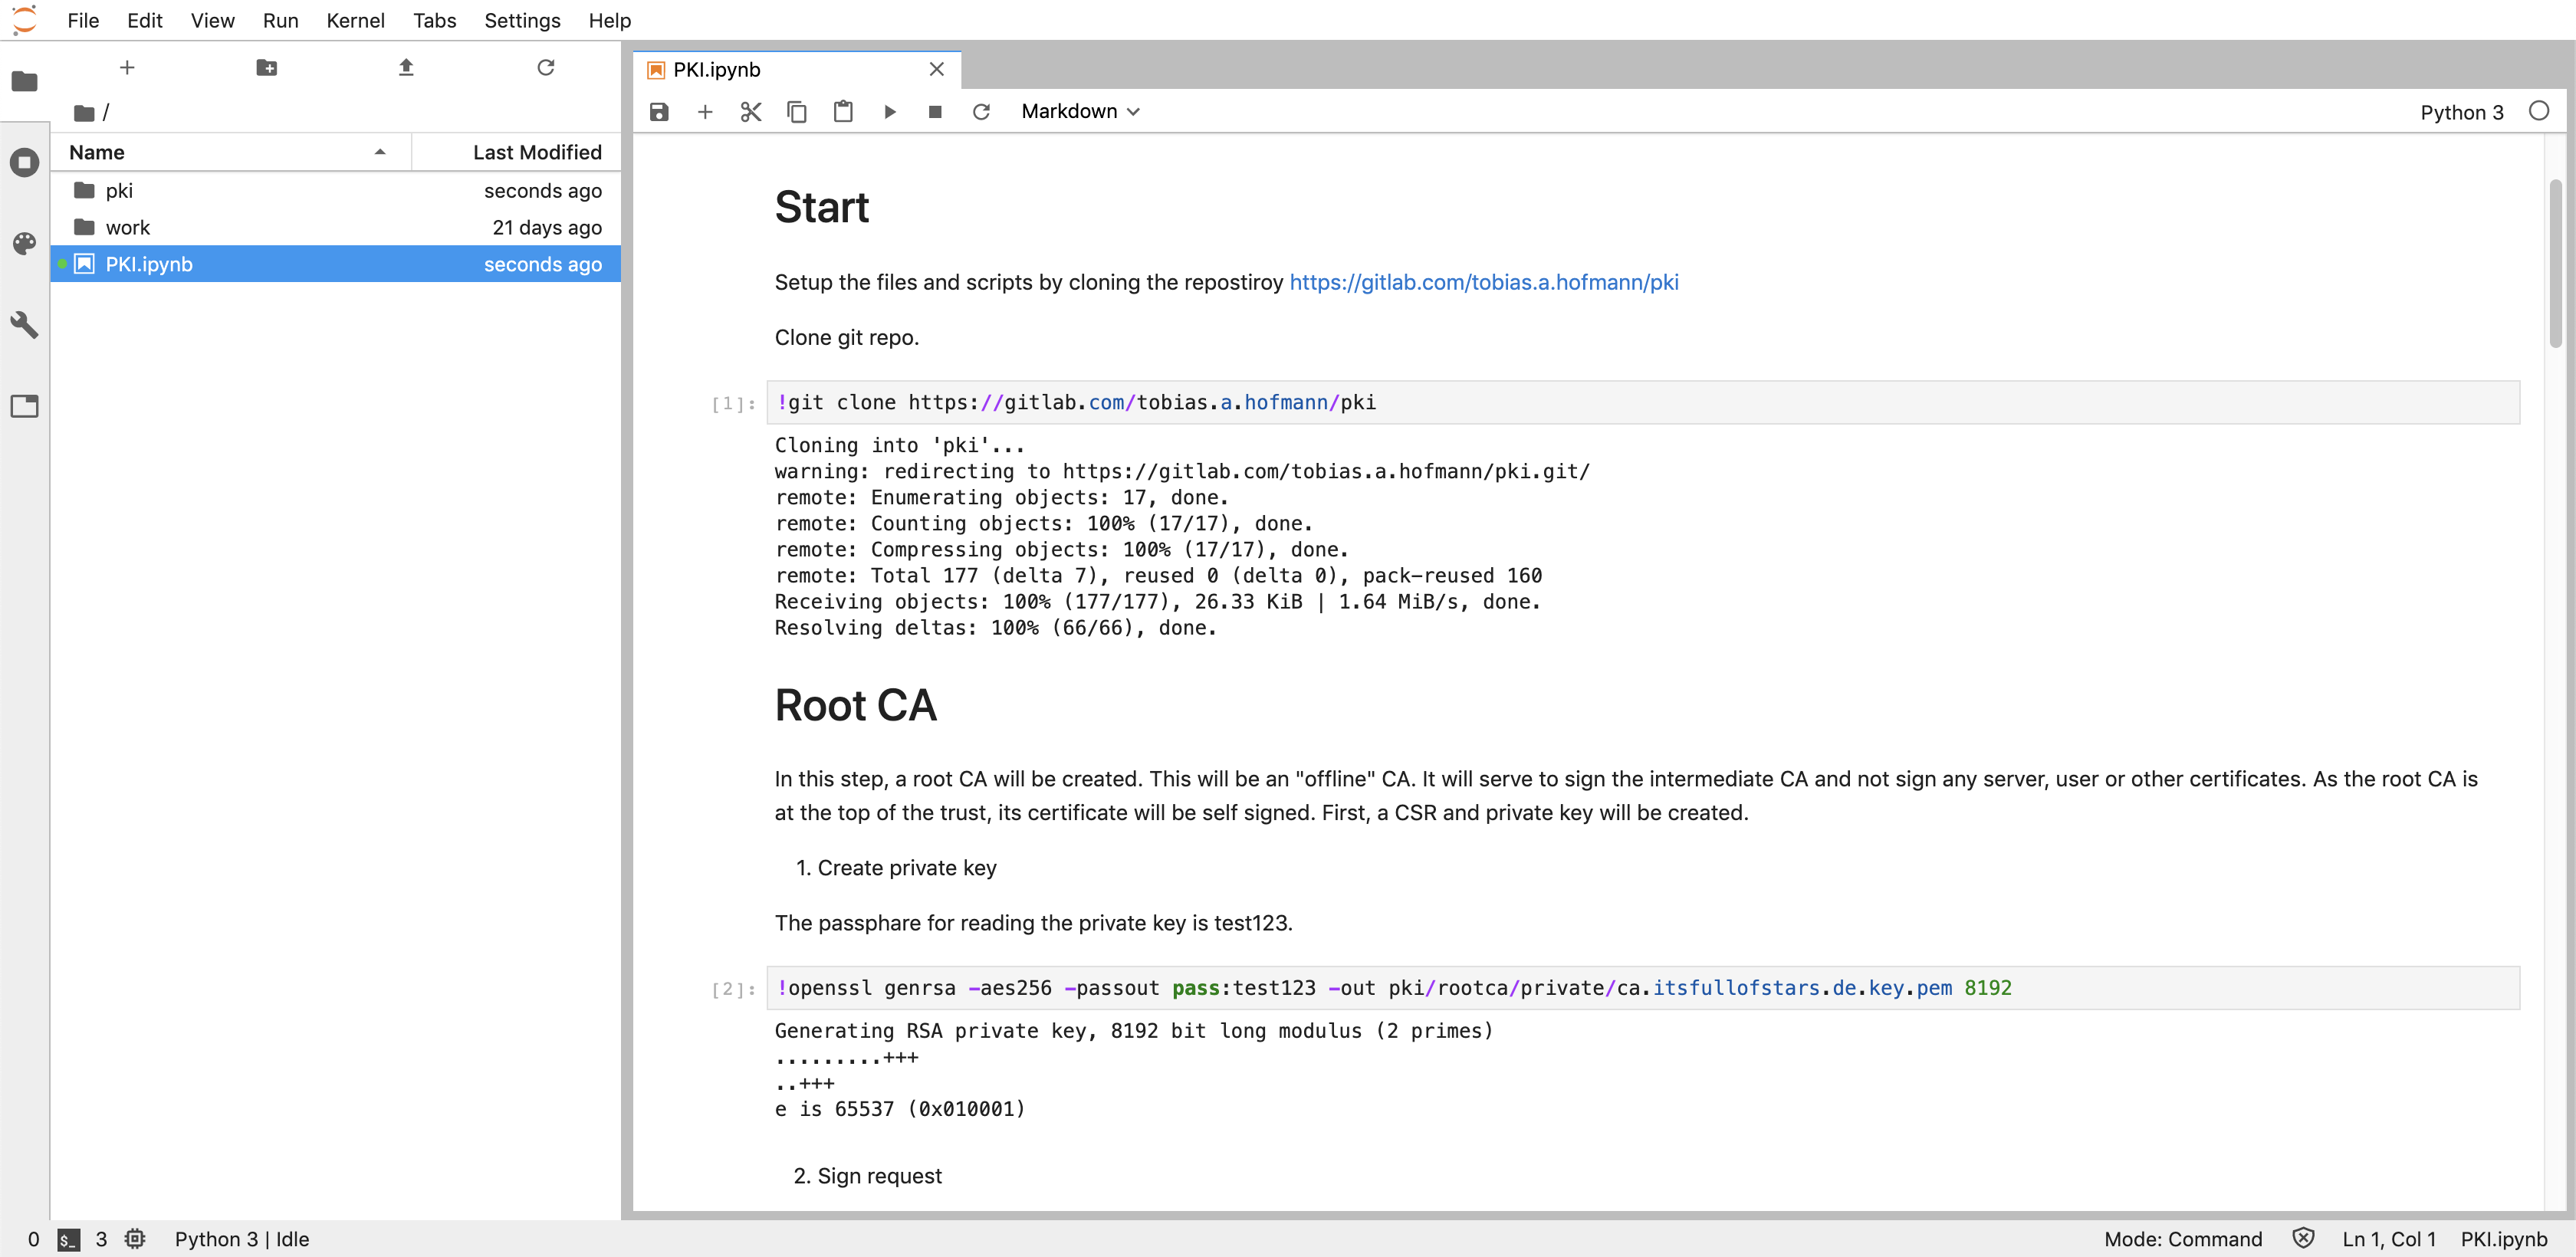
When running the commands, a new folder pki is created. Inside this folder, all PKI files for Root CA and Intermediate CA are stored. Both CAs have their own OpenSSL configuration file .cnf. As some parameters in this file depend on the path, an environment variable is used to make it work in Jupyter:
%env ROOTCA=pki/rootca
%env INTCA=pki/intermediate
Note: This is needed as the underlying repository for the OpenSSL PKI is also meant to work outside Jupyter. A user can clone the repo and create a PKI running the commands in the shell.
The PKI certificates can be downloaded and used in your Dev / Test environment. Using the example provided in the create server certificate section, you can upload you own CSR and sign it. Issuing the PKI to a different subject (CN) is not a problem, as you can change the parameter. Have fun creating your own PKI or maybe understand better how a PKI works.
2 Comments
X509 based logon – 2 - Add CA certificates to PSE | It's full of stars! · July 8, 2020 at 10:45
[…] trust needed for X.509 based user logon, import the certificates of the issuing PKI. In my case, I do have a root CA and intermediate CA. I’ll have to import both certificates to ensure that NW can validate the complete certificate […]
X509 based logon - 3 - Create a user certificate | It's full of stars! · July 10, 2020 at 09:00
[…] is issued by the intermediate CA. Create a CSR for a user and let the intermediate CA sign it. Following my own blogs, I get a certificate named: tobias.crt.pem. Following commands assume that you are using my CA […]