ATC Configuration
An important part of any S/4HANA migration project is to find out the impact the move to S/4HANA has on custom coding. Custom code means custom applications. If those apps are required to be available also in the new S/4HANA system, they must be migrated. A simple copy & paste would be a nice to have option, yet rather unrealistic for even moderately complex applications. Therefore, custom coding that was developed for ECC 6 (or lower, like R/3) must be adjusted. SAP provides tools for finding out which parts of the coding must be adopted for S/4HANA. ATC shows which coding parts need to be adjusted to make the coding work on S/4HANA (priority 1 & 2 findings). While some ATC findings can be fixed before bringing the coding over to the S/4HANA system, you only can start fixing all findings when the code is already in the S/4HANA system. The task intensive part of fixing the ATC reported findings starts only after the S/4HANA system is available. Let’s see how ATC can be configured in an S/4HANA system and used to check coding in an ECC system.
Configuration
Before you can use ATC to check the coding, it must be configured. This post shows the configuration for a central ATC system which is used to check coding from connected ECC system. The steps shown here are also outlined in this article and in SAP note 2190420.
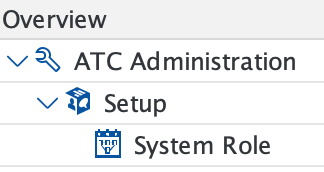
System role
Tx: ATC
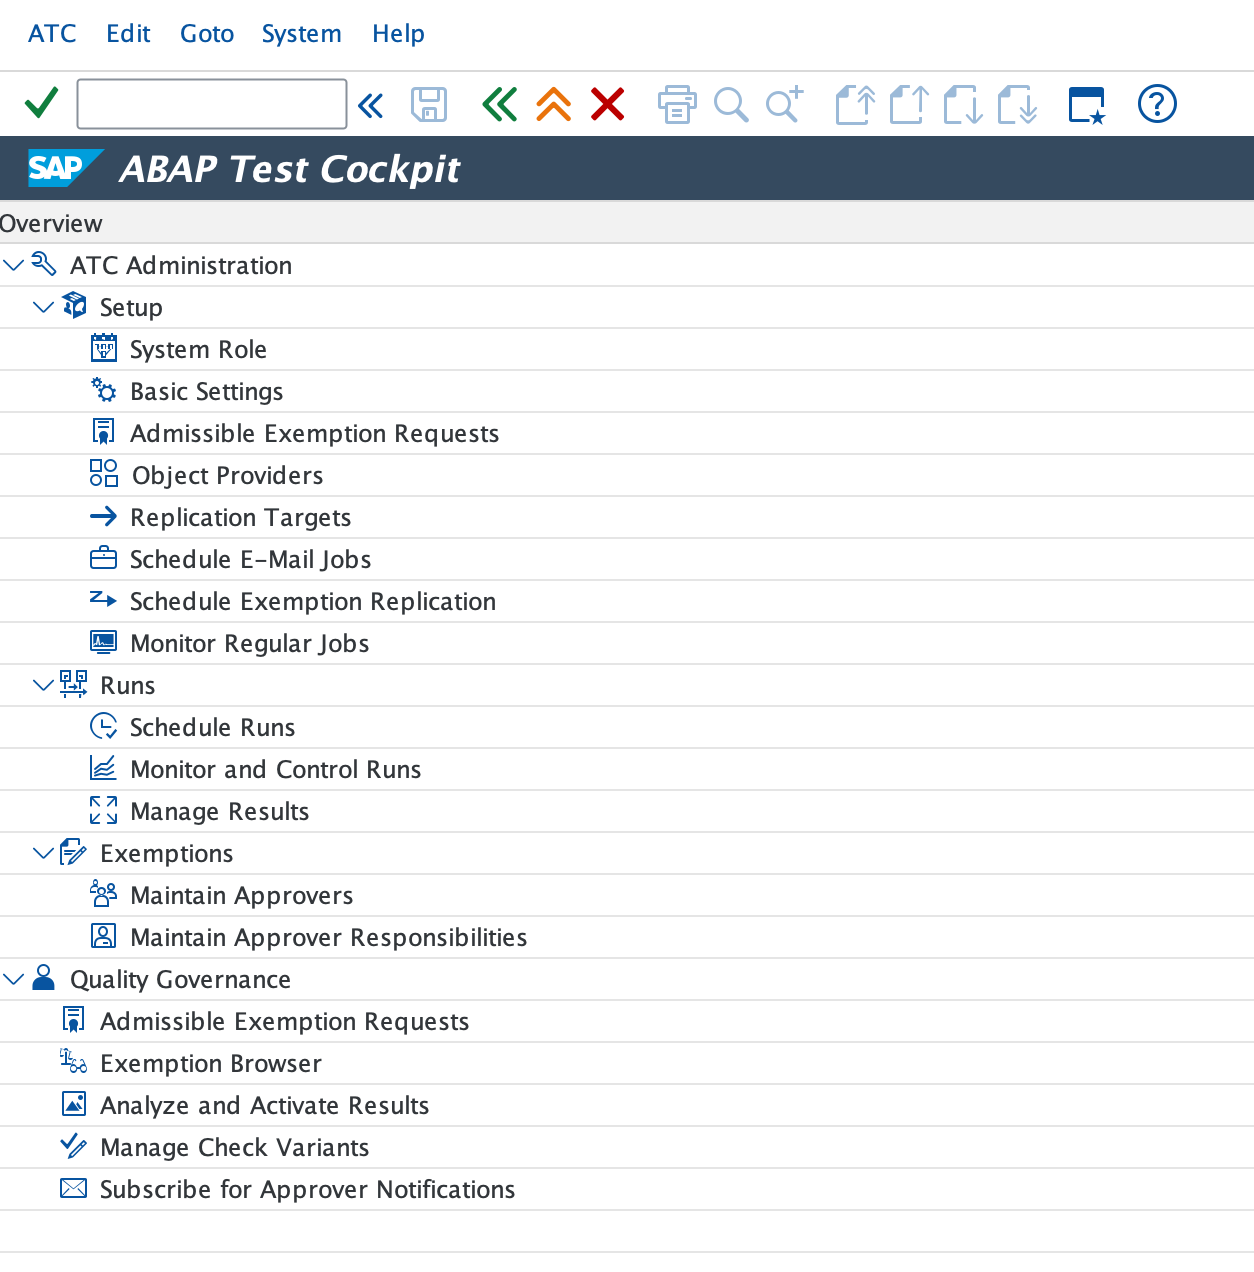
Define system role
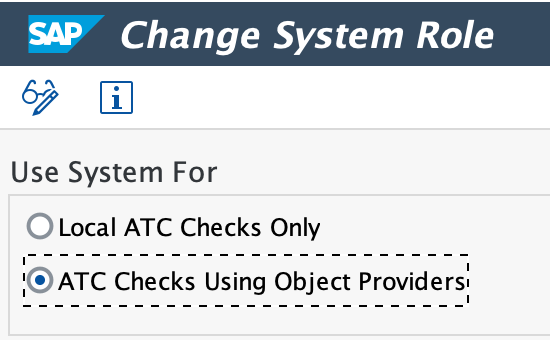
Activate ATC Checks using object providers.
Save.
Connection to remote system
Define Remote Connections
Tx: SM59
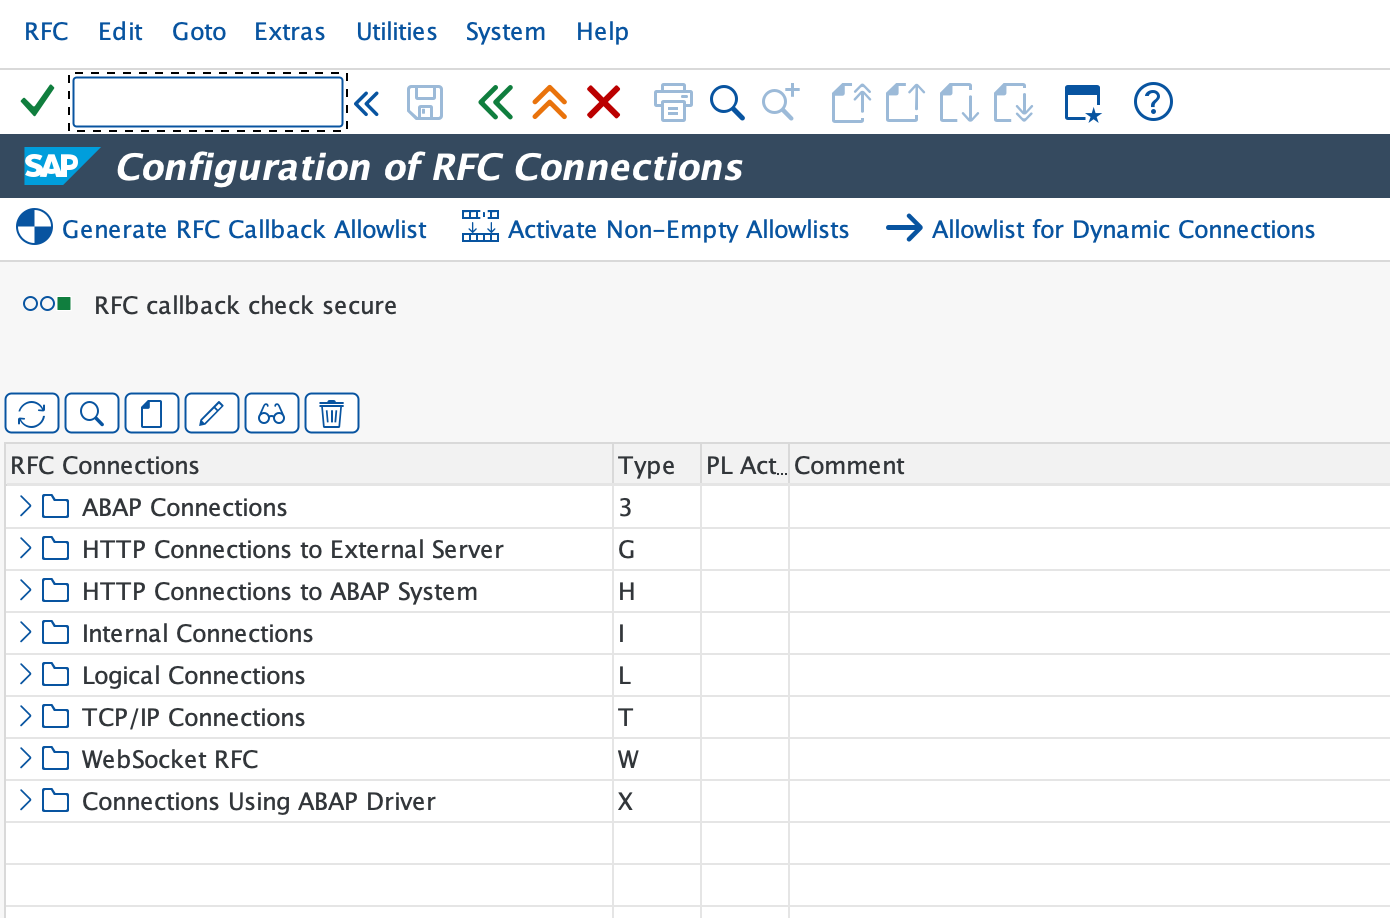
Create a RFC connection from your S/4HANA ATC system to the target ECC system.
Create system group
Tx: ATC
Open Object Providers
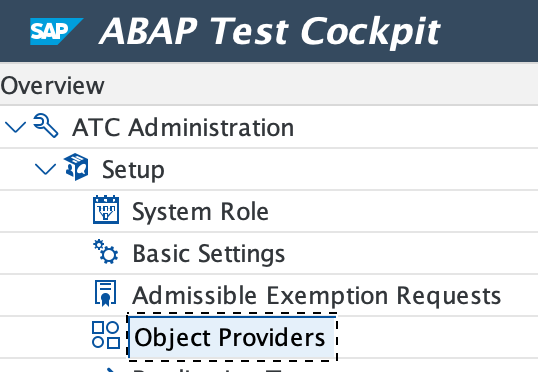
Double click System Groups.

Enter change mode.
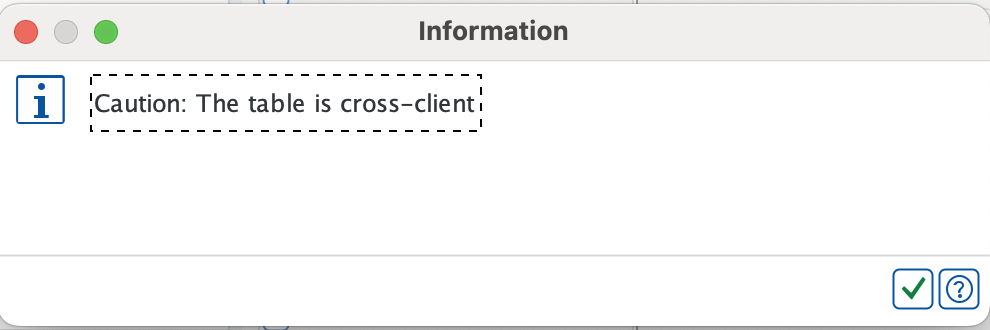
Create a new entry: „New Entries“.

Create a new sytem group, e.g. for NW 7.50 release.

Create object providers
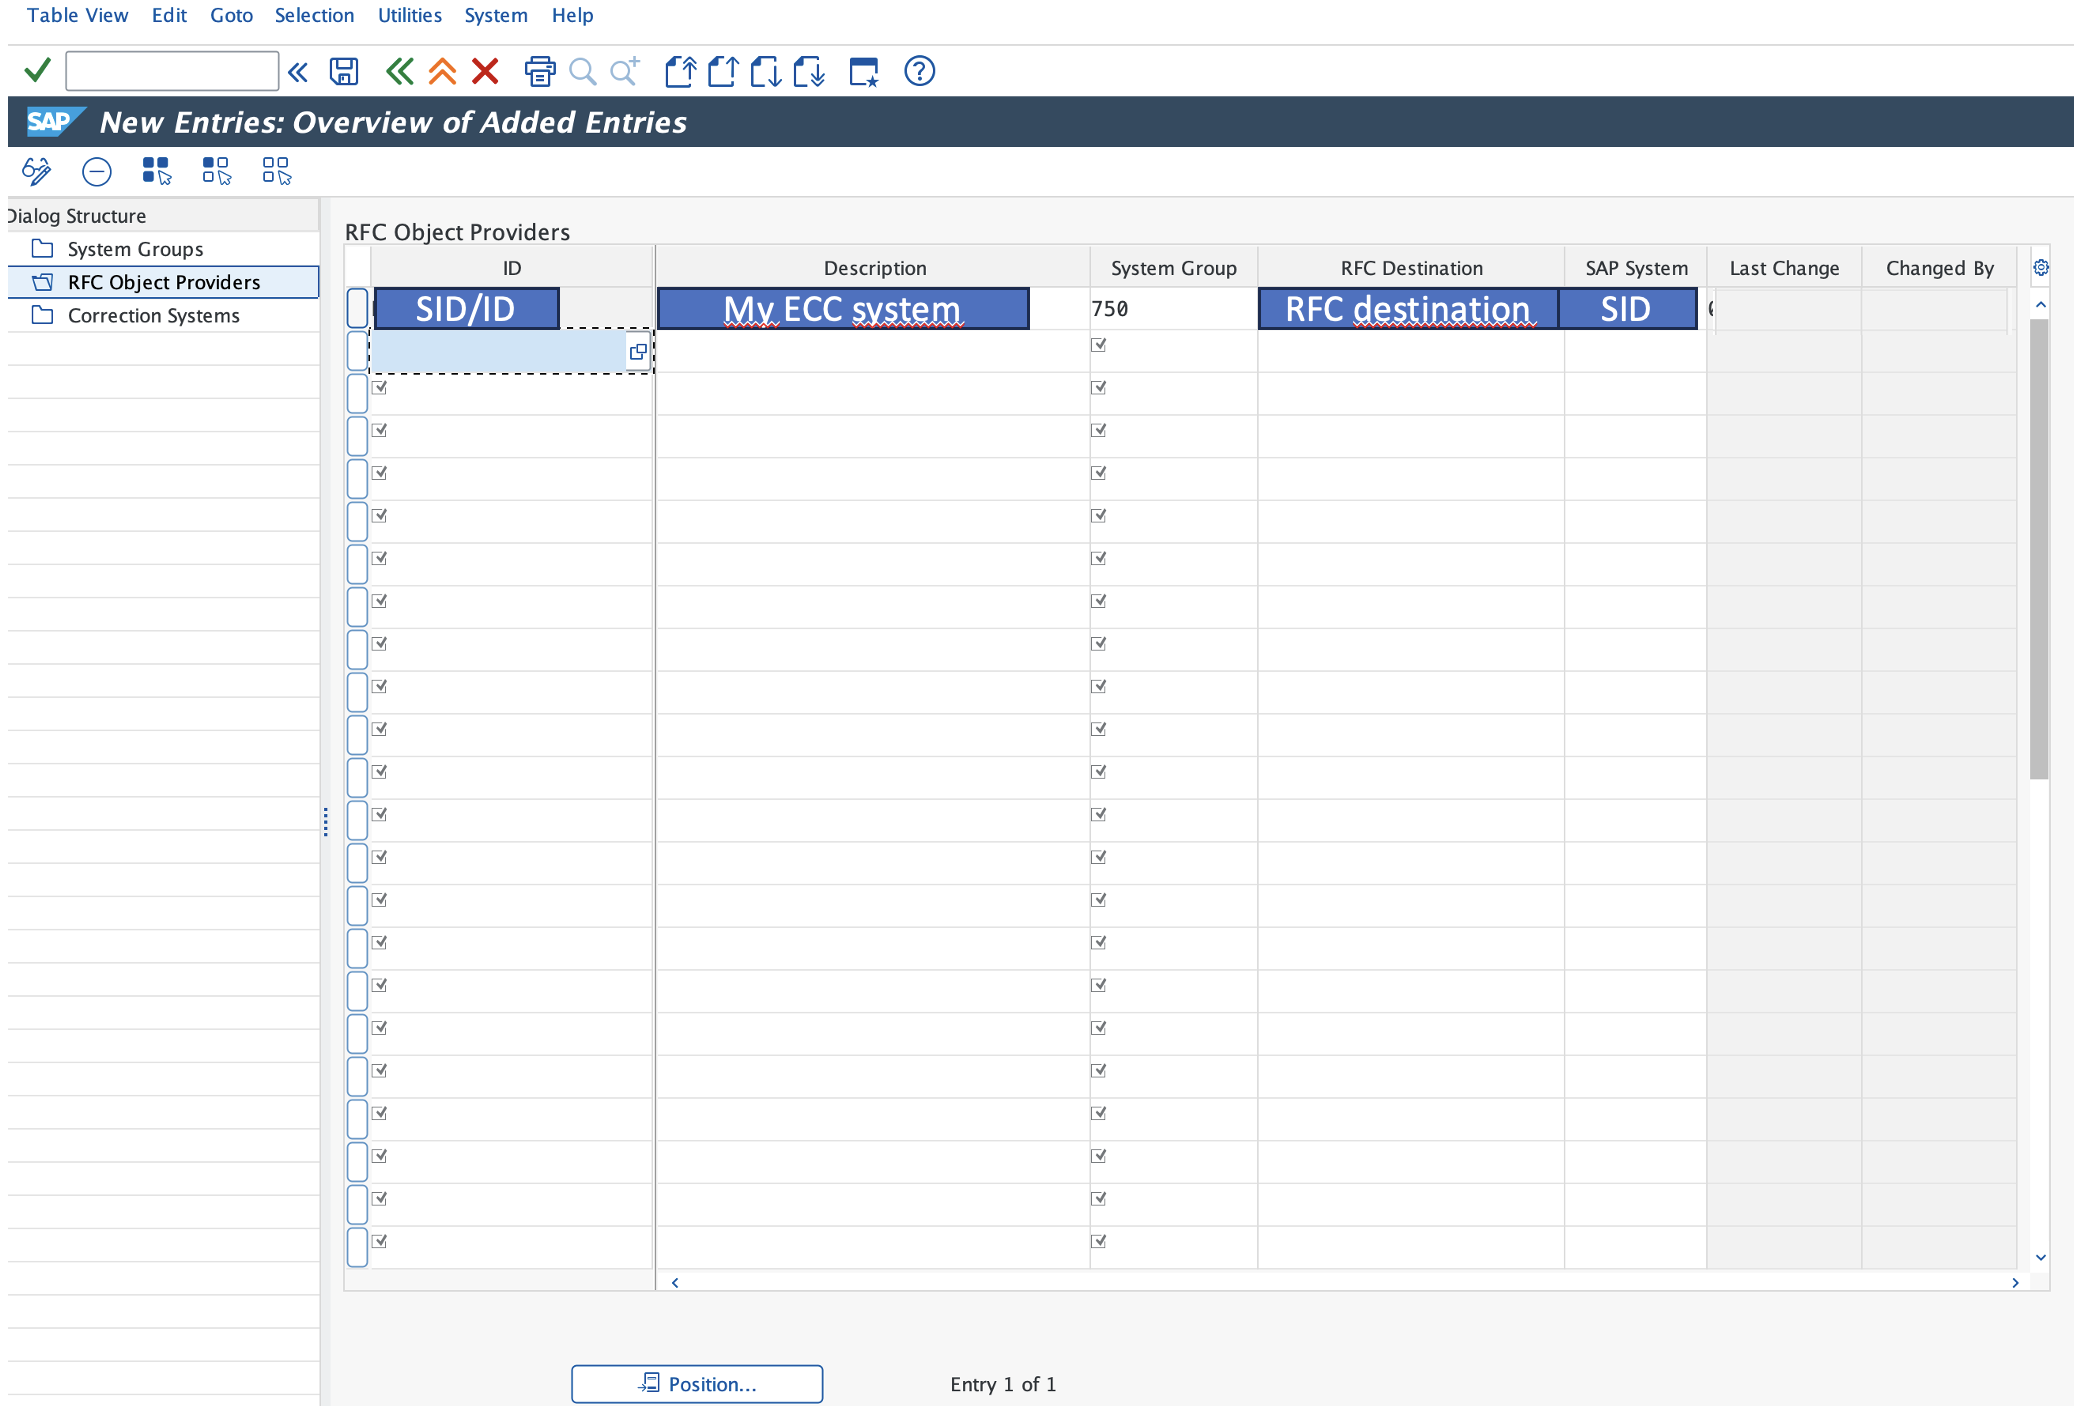
Go to RFC Object Providers on the left side.

Change to edit mode and click on new entries.


Add the target ECC system and use the previously in SM59 created destination.
Configure run series
Tx: ATC
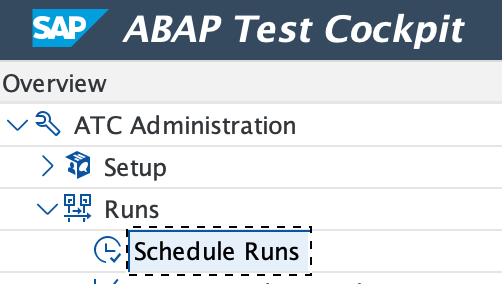
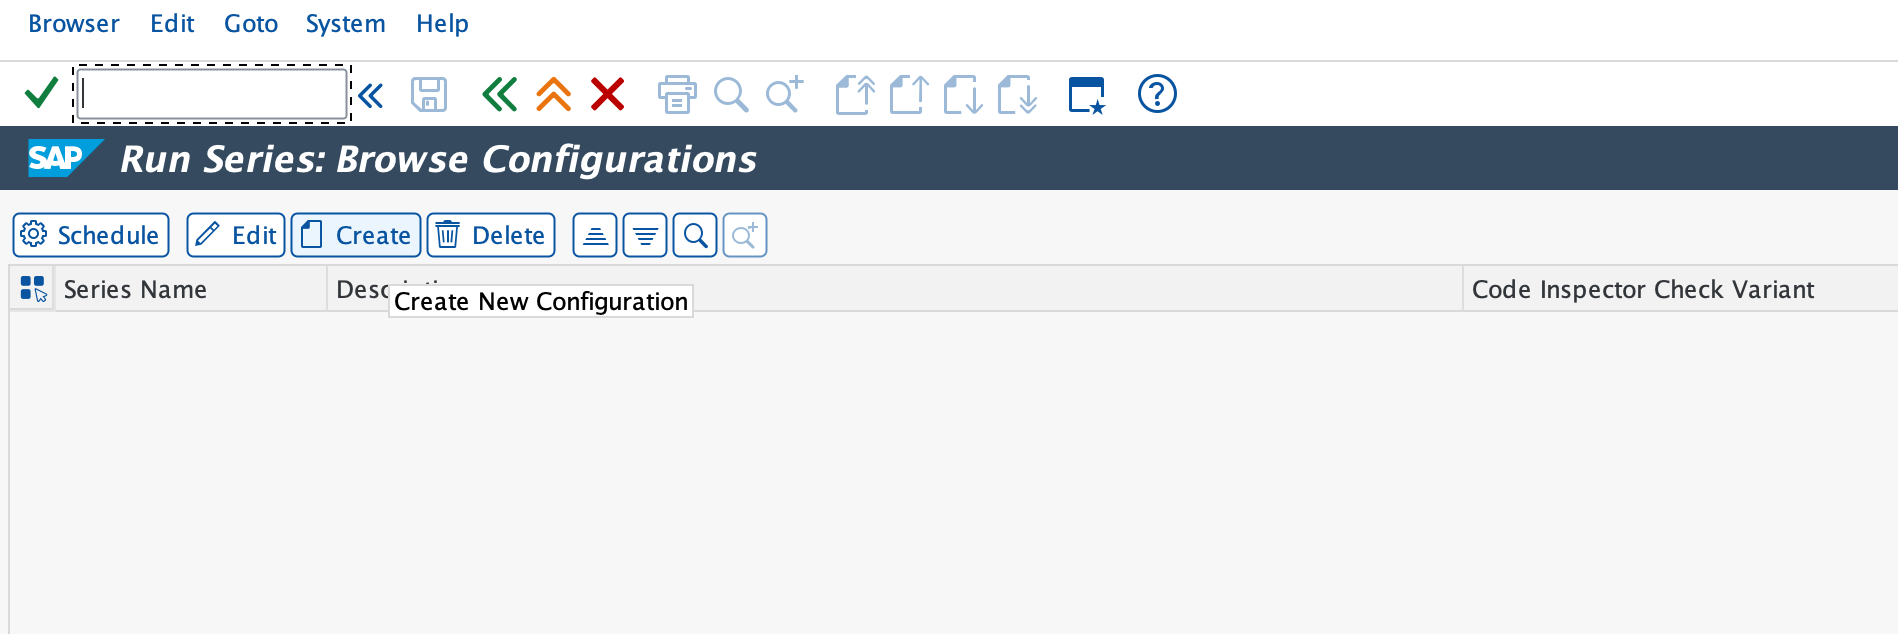
Click create.

Enter name for series.
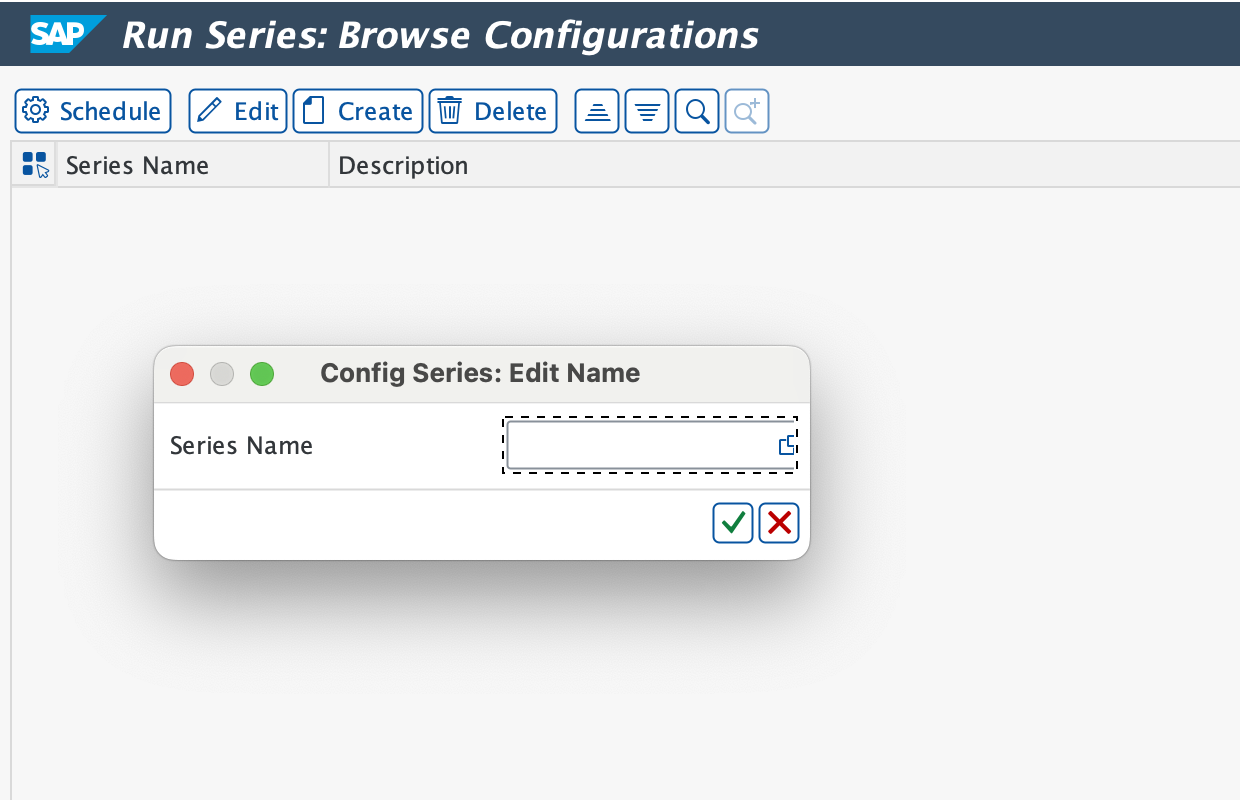
Enter a name (e.g. the SID of the system)
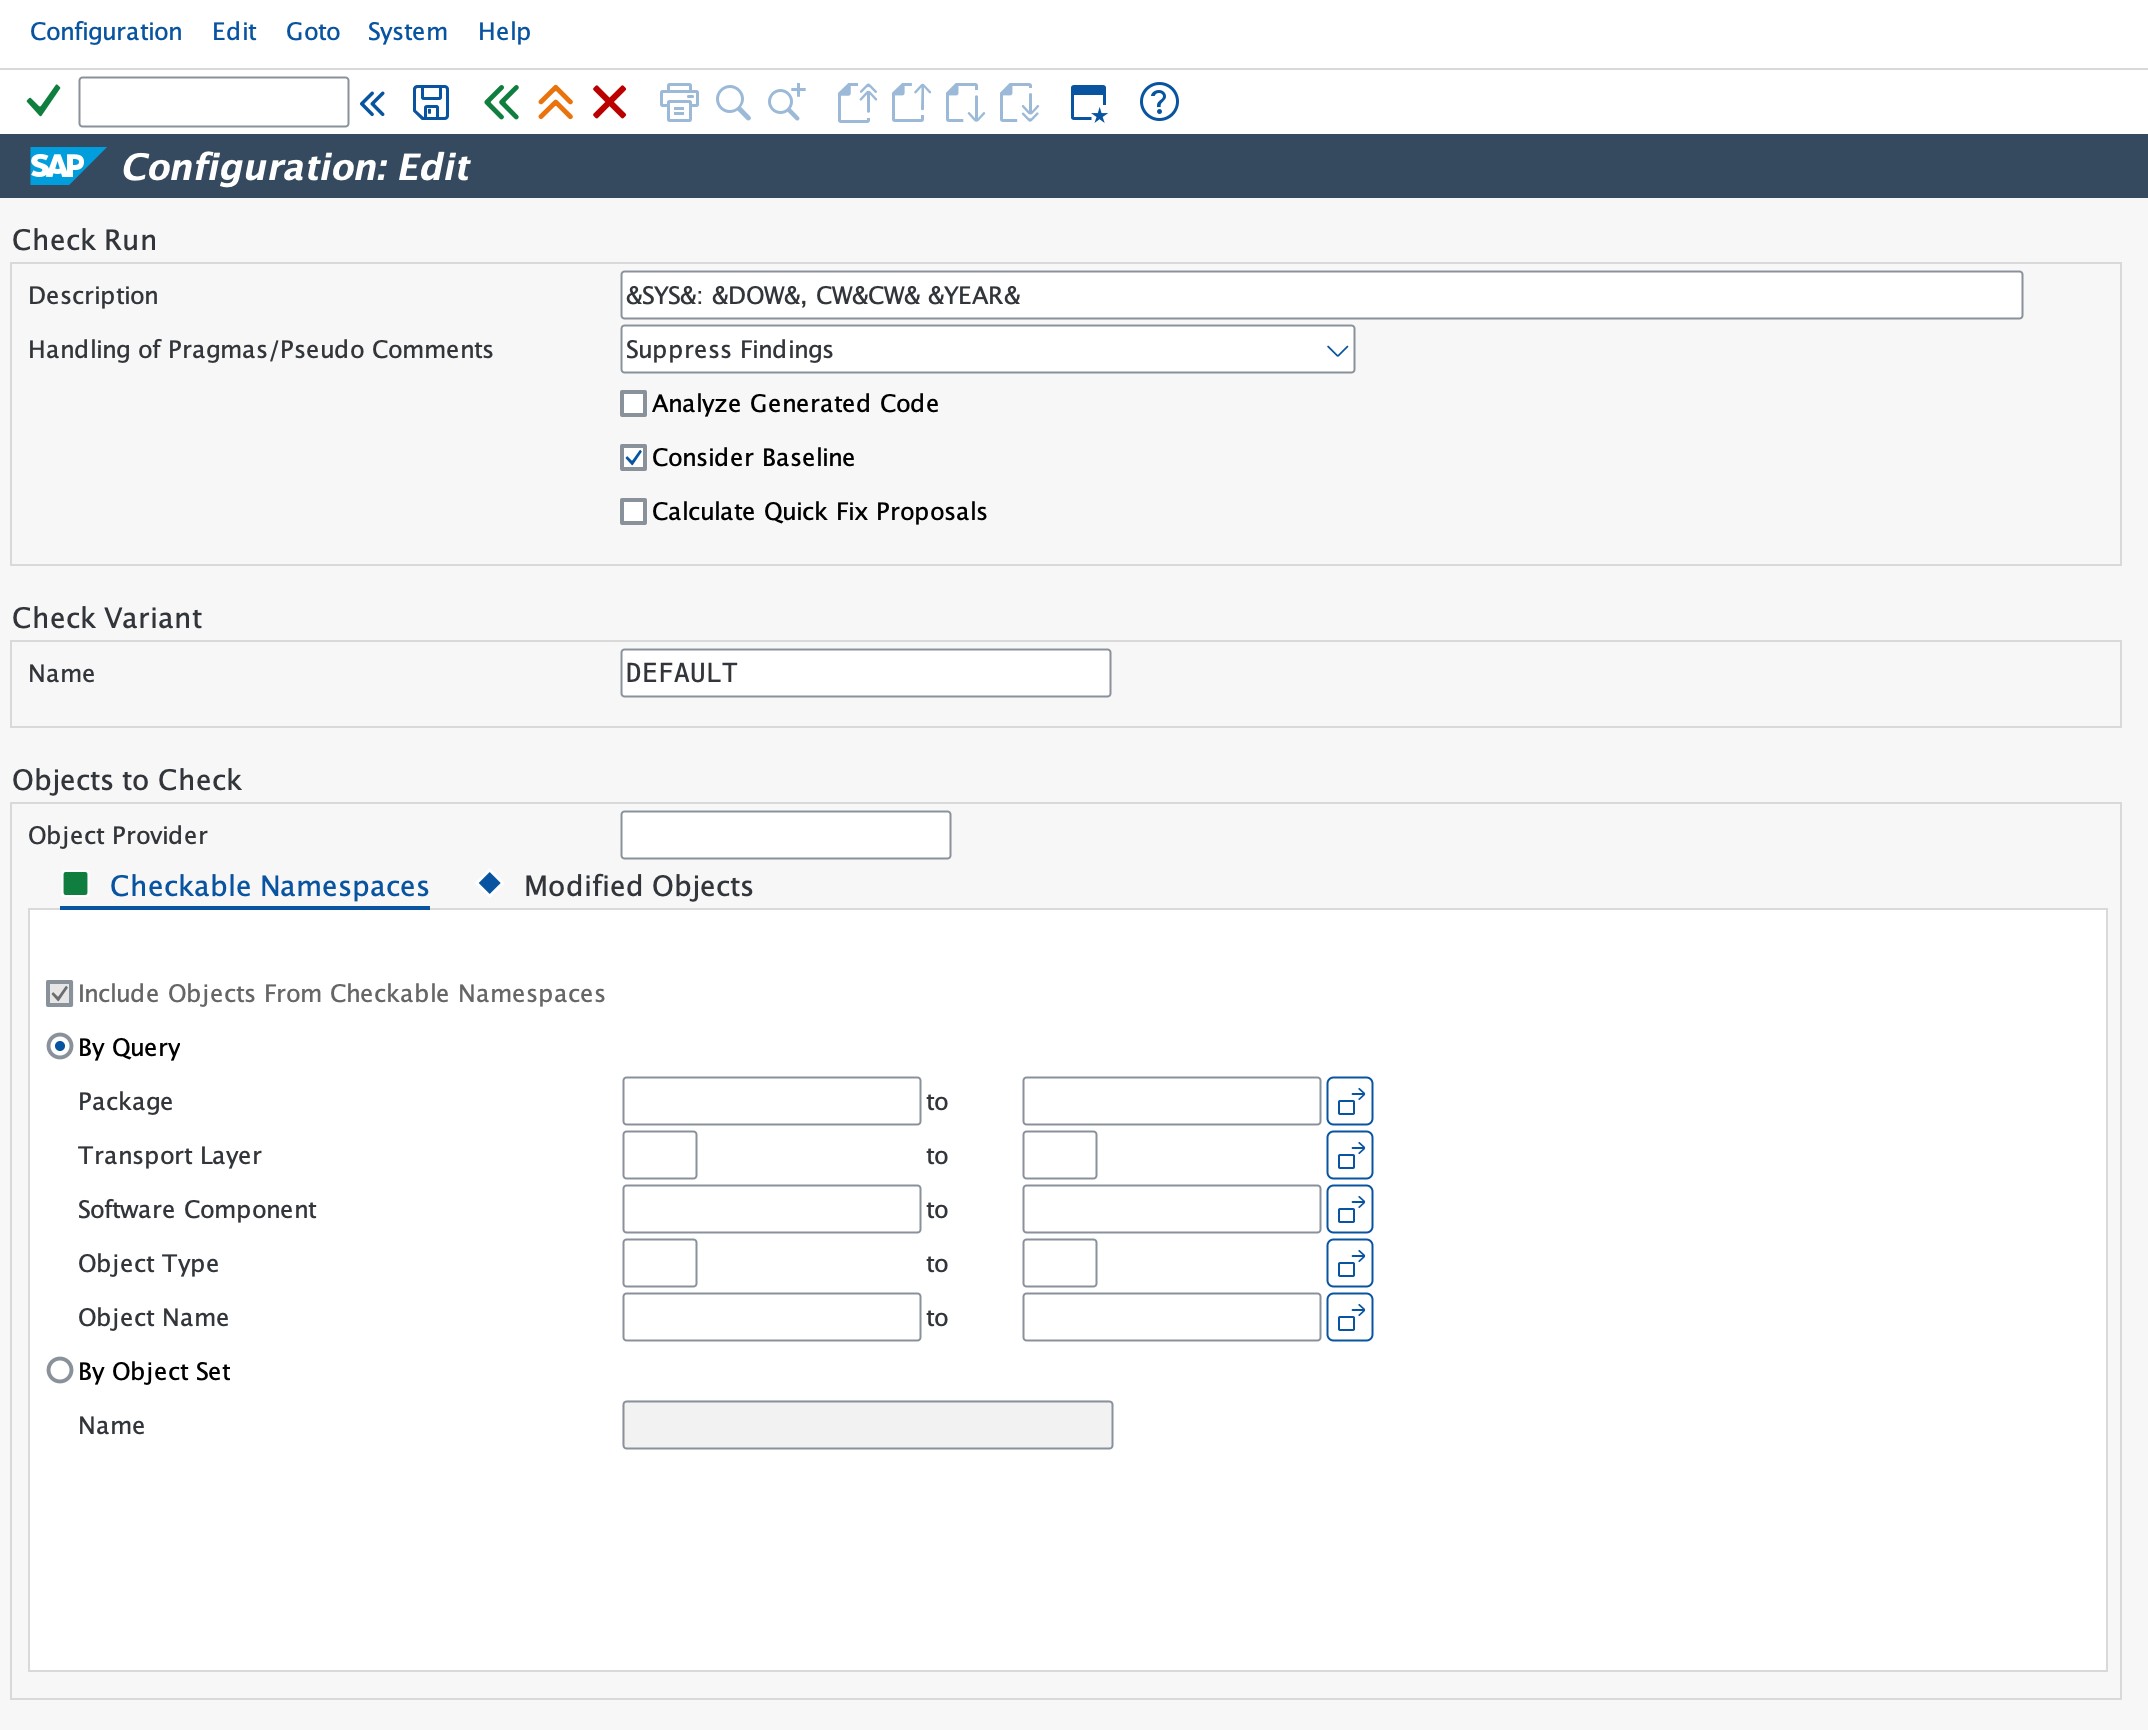
Provide the variant to use, the object provider and the objects to check.
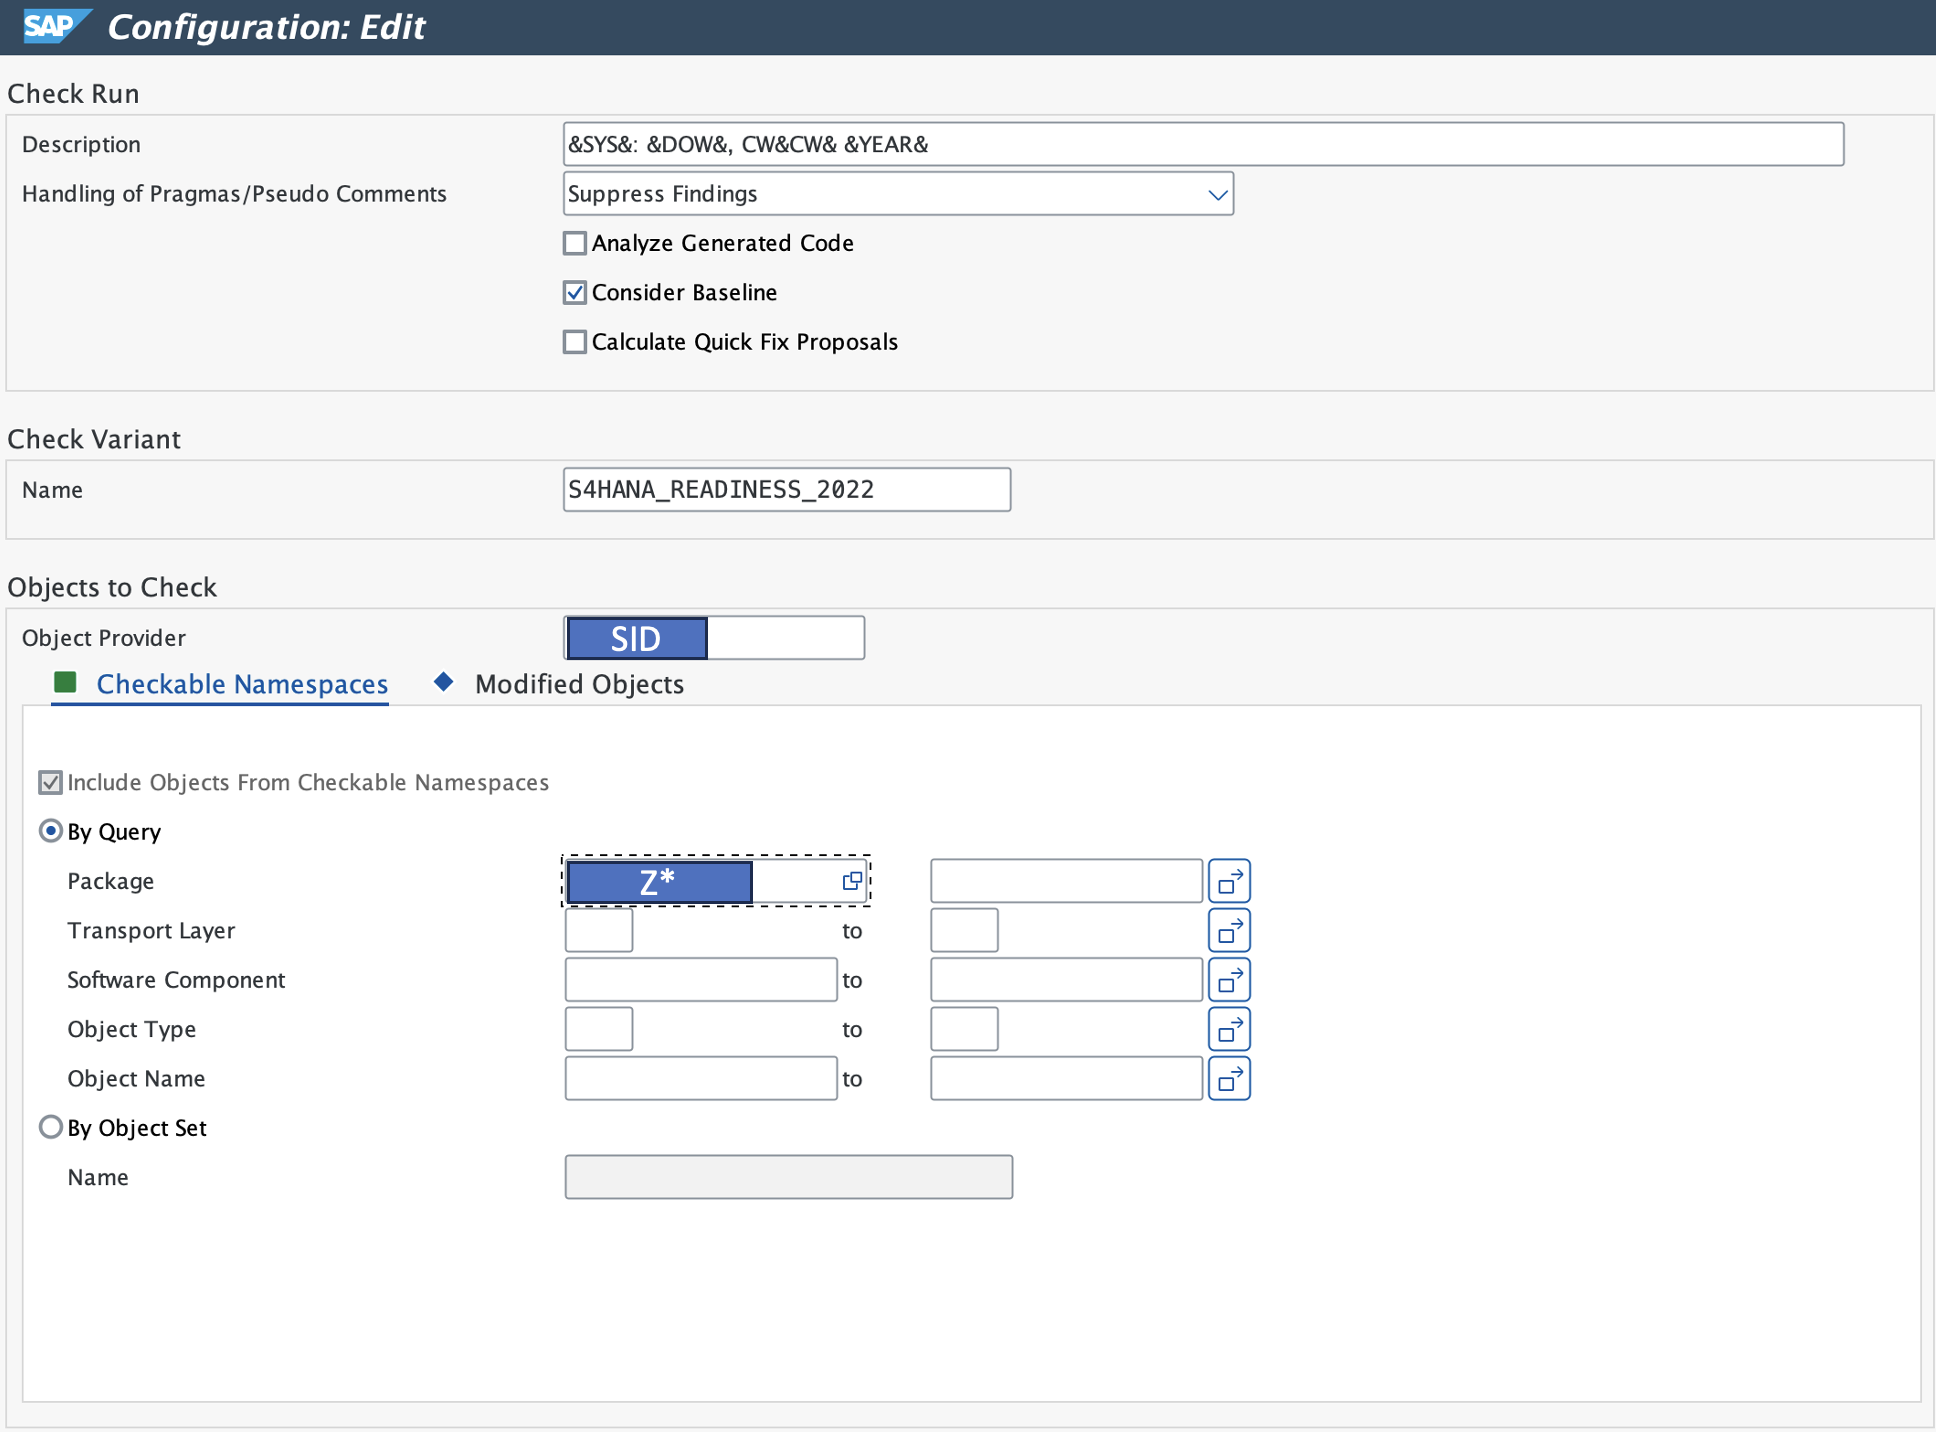
Save.

The connection to the target system exists, the object provider created and a series created with the needed information on what and how to check. The setup is now ready to be used.
Schedule run
Tx: ATC
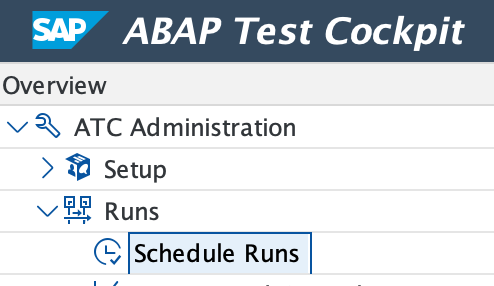
Select series and click on Schedule.

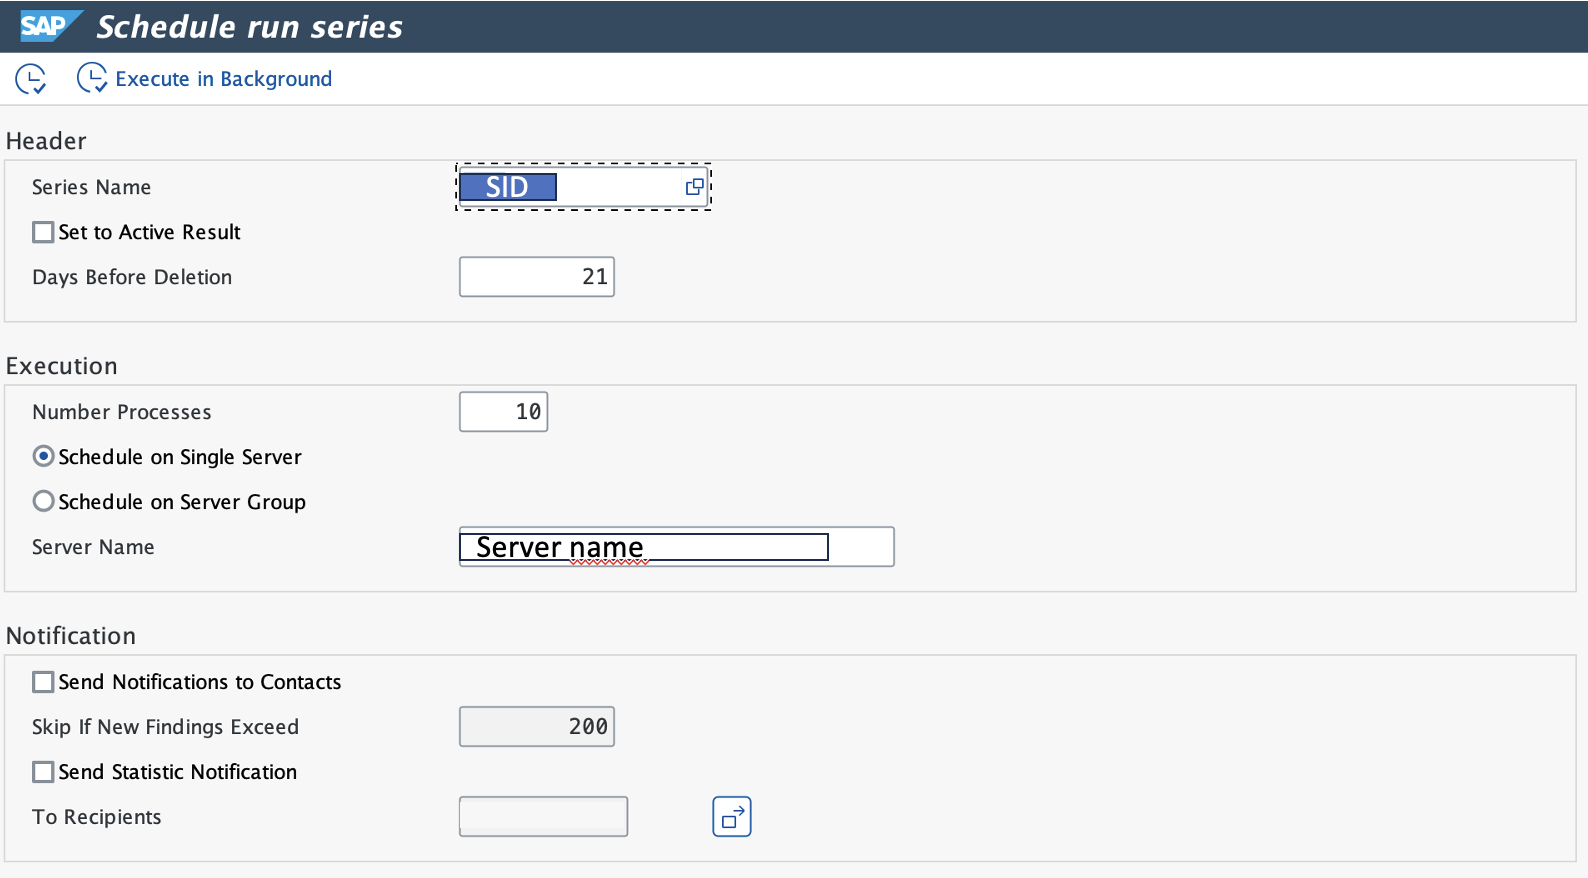
This will schedule the run. ATC will load the code to be checked from the object provider.
Check scheduled run
Tx: ATC
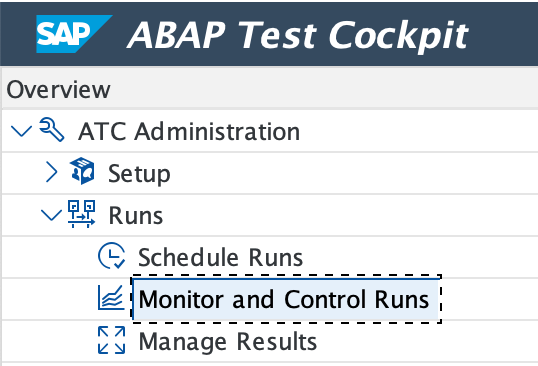
Search e.g. for your user.
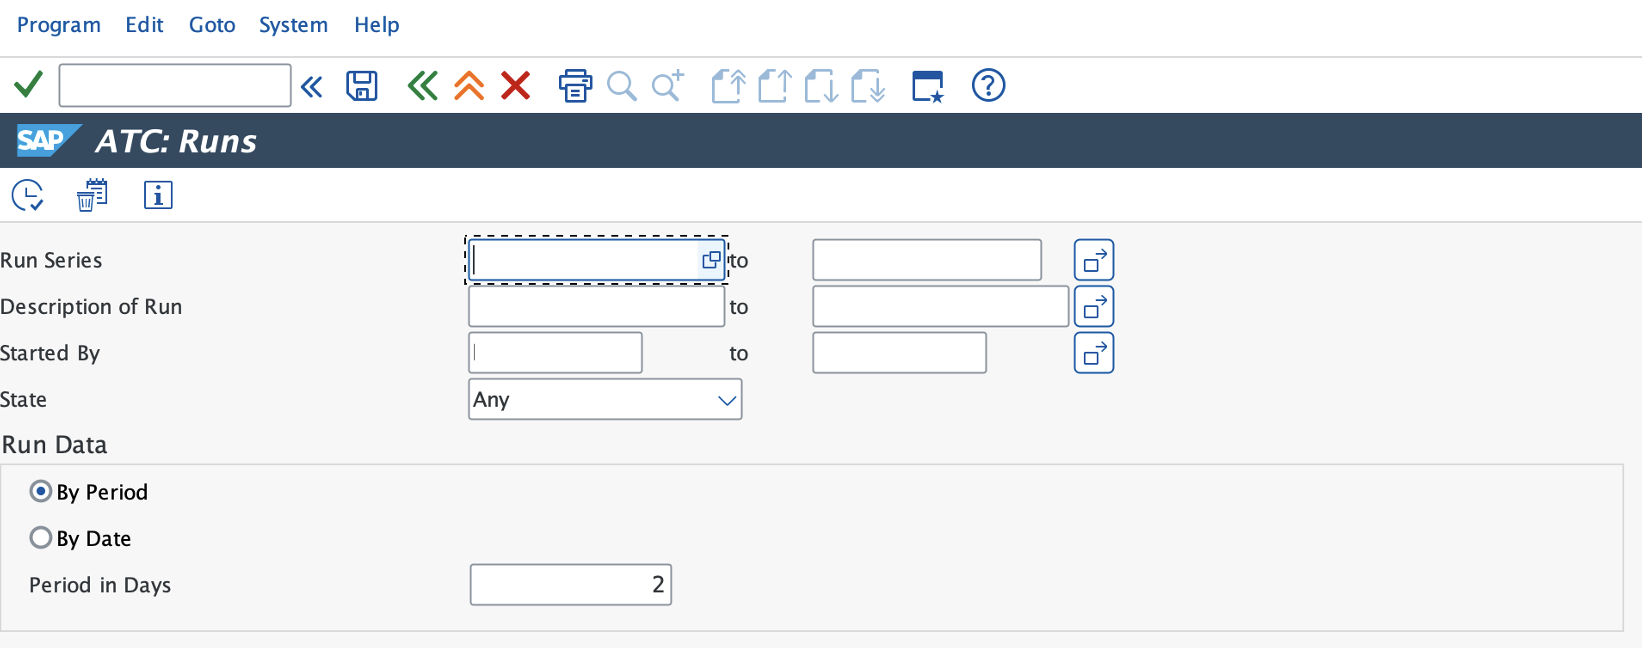
The list of matching runs is shown.

The state flag indicates if it worked or not.
0 Comments