

After creating an OAuth client user assigning the permissions to call the OAuth protected OData service, it is time to start the actual OAuth client configuration. First, add an OAuth Identity Provider (IdP).
The OAuth IdP NetWeaver ABAP accepts is a normal SAML 2.0 IdP. This is because NW ABAP uses the OAuth flow SAML2-Bearer. In that flow, the user authenticates at an SAML 2.0 IdP and sends the SAML 2 response to NW ABAP which validates it to see if the user authenticated successfully at the SAML 2.0 IdP.
Start adding a trusted OAuth IdP to NW ABAP by calling the web app saml2.
Tx: SOAUTH2
This will open your web browser and call the Web Dynpro app saml2. In NPL, the url is: https://vhcalnplci:44300/sap/bc/webdynpro/sap/saml2?TRUSTED_PROVIDER_TYPE=OA2# 🔗
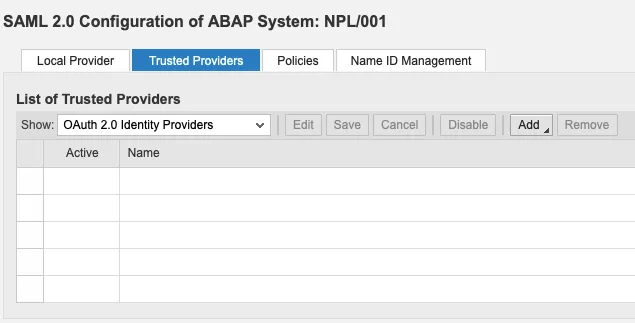
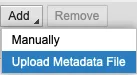
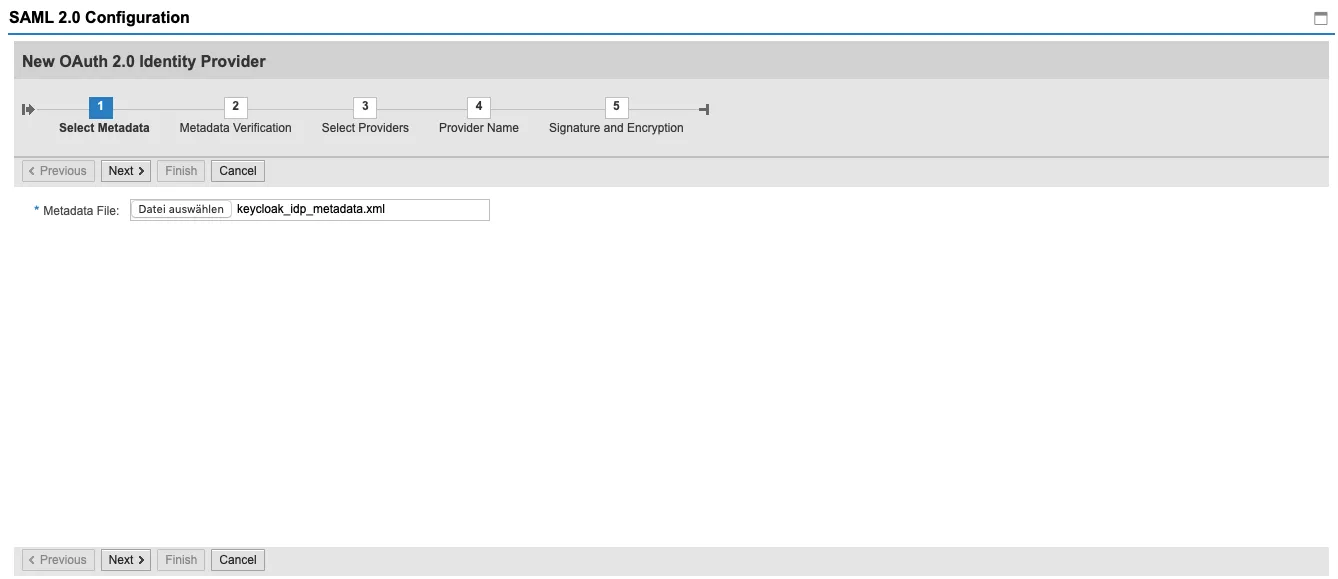
Add a new Trusted IdP for OAuth by uploading the metadata of the IdP. I blogged about how to get the metadata from Keycloak 🔗.
Go through the setup wizard.

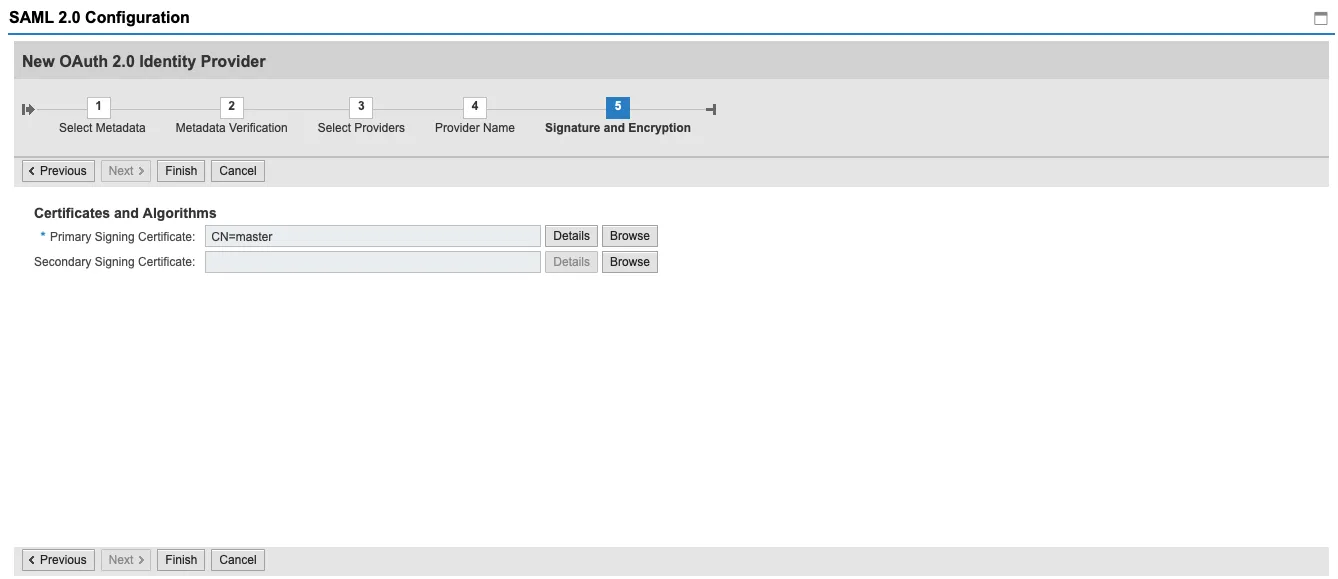
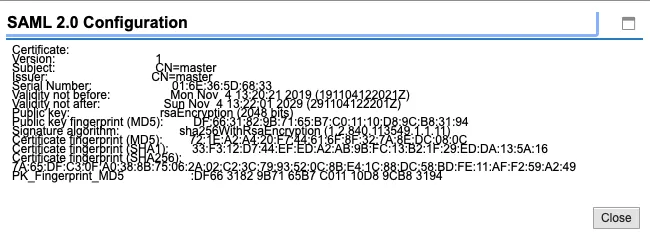
Keycloak includes one signing certificate. You can take a look at its details.
Click on finish and the OAuth 2.0 IdP gets imported.

The OAuth 2.0 IdP is not enabled yet. This will be done in my next blog.