UI test recording
UI tests are important. They do not only test if information is shown correctly, or certain UI controls are visible. They test if the UI of an app does work. Therefore, UI tests must be defined by the end user. UI tests are so important, that UI tests should not only be described by the end user, but also recorded by them. These recording should be used as the source for UI tests. UI test recording tools must be easy to install, and easy to. While the developer has a supporting role in the capturing of the UI tests, it should be the task of the end user to record and validate these.
Responsibilities
A common problem when it comes to testing apps is the task of writing tests. Not only because writing tests is often interpreted as writing code. The problem starts even earlier: who is writing the tests? Is this a task for the developer? Here the misconception starts: writing tests does not mean writing test code. It is rather: who defines the tests? Who defines the objective of an app? The role of the developer is rather to define how something is done. What an app should do is defined by the end user. Their expectations are described in a user story. Here the user describes what needs to be done to reach a certain result. This should make clear that unit tests are tests by and for the developer. You won’t find in a user story the description: as a user I want that the unit tests pass. Unit tests support the developer during the coding process, but do not define if the app is working as expected. For this you need to move up the testing pyramid. Or, if you follow my approach, you rather move down the pyramid.
An app exists because of a demand from users. Let’s include them in the app tests as early as possible. UI tests are a very good approach to validate if the app works. A button is clicked, a value selected from a list, or drop-down, or table, which causes a navigation to the next screen which displays the details of an object. Short: a set of actions needs to be performed to reach the expected result. It is not enough to simply call the detail page (e.g. as shown in my introduction post on visual testing). The UI is actively involved in the test. And therefore, the app. This fact can be used to let the user participate actively in the UI test.
The challenge
Writing tests that involve testing the UI is a challenge. First, the UI must be ready to be tested. Second, the test needs to interact with the UI. And third, the test should reflect what a user is doing. This is what makes UI tests complicated. However, these tests are the ones that add value. Why? UI tests replay actions users do when using the app. They reflect what a user is expecting the app to do.
It is important that the user not only defines the tests, but can also understand them, reproduce them and identify possible problems. Not problems related to the test result, but how the test works, how they are executed, and what they really do. When the UI test creation is outsourced to the developer, the user loses control over them. At that point, the tests are at best the coded translation of what is given in the user story. It can be a challenge to understand what the user really wanted and this directly impacts the quality of the tests. What really happens to reach the test result, is hard for the normal user to understand. After all, the tests are written in code. Not only does not every user understand code, running the code is another hurdle must be overcome. Look at the wdi5 example and ask one of your users: do they understand what happens here? Can they reproduce the test? Most likely the answer is no. Just knowing how to run the tests involves a good understanding on how to setup the app project.
UI Test Recorder
To get tests that actively involve the end user is to let them record the tests. That is: instead of only describing it in a user journey, a recording is provided. As soon as the app has some UI ready, a UI test can be recorded. Validating if the UI so far works and delivers an expected result. And: involving the end user at such an early step opens a feedback channel. Possible errors and expectations are captured early on. The UI test recording contains all steps necessary to reproduce the actions on the UI. That there is a gap that can be closed by using UI recording is known and understood. UI5 includes a test recorder. It’s a very basic recording tool and the focus group of it is developers. There is the UI5 Journey Recorder extension for Chrome available. While better, it is still intended to support the developer in creating wdi5 / OPA5 tests. There is also the Chrome Dev Tools recorder. While still in the developer category, this recorder comes with several benefits. For instance, it comes with Chrome. No installation needed. It’s included. Being part of Chrome, the recorder is also available in Edge. And it works.
Chrome Test Recorder
The recording process is very simple:
- Start recording
- Record actions
- Stop recording
- Reuse recording
This allows users to record their UI actions and reuse them or share them. And the recordings can be exported in a variety of formats. This is the list of possible formats to export to.
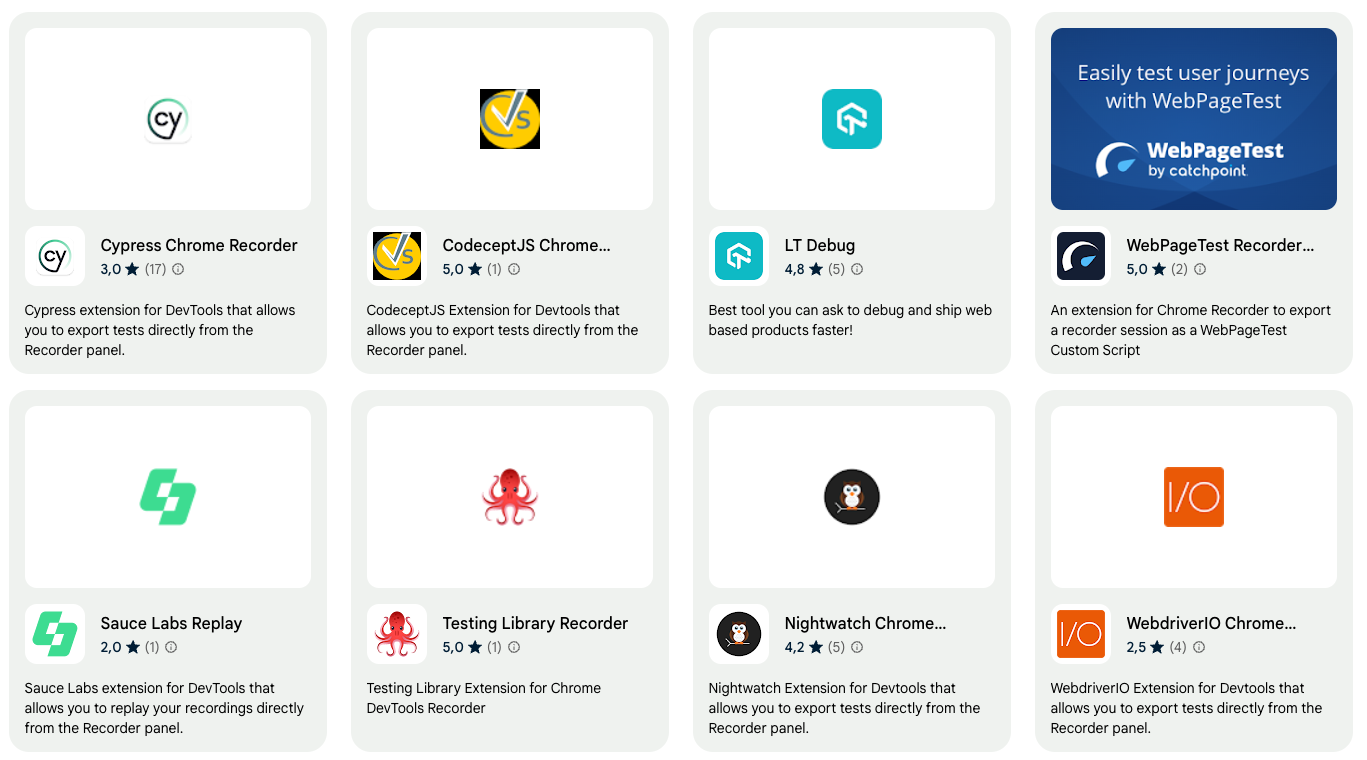
Wdio is in the list. Wdio has a section in their documentation about the recorder. Most importantly: the Chrome recorder saves the tests in a JSON format that can be shared or used by replay.
The recorded tests are saved by default inside Chrome. The tests allow to record all actions done by the user on a screen. The recording is still very technical. Yet can be recorded and replayed by almost any end user with some guidance. Be careful: the test recording can get complicated when there are many actions in a test.
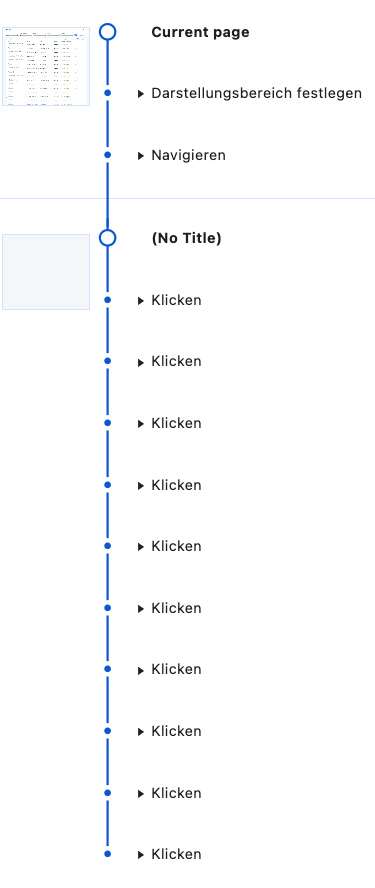
The value these recordings can add to tests is tremendous. They are recorded by the user. It’s how they are working with the app. It is their actions that are recorded. No intermediate translator between the user and the test code writer. Test can be replayed at any time. The tool is integrated into the same client that is used by users to work with the app.
Example
As an example, get the SAP CAP SFLIGHT demo and start it.
git clone https://github.com/SAP-samples/cap-sflight
cd cap-sflight
npm ci
cds watch
Access the Fiori Elements app using your Chrome (or Edge) browser. Log on using amy and empty password or deactivate authentication. The start page of the app is shown.
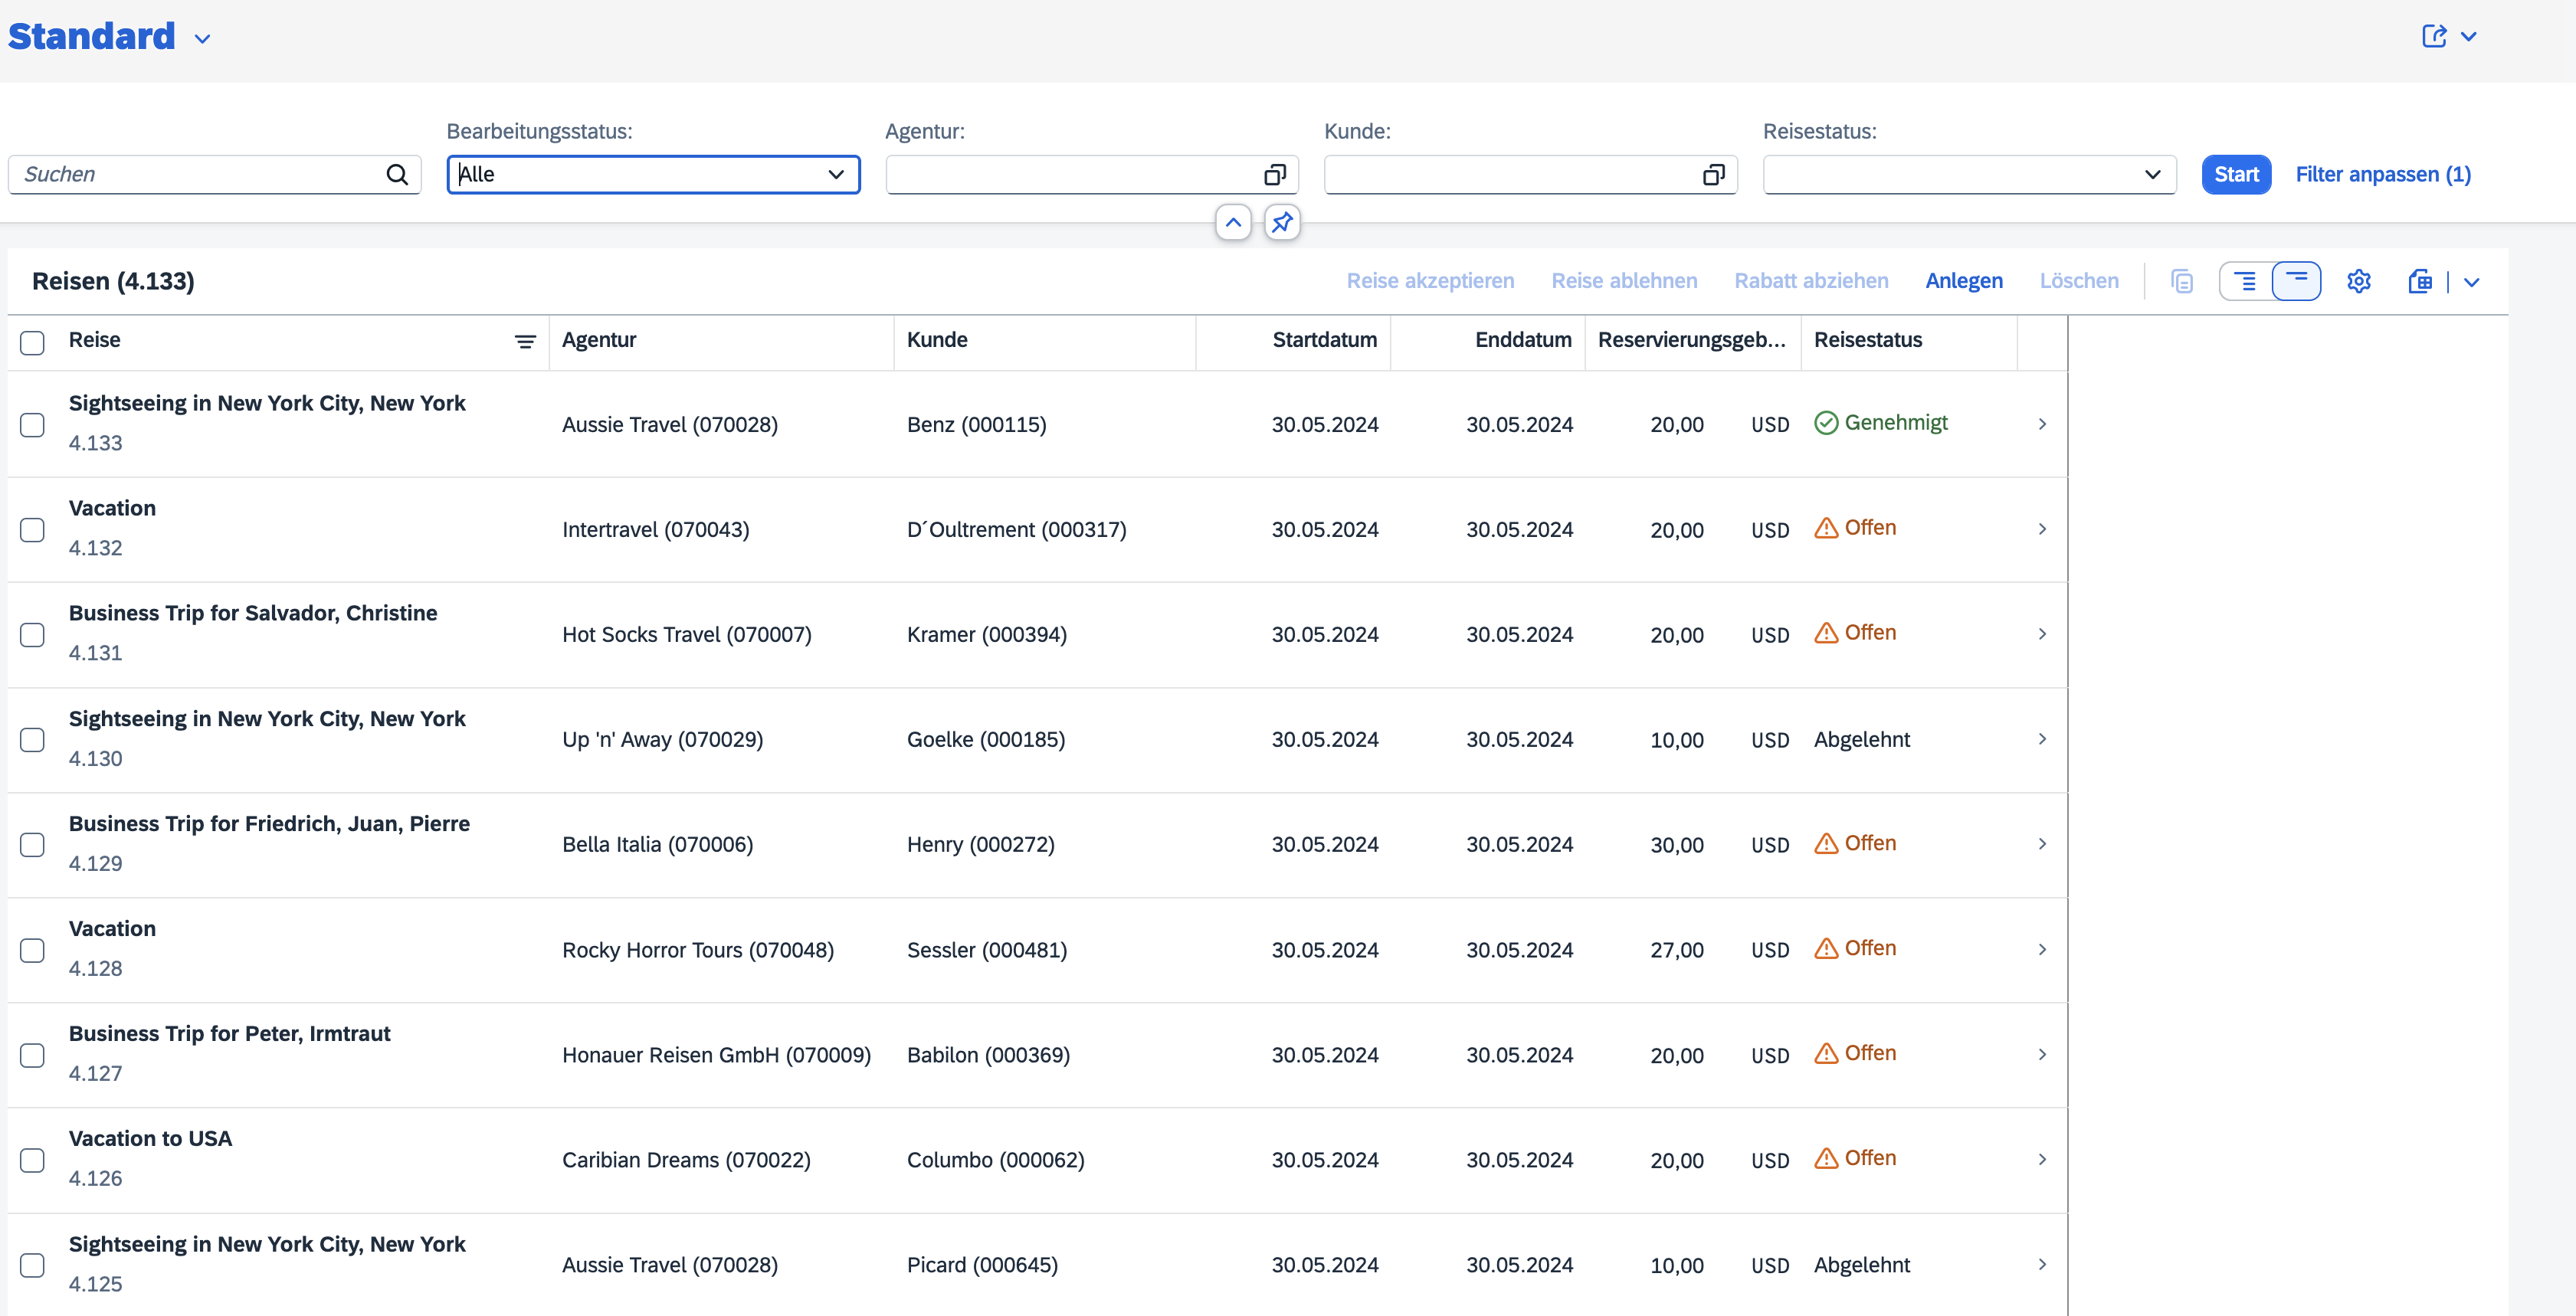
Record a test
To make it easier to follow the example, the tests are available in my repositroy on GitHub. The test recordings for sample 1 and sample 2 are JSON files that can be imported into the Chrome recorder.
Example 1
Let’s record a test that does the following:
- Select filters from the filter bar: Agency Fly High and travel status open
- Apply the filter.
- Open detail page for vacation 3997 and than
- Open the bookings detail.
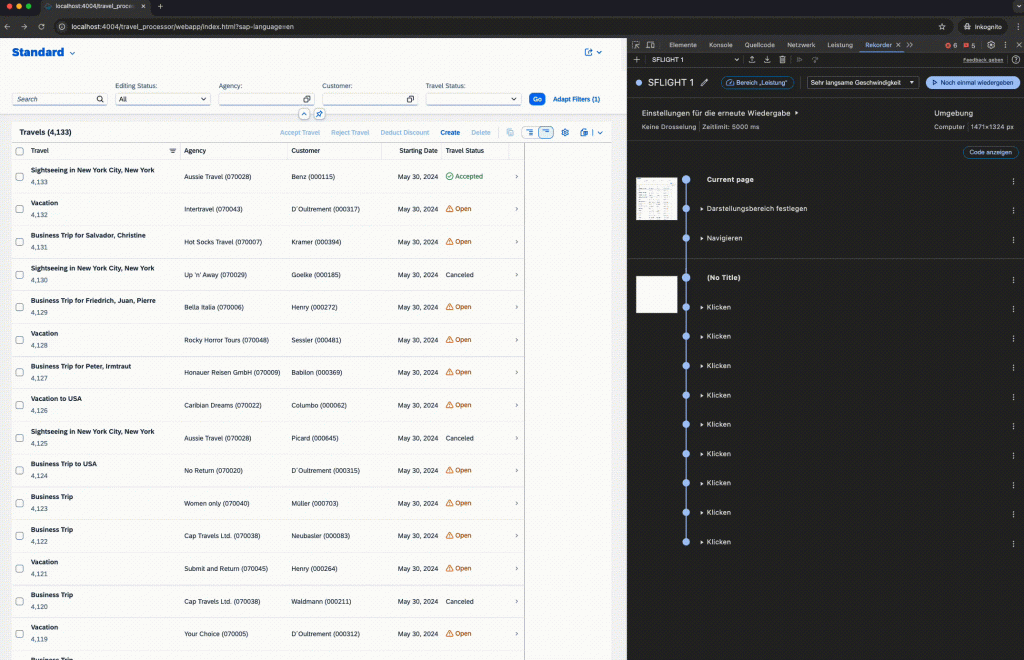
Instead of calling the pages directly, the actions done by a user are recorded and used to navigate to the pages. Several actions are needed to achieve the expected outcome. As not only pages are accessed, app logic is run: value help, filter, navigation.
Analyze the recording:
This is opening the value help dialog for agency.

An entry from the value help list is selected.
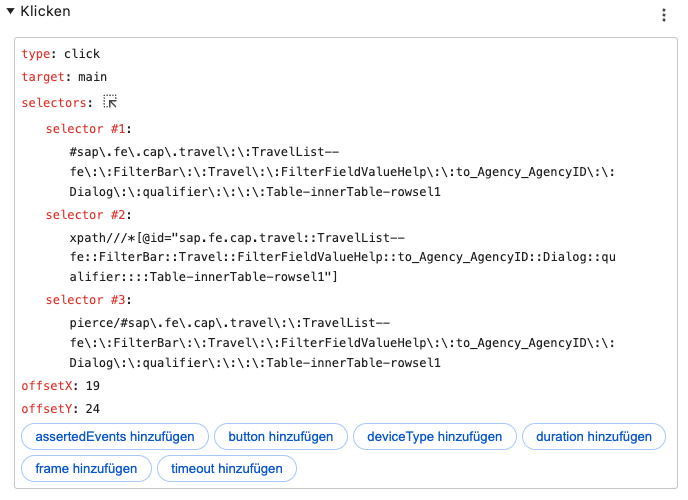
This closes the value help dialog for agency.
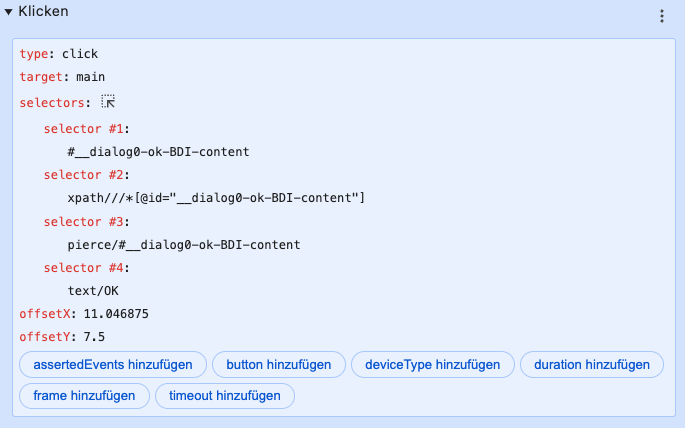
The test recorder is capturing what the user is doing. The recording might not be understandable by end users. But they can re-run the test any time and follow the actions live on their desktop / browser. This helps in understanding the test and taking ownership.
Example 2
Example recording: SFLIGHT 2.json
Let’s taking the test flow of the previous blog post as the test target. Instead of “just” accessing the three pages, navigate to them. This is done by performing the actions needed by a user: click on the item in the table. The test is very easy. It loads the start page and performs two click actions. The first navigates to the travel detail page, the second from there to the bookings detail page.
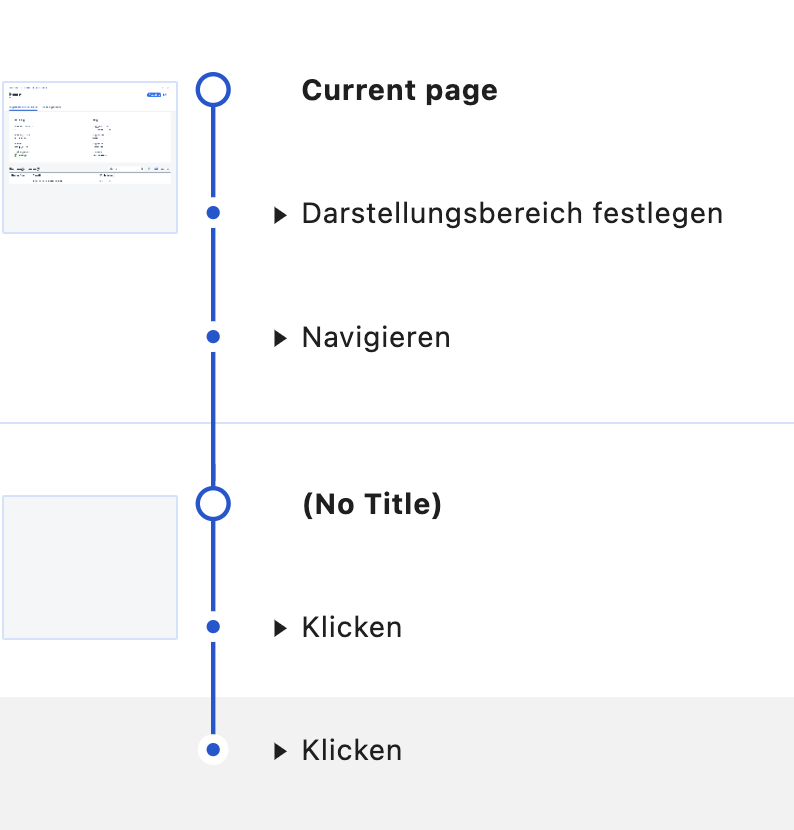
The difference compared to the sample visual regression test: the pages are not accessed directly. Any code that is executed when a user clicks on a table entry is run. If there are any additional actions taken in that code, it is executed. And if there is an error: this will be found by the test.
Conclusion
Such a recorded test offers several benefits: it is not just testing if a page is working. Coding is tested that needs to be run to reach the page. UI controls that are used by the user to input relevant data are called. And: such a test can be created by the end user. That is: the person that is (going to) use the app is also creating the test. These tests can be re-run by users and serve as a solid foundation for other tests.
Remarks
The recording is not perfect. Sometimes the tests fail when replaying them. For instance, selecting the travel status. Seems that how UI5 is rending the dropdown, Chrome fails to find the element.
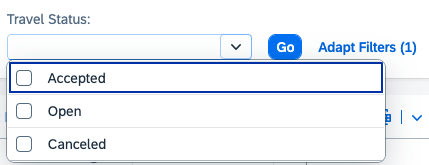
A workaround can be to not use the id or xpath, but the text selector:

The Recorder documentation give some hints on how to make it easier for the selectors to work. Having a specific data attribute like data-test might help in such cases. For instance, have UI5 / Fiori Elements add automatically data-test with value travelstatus-open. Currently it serves generated IDs that might depends on what was clicked before. The ID for the checkbox is __item12-__clone47-selectMulti-CB

Clicking first e.g. on the editing status filter causes UI5 to generate a different ID for the travel status checkbox.

The Id changed: __item12-__clone41-… instead of __item12-__clone47.
0 Comments